We're excited to transform plain corbels into stunning, one-of-a-kind antique pieces. To get started, we'll need plain corbels, wood stain, chalk paint in two colors, a foam brush, a paintbrush, antiquing wax, and furniture wax. By incorporating scrollwork and architectural details, we can create unique, distressed-looking corbels that add character and charm to any room. We'll experiment with staining, painting, distressing, and waxing techniques to achieve a vintage look. As we master these techniques, we'll be able to create a shelf that's both functional and beautiful, with a worn, aged appearance that's rich in character – and the best part is, we're just getting started with crafting our own antique corbel shelf.
Key Takeaways
• Create unique antique corbel designs by incorporating scrollwork, architectural details, and distressing techniques for an aged appearance.
• Use wood stain, chalk paint, and antiquing wax to achieve a layered, vintage look on your corbels and shelf.
• Distress your corbels by sanding high points and focusing on areas that naturally show wear, adding age details for authenticity.
• Assemble your shelf by staggering and angling corbels for visual interest, securely attaching the shelf board, and supporting it with wood screws.
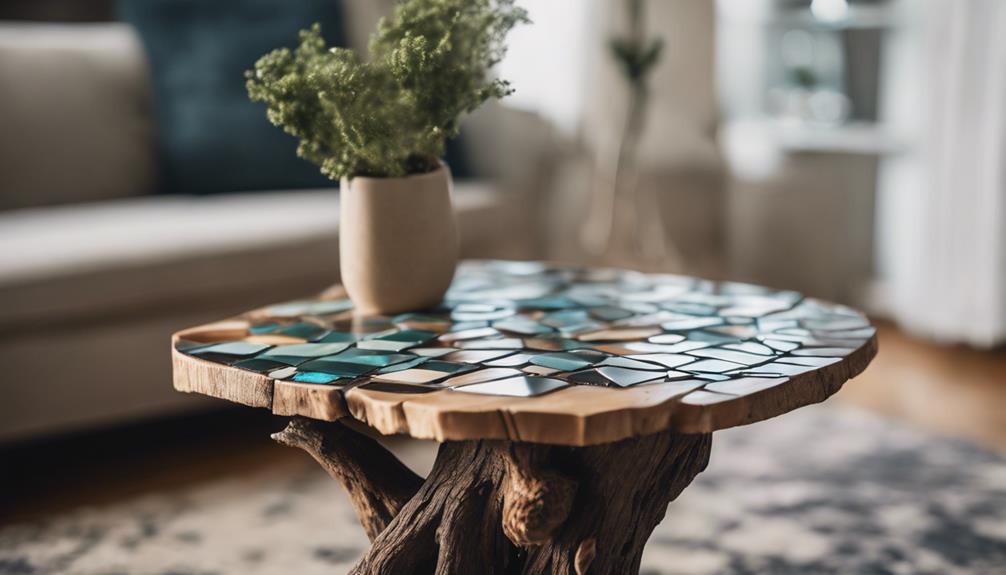
• Style your antique corbel shelf by selecting a cohesive color scheme, mixing vintage and modern elements, and incorporating greenery or flowers.
As an affiliate, we earn on qualifying purchases.
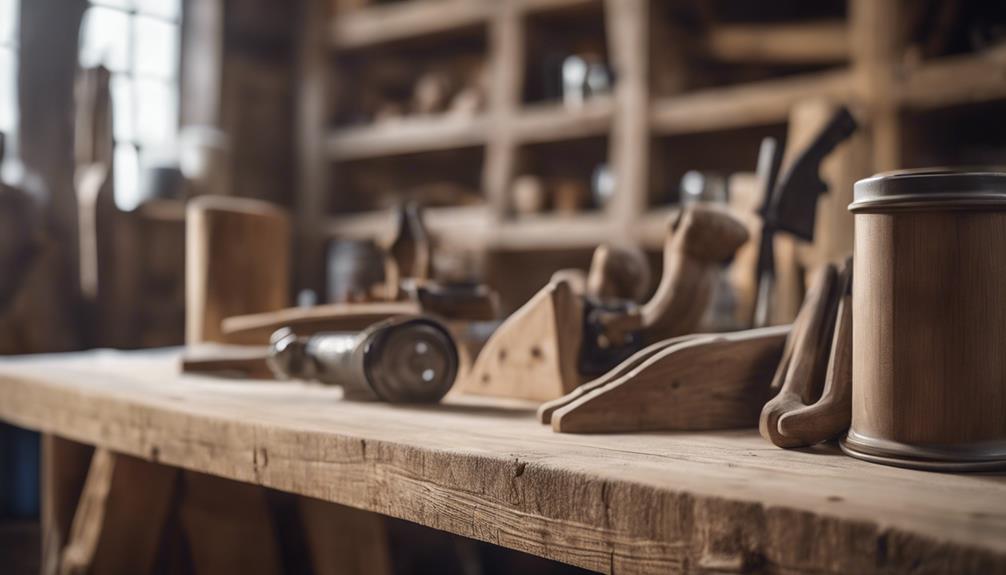
Gathering Essential Materials
We'll need a few essential materials to transform our plain corbels into antique-looking masterpieces. To start, we'll require plain corbels, which will serve as the foundation for our project.
Next, we'll need wood stain to give our corbels a rich, warm tone. For the painting process, we'll use two colors of chalk paint, which will allow us to create a unique, distressed look.
A foam brush will come in handy for applying the stain evenly, ensuring it reaches all areas for a uniform finish. Additionally, a paintbrush will be necessary for applying the chalk paint to the nooks and crannies of the corbels.
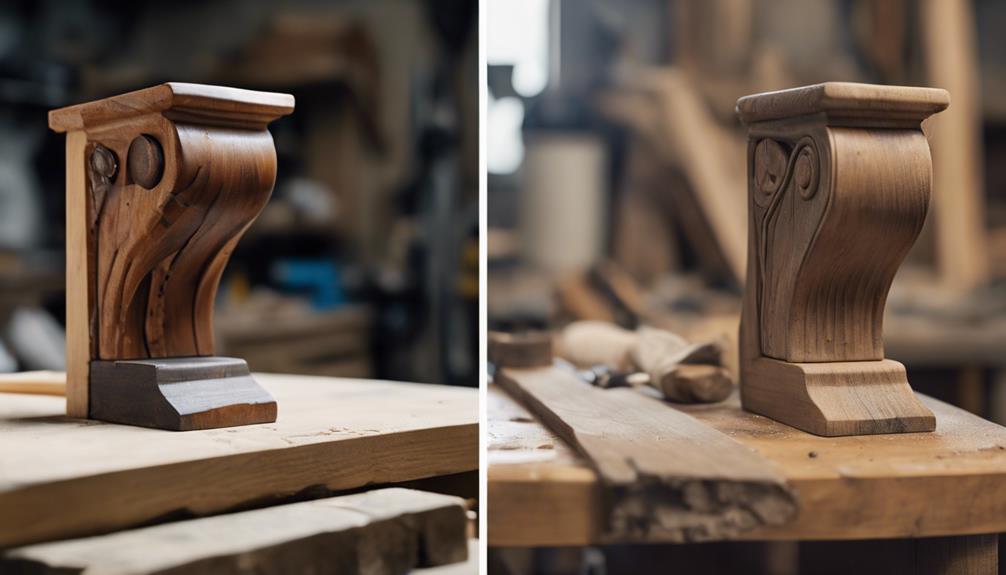
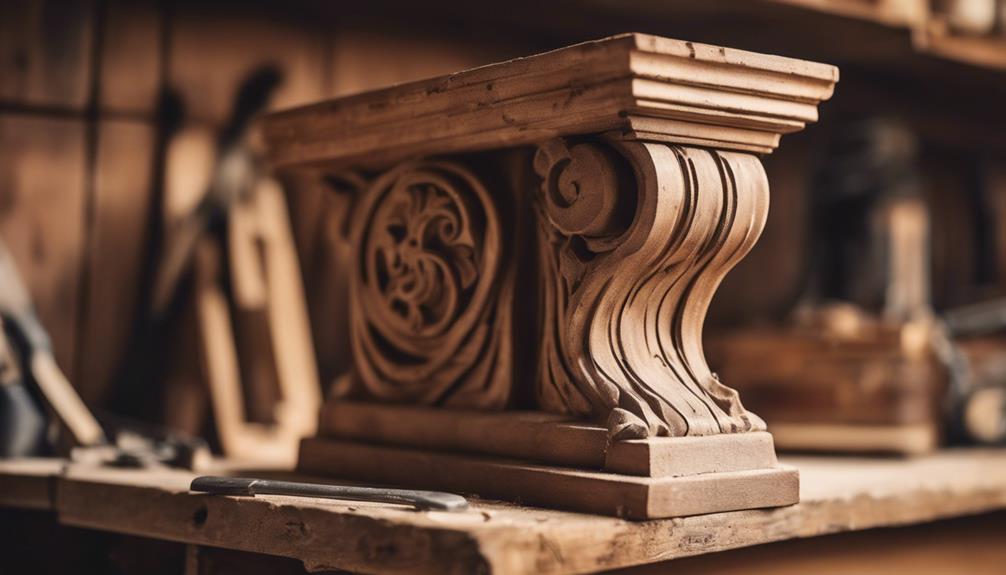
Creating Antique Corbel Design
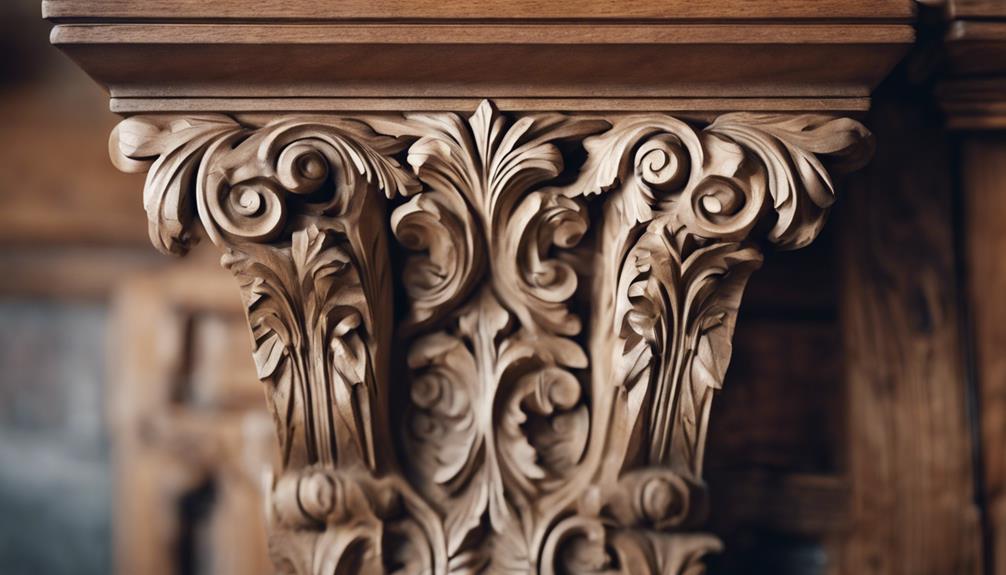
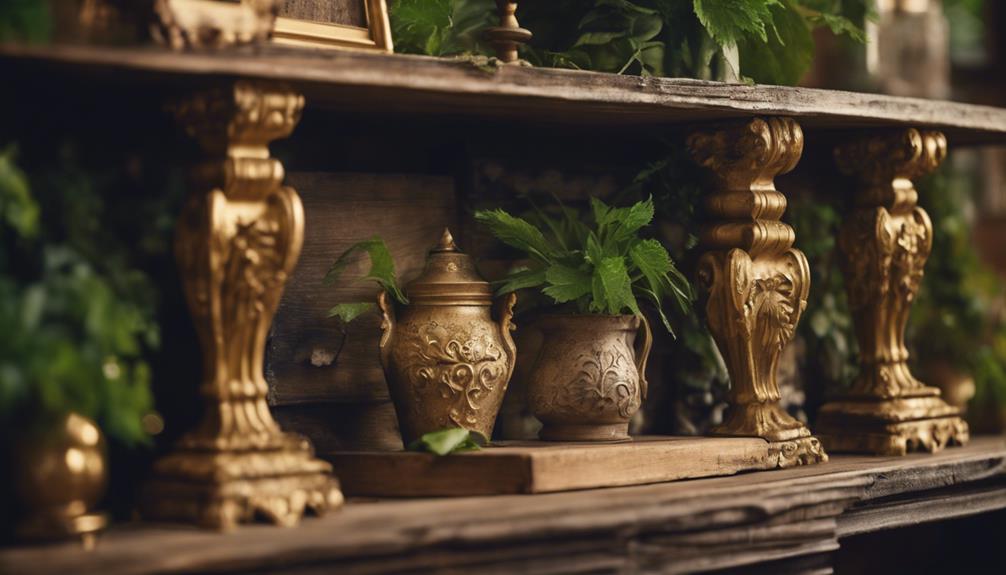
Most antique corbel designs feature intricate scrollwork and architectural details that evoke a vintage charm, allowing us to create a unique, one-of-a-kind look by experimenting with different levels of distressing and paint finishes. To get started, we can choose from various design possibilities, including custom-made corbels that match our specific decor style.
| Design Element | Description |
|---|---|
| Scrollwork | Intricate carvings that add a touch of elegance |
| Architectural Details | Classic motifs that evoke a sense of history |
| Distressing | Artificially aging the corbel for a worn look |
When creating our antique corbel design, we can use a combination of staining, painting, distressing, and waxing to achieve an aged appearance. For an added layer of authenticity, we can apply antiquing wax to accentuate the corbel's intricate details. According to DIY experts, "antiquing wax is a game-changer when it comes to adding depth and character to your corbels." By experimenting with different design elements and techniques, we can create a truly unique and charming antique corbel that adds character to our shelves, mantels, or wall decor.
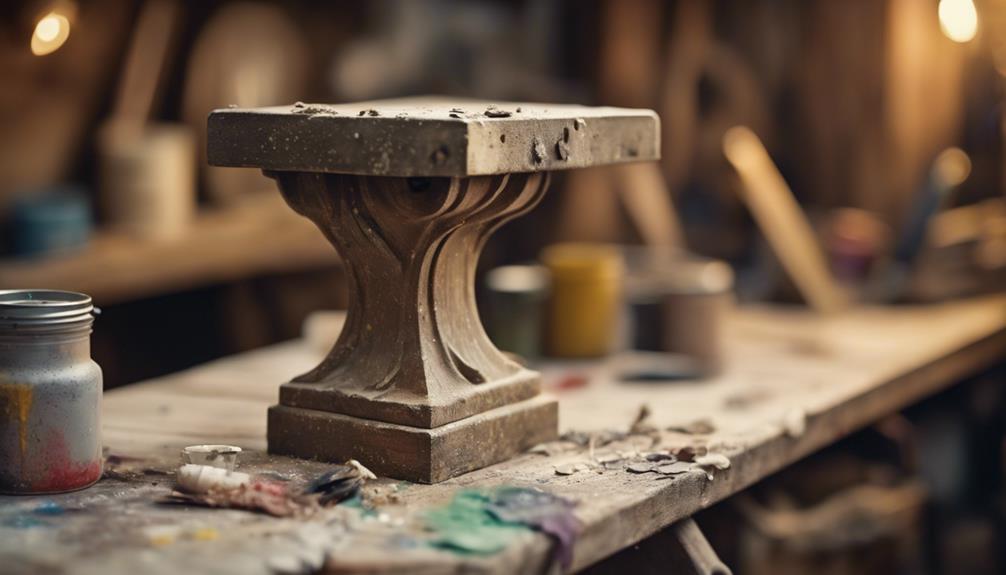
Staining Corbels for Aged Look
By applying wood stain to our corbels with a foam brush, we can achieve a beautifully aged appearance that adds character to our antique design. This process allows us to create a unique, distressed look that's perfect for our antique corbels.
To achieve the desired effect, we need to follow a few simple steps:
- Use a foam brush to apply wood stain to the corbels, making sure to cover the entire surface.
- Wipe off excess stain if desired to control the level of aging effect.
- Apply two colors of chalk or latex paint to the corbels, focusing on creating depth in the nooks and crevices.
- Embrace imperfections and drips in the paint to enhance the antique look of the corbels.
- Consider applying furniture wax to the sanded surfaces of the corbels to deepen colors and add authenticity.
Painting Corbels With Distressed Finish
Now that we've achieved an aged look through staining, it's time to add an extra layer of authenticity to our corbels by painting them with a distressed finish.
To do this, we'll focus on three key points: preparing the surface, distressing the paint, and adding age details, all of which will help us create a truly antique look.
Preparing the Surface
We start by applying a rich wood stain to our corbels using a foam brush, making sure to cover every inch of their surface. We head to Home Depot to pick up the perfect stain that will give our corbels an antique look.
After the stain is dry, we're ready to add some paint. To achieve a distressed finish, we'll apply two colors of chalk or latex paint, focusing on the intricate details of the corbels. We'll embrace imperfections and drips in the paint to give it an authentic antique look.
Here's how we prepare our corbels' surface:
- Apply a rich wood stain to the corbels using a foam brush
- Apply two colors of chalk or latex paint to the corbels, focusing on the intricate details
- Embrace imperfections and drips in the paint for an authentic antique look
- Use a sanding block to distress the painted corbels, focusing on corners and high points
- Consider applying furniture wax to enhance the colors and authenticity of the distressed finish
Distressing the Paint
As we move on to distressing the paint, we'll deliberately introduce imperfections to create a genuinely worn, aged look on our corbels. To achieve this, we'll use a combination of techniques to create a unique, one-of-a-kind finish.
First, we'll apply two colors of chalk or latex paint to the corbels, focusing on the nooks and crannies where dirt and grime would naturally accumulate over time. We'll embrace imperfections and drips in the paint application process, as these will add to the authenticity of our distressed finish.
Next, we'll use a foam brush to apply wood stain to the corbels, ensuring complete coverage. If desired, we can wipe off excess stain to achieve the desired level of antiquing.
Adding Age Details
By applying wood stain with a foam brush, we can infuse our corbels with a rich, aged appearance that hints at generations of wear and tear. To take our corbels to the next level, we'll add some age details that will make them look like they've been plucked straight from an antique shelf.
Here's how we'll do it:
- Apply two colors of chalk or latex paint to the corbels, focusing on crevices and details, and embracing imperfections and drips to enhance the antique look.
- Use a sanding block to distress the painted corbels, focusing on corners and high points, to create a worn, vintage appearance.
- Optionally, apply furniture wax to the sanded surfaces to enhance colors and add authenticity.
- Don't be afraid to get a little messy and creative with the paint and stain – it's all part of the process of creating a truly unique, one-of-a-kind piece.
- Remember, the goal is to create a piece that looks like it's been around for decades, so don't be afraid to experiment and try new things!
Adding Wear and Tear Effects
To create a genuinely vintage appearance, we distress our corbels by strategically sanding areas that would naturally show signs of wear over time. We use a sanding block to create wear and tear effects on corners and high points of the corbels, carefully eliminating any sand bits before moving on to guarantee a smooth distressed look.
By focusing on sanding areas that would naturally experience wear over time, we achieve an authentic, aged appearance. Applying furniture wax after distressing enhances the colors and gives a more aged look to the corbels. However, we avoid waxing the nooks and crannies to maintain the distressed and antique effect. This attention to detail ensures our corbels have a truly vintage charm.
Our goal is to create a distressed, antique look that's both convincing and beautiful. With careful sanding and waxing, we can achieve a genuinely vintage appearance that adds character to our shelf.
Assembling Shelf With Corbels

As we move forward with assembling our shelf, we'll explore the various corbel placement options that can affect the overall aesthetic of our antique-inspired creation.
Next, we'll walk through the shelf assembly steps, ensuring a sturdy and level surface for our decorative pieces.
Corbel Placement Options
We can create a variety of visually appealing and functional shelf arrangements by strategically placing corbels under our shelf. As DIY enthusiasts, we're excited to explore the possibilities of using our handmade antique corbels to add support and style to our shelf. When it comes to corbel placement, the options are endless, and the right approach can make all the difference.
Here are some corbel placement options worth exploring:
- Place corbels directly under the shelf for a classic look and added support.
- Position corbels at both ends of the shelf for balanced support and a traditional aesthetic.
- Stagger corbels along the length of the shelf for an interesting visual effect.
- Angle corbels slightly to create a unique and dynamic display for the shelf.
- Experiment with different spacing options between corbels to achieve the desired look and functionality for the shelf.
Shelf Assembly Steps
With our corbels securely in place, we'll now attach the shelf board to create a sturdy and stylish display. To guarantee stability, we'll use screws or brackets to attach the shelf board to the corbels, taking care to position them evenly and at the desired height.
It's important to double-check our work with a level to make sure the shelf is perfectly horizontal – a slight miscalculation could compromise the entire structure. Once we're satisfied with the shelf's position, we'll sand any rough edges or surfaces to achieve a polished look.
As Akismet would agree, attention to detail is key in DIY projects like this. By taking our time and following these steps, we'll end up with a beautifully crafted shelf that's both functional and visually appealing.
To add an extra layer of authenticity to our antique-inspired creation, we can incorporate decorative accents or antique touches, further enhancing the overall vintage aesthetic.
Supporting the Shelf
Now that our corbels are securely in place, we're ready to attach the shelf board, guaranteeing a sturdy and stylish display. To do this, we'll follow a few simple steps to make sure our shelf is both functional and visually appealing.
Here's what we need to do:
- Attach the corbels securely to the wall using wood screws for support.
- Place the shelf on top of the corbels and secure it in place with screws or adhesive.
- Use a level to confirm the shelf is straight and adjust as needed for proper alignment.
- Consider adding additional decorative elements or molding to enhance the overall look of the shelf.
- Double-check the stability and weight capacity of the shelf before placing any items on it.
Hanging Corbels and Shelf Installation
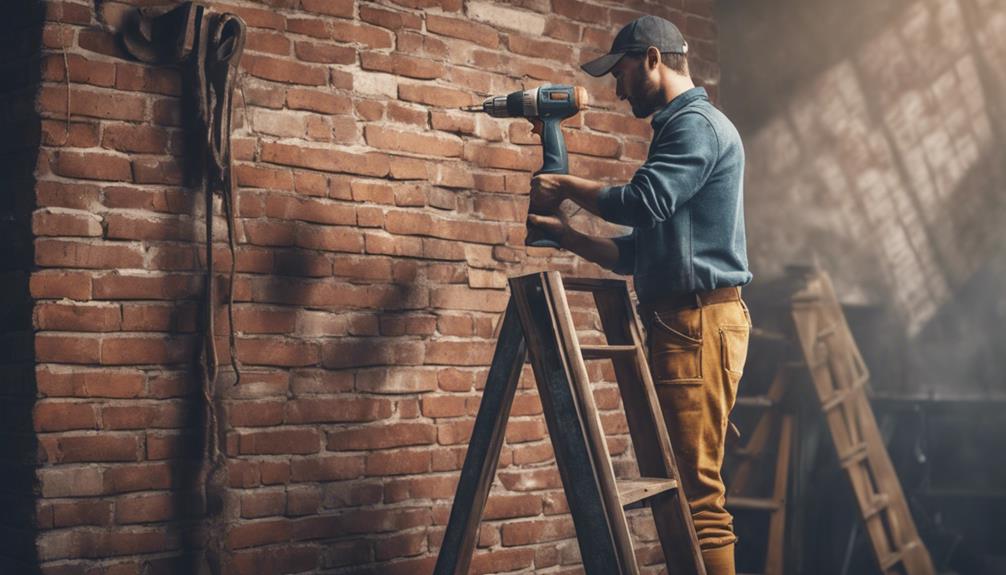
To guarantee a sturdy and level installation, we'll start by determining the ideal position for the interlocking brackets on both the corbels and the wall. This ensures that our antique corbels and shelf are securely fastened, reducing the risk of accidents.
To achieve this, we'll transfer marks between corbels, ensuring accurate installation and proper alignment.
Next, we'll level the shelf using wood shims for added stability. As we hang the corbels and shelf, we'll regularly check and adjust for accuracy as needed. This attention to detail is essential in preventing unevenness and ensuring the shelf remains stable.
By using interlocking brackets, we can confidently hang our corbels and shelf, knowing they're securely fastened.
Our installation process uses Akismet to reduce spam comments, ensuring a seamless experience.
Styling Your Antique Corbel Shelf
As we move on to styling our antique corbel shelf, we're excited to explore the various shelf style inspirations that can elevate the overall aesthetic of our DIY project.
From rustic to modern, we'll examine different styles that can influence our design choices, ensuring our shelf fits seamlessly into our desired decor.
Shelf Style Inspiration
With our antique corbels in place, we can start styling our shelf by selecting a cohesive color scheme that complements the unique character of our handcrafted brackets. This will set the tone for our shelf decor and help us curate a visually appealing arrangement.
To create a stunning antique corbel shelf, we can draw inspiration from the following styling ideas:
- Choose a cohesive color scheme that complements our antique corbels
- Mix vintage and modern elements for a unique and eclectic look on our shelf
- Incorporate greenery or flowers to add a touch of freshness and color to our antique corbel shelf
- Utilize different textures like wood, metal, and fabric to create visual interest on the shelf
- Display a combination of functional items and decorative pieces on our antique corbel shelf for a balanced and curated look
Decorative Accent Ideas
We can elevate the style of our antique corbel shelf by incorporating a mix of decorative accents that add personality and visual interest to our display. By combining different textures, colors, and shapes, we can create a unique and enchanting arrangement.
| Decorative Accent | Description | Visual Interest |
|---|---|---|
| Antique Books | Add a vintage touch with classic literature | Height and texture |
| Vintage Picture Frames | Showcase cherished memories in ornate frames | Visual depth and color |
| Small Potted Plants | Bring life and freshness to the display | Natural beauty and texture |
| Woven Baskets | Add warmth and coziness with natural fibers | Texture and pattern |
| Old Keys and Metal Signs | Incorporate rustic charm with vintage elements | Distressed beauty and story |
We can also experiment with different heights and groupings to create a dynamic and visually appealing display on our antique corbel shelf. By mixing and matching these decorative accent ideas, we can create a one-of-a-kind style that reflects our personality and taste.
Tips for Achieving Vintage Look

To achieve an authentic vintage look, we'll rely on a combination of careful staining, deliberate imperfections, and strategic distressing. By embracing the imperfections, we can create a truly unique and antique-inspired corbel.
Here are some tips to help us achieve that vintage look:
- Use wood stain and two colors of paint to create a layered, worn appearance.
- Apply stain with a foam brush, ensuring complete coverage and wiping off excess for the desired effect.
- Embrace imperfections and drips while painting to enhance the vintage appearance.
- Distress the corbels by sanding corners and high points, mimicking natural wear over time.
- Consider applying furniture wax to sanded areas for added depth and authenticity in the antique finish.
Sealing and Protecting Your Masterpiece
Now that our antique corbels and shelf boast a beautifully distressed, vintage look, it's important we seal and protect them from wear and tear. To do this, we'll apply a durable finish using polyurethane, a reliable choice for shielding our masterpiece from scratches and moisture damage.
We'll need to apply multiple coats, allowing each coat to dry and cure according to the manufacturer's instructions before applying the next. Sanding between coats ensures a smooth, even finish. It's essential to be patient and not rush the process, as polyurethane takes time to fully dry and harden.
By following these steps, we'll guarantee our antique corbels and shelf remain protected and preserved for years to come. As the manufacturer's instructions will attest, 'allowing the polyurethane to fully dry and cure is essential for a durable finish.'
With our corbels and shelf properly sealed, we can confidently display our handiwork, knowing they'll withstand the test of time.
Frequently Asked Questions
How to Make Antique Corbels?
We're curious about creating antique corbels from scratch. To make them, we'll cut, sand, glue, and screw 2×4 lumber together, adding decorative details and finishing touches to achieve that vintage look.
How Do You Use Corbels as Shelf Brackets?
"We're about to reveal the secret to using corbels as shelf brackets – a million times easier than you think! We securely attach them to the wall and shelf, ensuring stability and a vintage vibe that elevates our space."
How to Antique a Wood Shelf?
We're anticking our wood shelf by applying wood stain with a foam brush, then layering chalk or latex paint and sanding for a distressed look, finishing with furniture wax for an authentic aged appearance.
How to Make Simple Shelves?
We're making simple shelves by selecting the right wood, measuring, and cutting it to size. Then, we assemble the shelves using screws or nails, and finally, add a finish like stain or paint for a clean look.
Conclusion
As we step back to admire our handiwork, our antique corbel shelf stands before us, a proof of our creativity and perseverance.
Like a time-worn treasure plucked from the attic of a vintage mansion, our shelf radiates a warm, nostalgic glow, its distressed finish whispering stories of the past.
With every brushstroke, we've carefully crafted an heirloom that will be treasured for generations to come.