
We're excited to create a beautiful springtime garden sphere in just 7 easy steps! First, we'll gather essential materials like outdoor-use concrete mix, a sphere mold, and moss. Then, we'll cover a foam ball with moss, attach faux flowers securely, and add a rustic touch with twine. Next, we'll shape and refine the sphere, adding final decorative touches like LED lights, paint, or glass beads. Finally, we'll hang our sphere in a spot with adequate sunlight and admire our stunning piece of garden decor. As we explore each step in more detail, we'll uncover the secrets to creating a truly unique outdoor feature.
Key Takeaways
• Use a durable outdoor-use concrete mix and maintain the correct water-to-concrete ratio for a sturdy sphere.
• Apply a release agent to the sphere mold for easy removal and create a smooth surface with sandpaper or a wet sponge.
• Achieve a natural look by covering the sphere with a mix of moss types, securing it with pins or nails, and experimenting with different textures.
• Add colorful faux flowers and rustic twine details to create visual interest and a springtime feel.
• Hang the sphere in a spot with adequate sunlight, ensuring secure attachment to prevent swinging or falling.

AUTUMN Sphere Mold for Balls, Concrete Cement Orb, Garden Decor, Diameter 12''
- Application: Reusable durable plastic garden decor mold
- DIY Projects: Create concrete balls and spheres easily
- Dimensions: Produces 12-inch decorative concrete spheres
As an affiliate, we earn on qualifying purchases.
As an affiliate, we earn on qualifying purchases.
Gather Essential Materials
We'll begin by collecting the necessary materials for our springtime garden sphere. This includes a durable, outdoor-use concrete mix, water, a mixing container, a sphere mold, and a release agent. It's crucial to choose a concrete mix that's specifically designed for outdoor use and is durable enough to withstand the elements.
We can either purchase a sphere mold or create our own using a plastic ball as a base. The release agent will guarantee that our sphere can be easily removed from the mold once it's set.
When mixing the concrete, we'll need to get the water-to-concrete ratio just right. If it's too runny, our sphere won't hold its shape, and if it's too thick, it won't be strong enough. We'll aim for a mix that's just right, so our sphere turns out sturdy and beautiful.
With all our materials in hand, we'll be ready to move on to the next step in creating our springtime garden sphere.
Cover Foam Ball With Moss
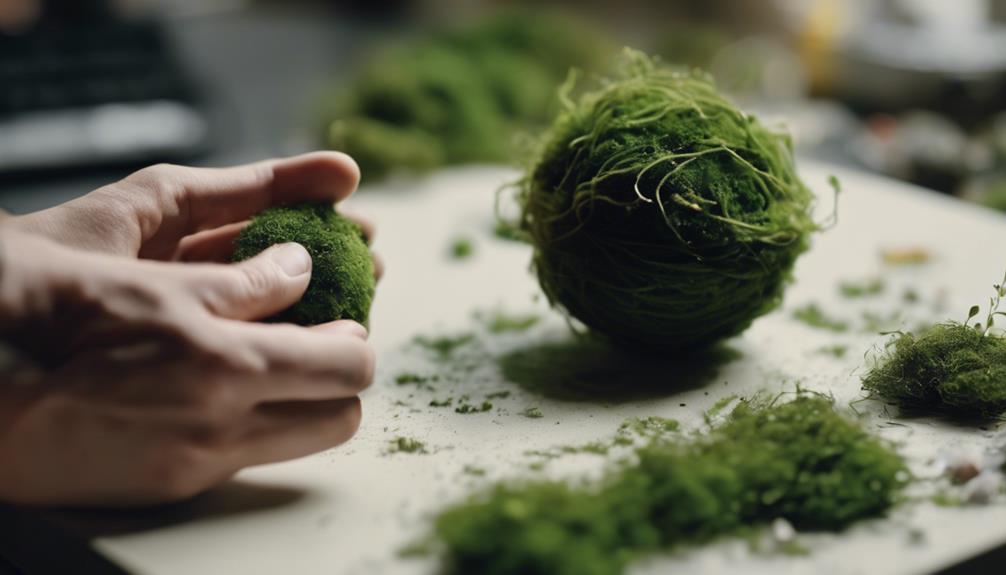
Now that we've our foam ball, it's time to give it a lush, green makeover. We'll cover it with moss, which won't only provide a natural base for our garden sphere but also add texture and visual interest.
Next, we'll explore the best methods for applying moss to our foam ball, including tips for ensuring it adheres properly and stays in place.
Moss Application Tips
How do we achieve a lush, natural look on our garden sphere? The key lies in the moss application process. To start, we select high-quality preserved moss that will give our sphere a natural appearance. Next, we apply a thin layer of glue to the foam ball, making sure to cover the entire surface. This guarantees the moss adheres evenly and securely.
Here are some additional tips to keep in mind:
- Variety is key: Use a mix of moss types to create texture and visual interest on your garden sphere.
- Secure it in place: Use pins or small nails to hold the moss in place, ensuring it stays put over time.
- Complete coverage: Make sure to cover the entire foam ball with moss for a seamless, lush appearance.
Moss Adhesion Methods
We apply a thin layer of hot glue to the foam ball, carefully ensuring that the entire surface is coated, before pressing the moss onto it. This hot glue method provides a secure adhesion, allowing the moss to stick firmly to the foam ball.
To achieve full coverage, we make sure to press the moss onto the glue, making sure to cover every inch of the foam ball. This will give our garden sphere a natural, lush look. We can also experiment with different types of moss to add texture and visual interest to our sphere.
Once we've pressed the moss onto the glue, we gently press it into place, making sure it's securely attached. Then, we let the glue dry completely, allowing the moss to set firmly in place.
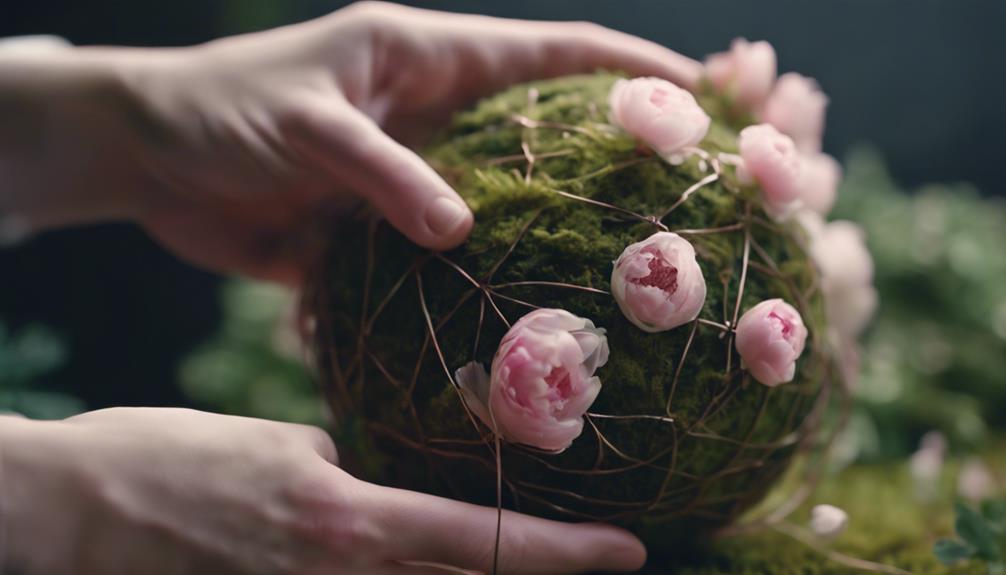
Attach Faux Flowers Securely
Now that we've got our moss-covered sphere, it's time to add some colorful flair.
When choosing flowers, we'll want to select ones that are weather-resistant and suitable for outdoor use, considering factors like durability and color vibrancy.
We'll also explore the best methods for securely attaching these flowers to make certain they stay put and create a lush, beautiful display.
Flower Selection Criteria
As we curate our springtime garden sphere, selecting the right faux flowers is essential to creating a beautiful and durable outdoor decoration. We want our garden sphere to thrive in the outdoors, which means choosing faux flowers that can withstand the elements.
Here are three key criteria to take into account when selecting faux flowers:
- Sturdy stems: Look for faux flowers with sturdy stems that can hold up to wind and rain.
- Weather-resistant: Make sure the flowers are weather-resistant to withstand rain, wind, and sun exposure.
- Colorful and vibrant: Opt for colorful and vibrant faux flowers to add a pop of color to the garden sphere.
Secure Attachment Methods
To guarantee our springtime garden sphere remains beautiful and intact, we'll need to secure our faux flowers using reliable attachment methods that can withstand the outdoor elements. We've selected our flowers, and now it's time to attach them securely to the sphere.
We'll use two reliable methods to make certain our flowers stay in place: floral wire and hot glue. For the floral wire method, we'll wrap the wire around the stem of the faux flowers and twist it around the sphere for a secure hold. This will provide a strong attachment that can withstand wind, rain, and sunlight.
Alternatively, we can use hot glue to attach the flowers. We'll apply a small amount of glue to the base of the flower and press it onto the sphere. The glue will dry quickly, creating a lasting attachment.
For extra reinforcement, we can combine both methods by wrapping floral wire around the stem and then applying hot glue to the base of the flower. By using one or both of these attachment methods, we'll make sure our springtime garden sphere remains stunning and intact, even in the face of outdoor elements.
Add Rustic Touch With Twine
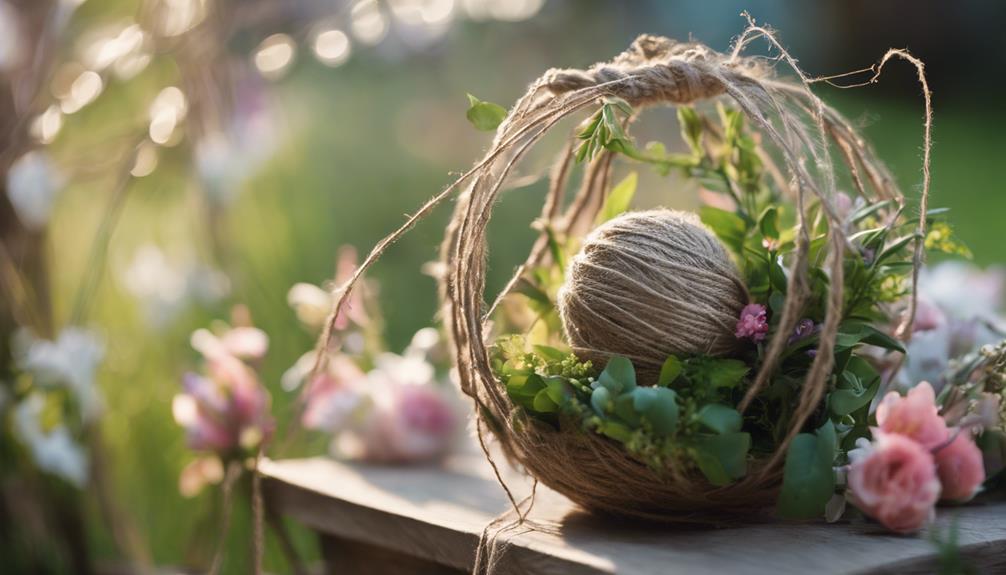
By incorporating twine into our garden sphere design, we can instantly add a charming, rustic touch that complements our outdoor decor. This budget-friendly material is easily accessible and can be used to create a natural, textured look that adds visual interest to our sphere.
Here are a few benefits of using twine in our design:
- Adds rustic charm: Twine's natural, earthy tone creates a cozy atmosphere that's perfect for farmhouse or rustic-themed outdoor spaces.
- Creates texture: Wrapping twine around our sphere adds a tactile element that invites touch and exploration.
- Durable and secure: By fastening the twine with glue or nails, we can make sure our design is durable and long-lasting.
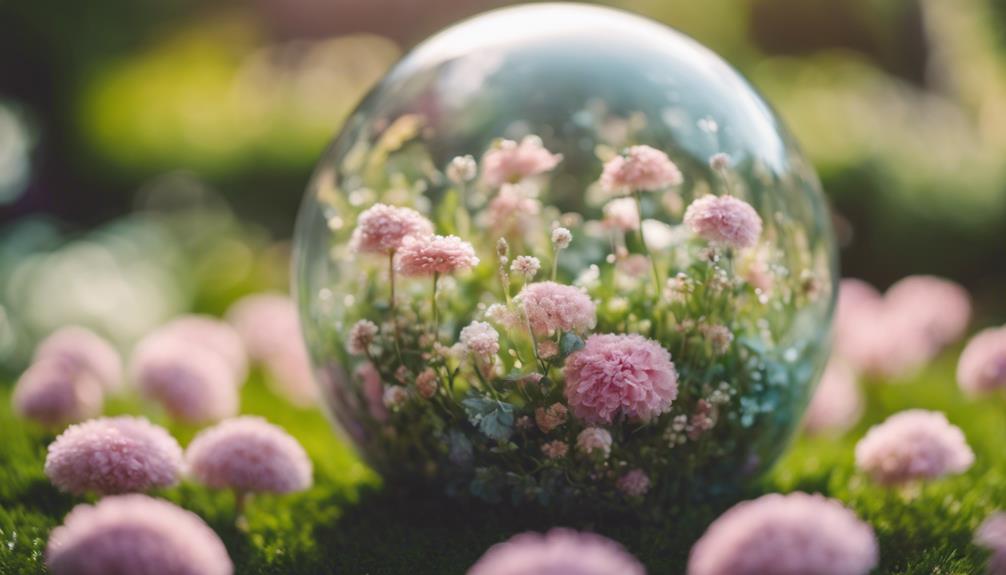
Shape and Refine the Sphere

We shape our garden sphere by using a round mold, carefully selecting one that complements our desired size and aesthetic, such as a glass globe or exercise ball. This helps us create a perfectly round shape, which is crucial for a polished final look.
Next, we refine the sphere by smoothing out any imperfections on its surface using sandpaper or a wet sponge. We take our time, rotating the sphere as we work to guarantee it's symmetrical and well-balanced. This attention to detail makes all the difference in achieving the desired aesthetic for our garden decor.
As we shape and refine the sphere, we're careful not to rush the process. We make adjustments as needed, making sure every aspect of the sphere is smooth and even. By taking our time, we can make a beautiful garden sphere that adds a touch of elegance to our outdoor space.
With patience and attention to detail, we can create a stunning piece that complements our springtime garden.
Add Final Decorative Touches
Our garden sphere is now ready for its final flourishes, and it's exciting to think about the endless possibilities for adding a personal touch. We can customize our DIY garden sphere to reflect our unique style and garden theme.
Here are a few ideas to get us started:
- Add some sparkle: Incorporate LED string lights inside the sphere to create a magical and illuminated effect in the garden at night.
- Get creative with colors: Experiment with different paint colors or finishes like metallic or weather-resistant paints to customize the sphere to our liking.
- Add some texture: Consider adding colorful glass beads, marbles, or mosaic tiles to the sphere for a vibrant and eye-catching look.
We can also attach decorative elements like small metal sculptures, ceramic pieces, or seashells to enhance the sphere's visual appeal.
For a modern and artistic touch, we can opt for a geometric design by using masking tape to create sharp lines or stencil patterns.
With a little creativity, our garden sphere will be a stunning centerpiece in our outdoor space.
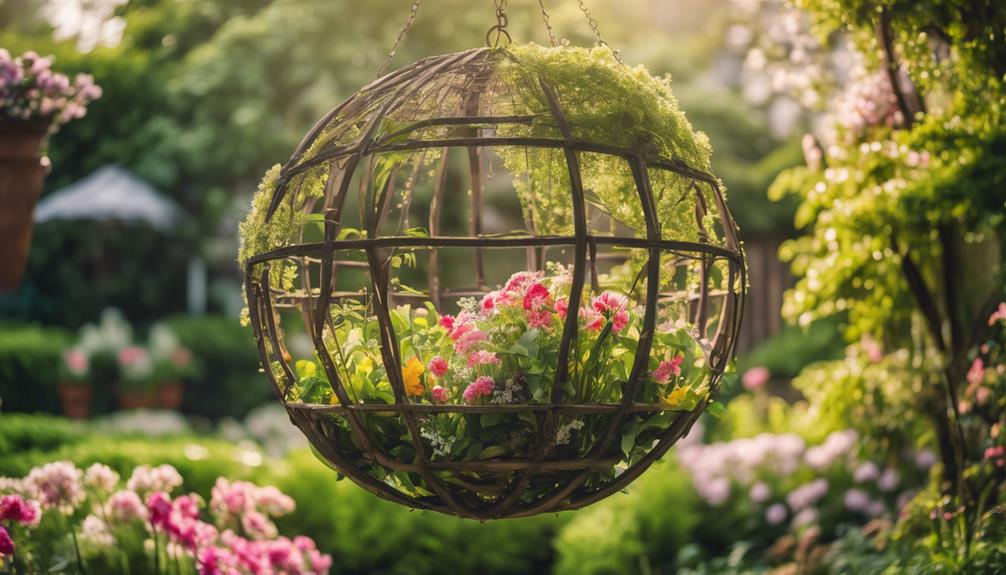
Hang and Enjoy Your Sphere
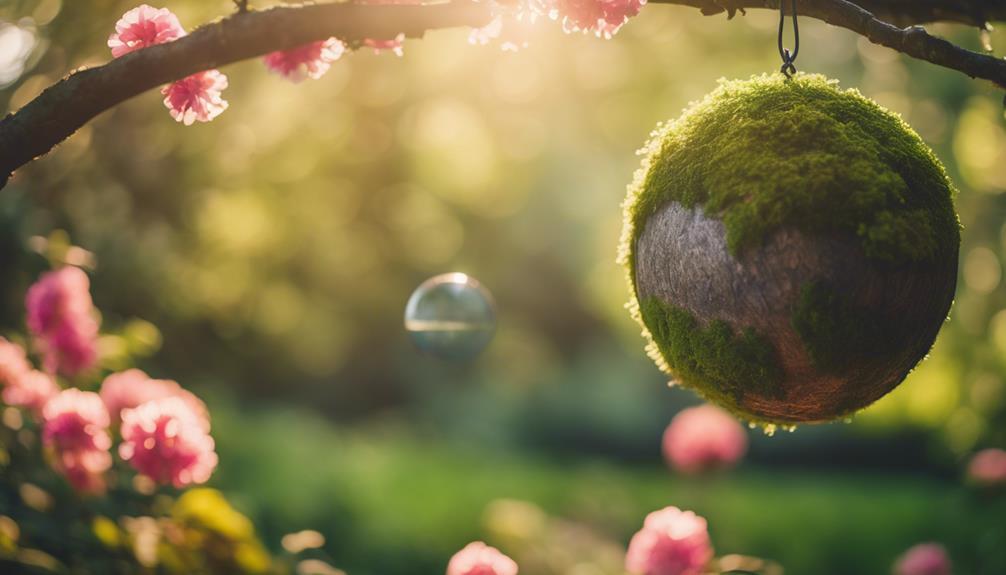
With our garden sphere now complete, it's time to find the perfect spot to showcase our handmade masterpiece. We want to hang it in a location that receives adequate sunlight, which will enhance the visual appeal of our sphere. We can consider hanging multiple spheres at varying heights for a dynamic and eye-catching display.
When selecting a spot, we need to make sure the sphere is securely attached to prevent it from swinging or falling in windy conditions. A sturdy hook or hanger capable of supporting its weight is a must.
Once hung, we can admire our garden sphere from different angles, appreciating the intricate design and play of light. As we walk around it, the sunlight will dance across its surface, highlighting the beautiful details we've added.
Take a moment to step back and enjoy the fruits of our labor. We've created a stunning piece of garden decor that's sure to be a conversation starter. As we admire our handiwork, we can feel proud of the effort and creativity we've invested in our springtime garden sphere.
Frequently Asked Questions
How to Make a Garden Orb?
We're excited to create our own garden orb! To make one, we'll need a few basic materials like wire, a Styrofoam ball, and some decorative elements.
First, we'll shape the wire into a sphere, then attach the Styrofoam ball. After that, we'll add our chosen decorations, such as marbles, pebbles, or moss.
With some creativity and patience, we'll have a beautiful, one-of-a-kind garden orb to enhance our outdoor space.
How to Make a Concrete Globe?
We're about to get our hands dirty, literally! To make a concrete globe, we'll need a mold, a recipe, and some patience.
We can use old lamp globes, plastic ornaments, or rubber balls as molds. Then, we'll mix our chosen cement recipe, fill the mold, and let it cure.
After that, we can get creative with shapes, sizes, and decorative elements like broken glass or resin.
How to Make a Sphere Using Wire?
We're excited to tackle the challenge of creating a sphere using wire. To start, we'll need 14 Gauge Galvanized Steel Wire and some basic tools.
We'll cut and bend the wire into circular shapes, then connect them to form the sphere structure. By adding horizontal wires, we'll create a sturdy globe shape.
Conclusion
As we step back to admire our handiwork, our springtime garden sphere resembles a lush, verdant orb, teeming with life. Like a miniature world, it's a self-contained ecosystem, where moss and flowers thrive in harmony.
We've woven a tiny tapestry of textures and hues, a symphony of green and color that dances in the breeze. Now, as we hang it proudly, our sphere becomes a beacon of spring's promise, a symbol of renewal and rebirth, reminding us that even the smallest creations can bring joy and beauty to our lives.