You're ready to breathe new life into that old dresser collecting dust in your attic. To repurpose it, start by evaluating its condition, structure, and purpose. Develop a plan, gather supplies, and clean and disassemble the hardware. Next, refinish and paint the dresser, swapping old knobs for new hardware. Get creative with the drawers, turning them into shelves, planters, or pet beds. Add a new top or shelves for extra storage, and finish with decorative elements like paint, decals, or wallpaper. With these 7 steps, you'll transform that old dresser into a one-of-a-kind piece that's both functional and unique. Now, discover the specifics to make this transformation a reality.
Key Takeaways
• Evaluate the dresser's condition and purpose to develop a clear plan for repurposing.
• Remove old finish, sand, and apply high-quality furniture paint for a professional finish.
• Swap outdated knobs and handles with new hardware, ensuring secure attachment and an enhanced look.
• Consider creative uses for drawers, such as floating shelves, planters, or pet beds, for unique storage solutions.
• Add a new top, shelves, and decorative elements like knobs, paint, or decals to complete the repurposing project.
Assess and Plan Your Project
Before you start repurposing your old dresser, take a step back and assess its condition, structure, and quirks to determine the best approach for your project. This important step will help you identify potential issues and opportunities, guaranteeing a successful upcycle.
As you evaluate, consider the dresser's purpose and desired style, and develop a clear plan for how you want to repurpose it. Make a list of supplies you'll need to bring your vision to life, and set a realistic timeline for completion. Don't forget to inspect the piece for necessary repairs or disassembly that may be required. Take note of any tools you'll need to have on hand to tackle these tasks.
By taking the time to plan and assess, you'll avoid costly mistakes and achieve a beautiful, functional finished product. Remember to stay flexible, as your plan may evolve as you work through the project.
With a solid plan in place, you'll be ready to embark on the next phase of your upcycling journey.
Prepare the Dresser for Upcycling
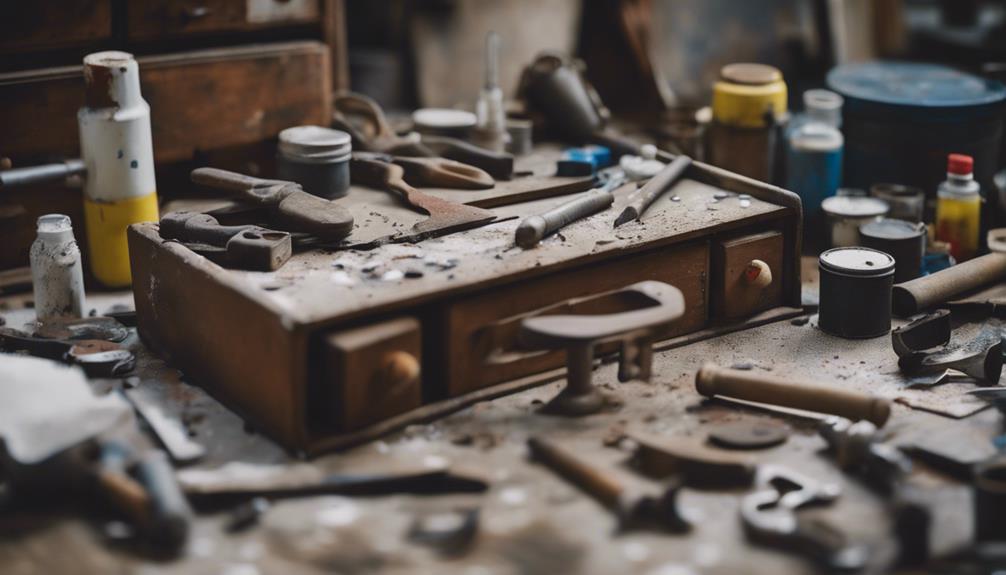
Now that you've assessed and planned your project, it's time to prepare your dresser for upcycling.
You'll want to clean the drawers thoroughly, removing any dust, dirt, or debris that may have accumulated over the years.
Next, disassemble the hardware, including handles and drawer pulls, to give you a clean slate for repurposing.
Clean the Drawers Thoroughly
You'll want to start by removing everything from the drawers and giving them a thorough cleaning to prepare the dresser for its new life. This step is important in repurposing your old dresser, as it sets the foundation for a successful upcycling project.
Begin by emptying the drawers completely, and then use a mild detergent or cleaner to remove any dirt, grime, or residue that may have accumulated over time. Wipe down the drawers with a damp cloth, making sure to clean every nook and cranny. Allow the drawers to dry completely before proceeding to the next step.
As you clean, inspect the drawers for any damage or repairs needed before proceeding with the upcycling process. Check for any cracks, dents, or scratches that may need to be addressed before moving forward. By taking the time to clean and inspect the drawers thoroughly, you'll make sure that your repurposed dresser turns out beautifully and functions smoothly.
Disassemble the Hardware
Remove all hardware, including knobs, handles, and hinges, from the dresser to prepare it for upcycling. This step is important in ensuring a smooth repurposing process. As you disassemble the hardware, keep track of the screws, bolts, and other small parts to guarantee they can be reattached later.
Use a screwdriver or drill to carefully take apart the dresser, taking note of how each piece fits together.
Here are some key tips to keep in mind:
- Place the hardware in a labeled container for safekeeping during the repurposing process.
- Be gentle when removing hinges and other delicate parts to avoid damaging them.
- Take photos or make notes as you disassemble the dresser to help you remember how to reassemble it later.
- Set aside any hardware that's damaged or worn out, and consider replacing it with new pieces.
Sand and Paint the Dresser
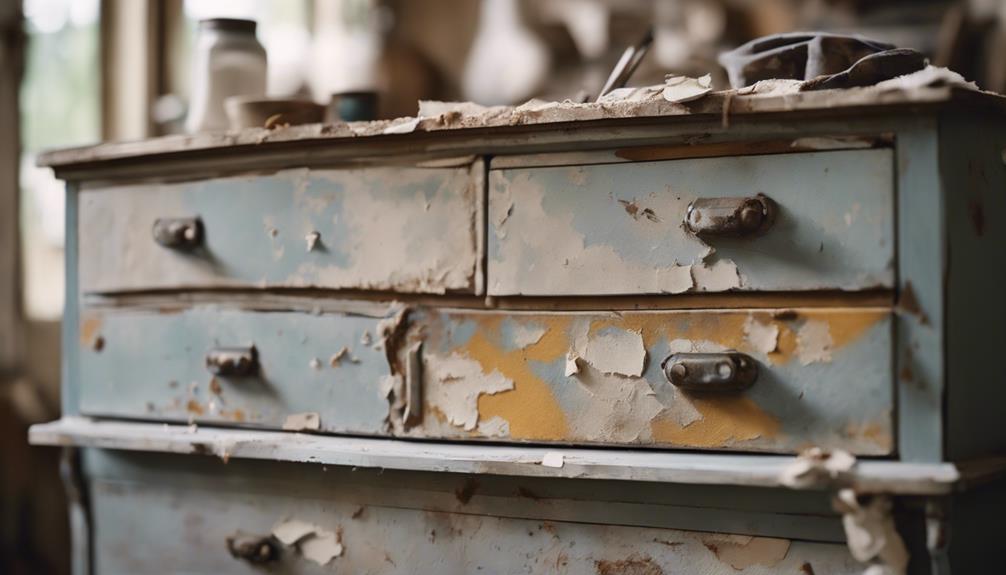
Now that you've prepared your old dresser for upcycling, it's time to give it a fresh new look.
To start, you'll need to remove the old finish, which will allow you to prepare the surface for painting and guarantee a smooth, even application.
Next, you'll choose a new color that suits your style, and get ready to transform your dresser into a one-of-a-kind piece.
Remove Old Finish
Sand away the old finish on your dresser to create a smooth canvas for painting, establishing a strong bond between the new finish and the dresser's surface. This step is vital in preparing your old furniture for its new look. You'll want to remove the old finish to create a fresh start for your repurposing project.
Here are some key things to keep in mind as you remove the old finish:
- Sand your dresser thoroughly to eliminate any imperfections and create a smooth surface
- Use a primer before applying paint to guarantee better adhesion and a longer-lasting finish
- Choose a paint color or finish that complements your desired aesthetic for the repurposed dresser
- Apply multiple thin coats of paint for a professional-looking finish
Prepare for Paint
With your dresser's surface smooth and ready, you can start preparing it for paint by selecting a high-quality furniture paint that will guarantee durability and a professional finish. This is an important step in creating a stunning repurposed dresser, a hallmark of any successful DIY project.
To make sure a flawless paint job, sand the dresser to remove old paint, stains, and imperfections, creating a smooth surface for your new coat of paint. Choose a high-quality paint specifically designed for furniture, which will provide a durable and long-lasting finish. Consider applying a primer before painting to guarantee better adhesion and long-lasting results.
When applying the paint, use a paintbrush or roller for even coverage, paying attention to corners and edges for a clean look. Apply multiple thin coats of paint, allowing each coat to dry completely before adding the next.
Choose New Color
You're prepared to ignite your creativity by selecting a new color that will breathe fresh life into your dresser. This is where the magic happens, and your repurposed storage piece starts to take shape. Choosing a new color can transform the look of your dresser, giving it a fresh, updated appearance that complements your existing decor or adds a pop of color to the room.
Here are some essential considerations to keep in mind when selecting your new color:
- Consider the style and era of your dresser, as well as the room it will be in, to make sure the color you choose fits harmoniously.
- Think about the natural light in the room and how it will impact the color you choose.
- Don't forget to select a high-quality paint and consider using a primer for better adhesion and a smoother finish.
- Remember, this is your chance to get creative and add a personal touch to your repurposed dresser, so have fun with it!
Add New Hardware and Fixtures
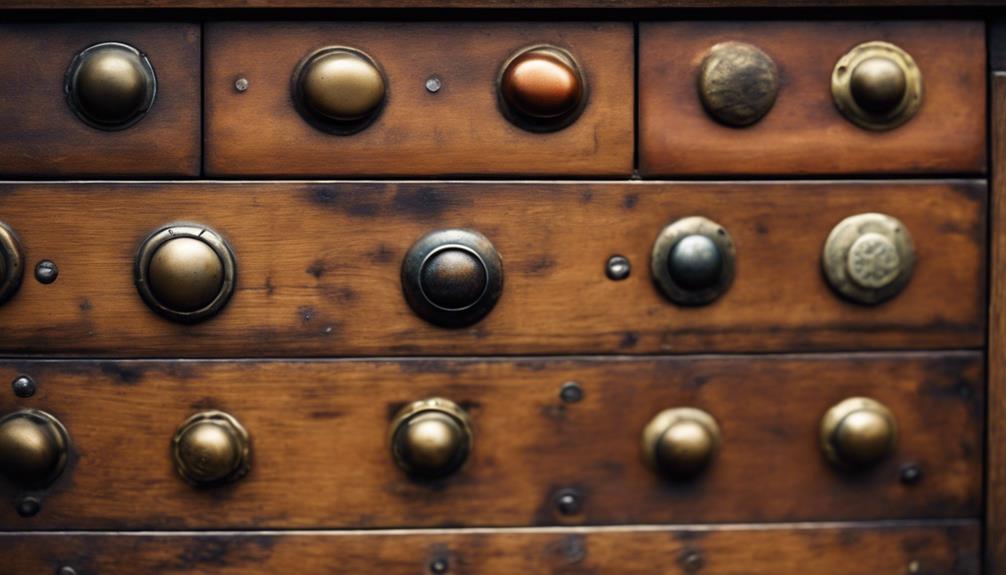
Swap out those outdated knobs and handles for sleek new hardware that complements your dresser's revamped style. This simple update can instantly elevate the design of your repurposed dresser, giving it a fresh, modern look.
When selecting new hardware, choose pieces that complement the color and style of your dresser, ensuring a cohesive finish. Consider adding decorative fixtures like drawer pulls, knobs, or handles to enhance the overall aesthetic.
Not only will these additions enhance the visual appeal, but they'll also provide a secure attachment to the dresser, ensuring functionality and durability. Updating the hardware is an easy way to transform the appearance of your repurposed dresser, giving it a whole new personality.
Repurpose the Drawers Creatively
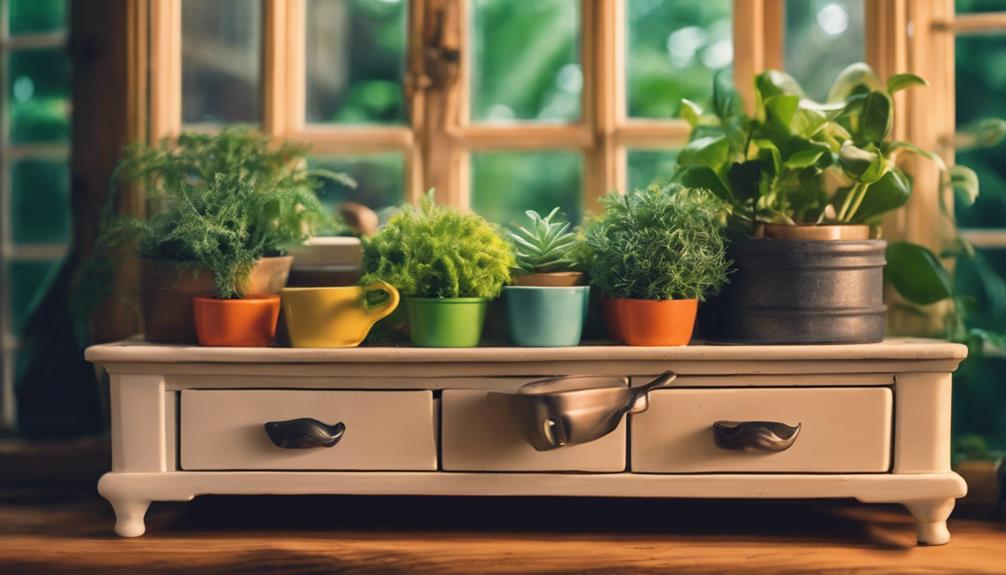
Now that your dresser's hardware is updated, turn your attention to the drawers, which can be repurposed into functional and creative elements that add a unique touch to your space.
You can breathe new life into these drawers and turn them into one-of-a-kind storage solutions or decorative pieces.
Here are some creative ways to repurpose your drawers:
- Consider turning them into floating shelves for wall decor or storage solutions.
- Repurpose them as planters for indoor or outdoor greenery, adding a unique touch to your space.
- Convert them into pet beds or toy storage for your furry friends, utilizing the space efficiently.
- Transform them into shadow boxes or display cases to showcase small collectibles or memorabilia.
Add a New Top or Shelves
With your drawers repurposed, turn your attention to the dresser's main body, where adding a new top or shelves can completely revamp its functionality and appearance. Consider adding a new top to your old dresser to create a different look and functionality. You can choose from various materials such as wood, marble, or glass to suit your style and needs.
Installing shelves in the dresser can help maximize storage and organization. Shelves can be adjustable or fixed, depending on the items you want to store. This will enable you to store items of varying sizes and keep them organized. Here's a breakdown of the benefits of adding a new top or shelves:
| Option | Benefits | Customization |
|---|---|---|
| New Top | Revamped look, increased functionality | Choose from wood, marble, or glass |
| Adjustable Shelves | Maximize storage, adjustable to fit items | Store items of varying sizes |
| Fixed Shelves | Permanent storage, organize items | Fixed storage for specific items |
Add Final Touches and Decorate
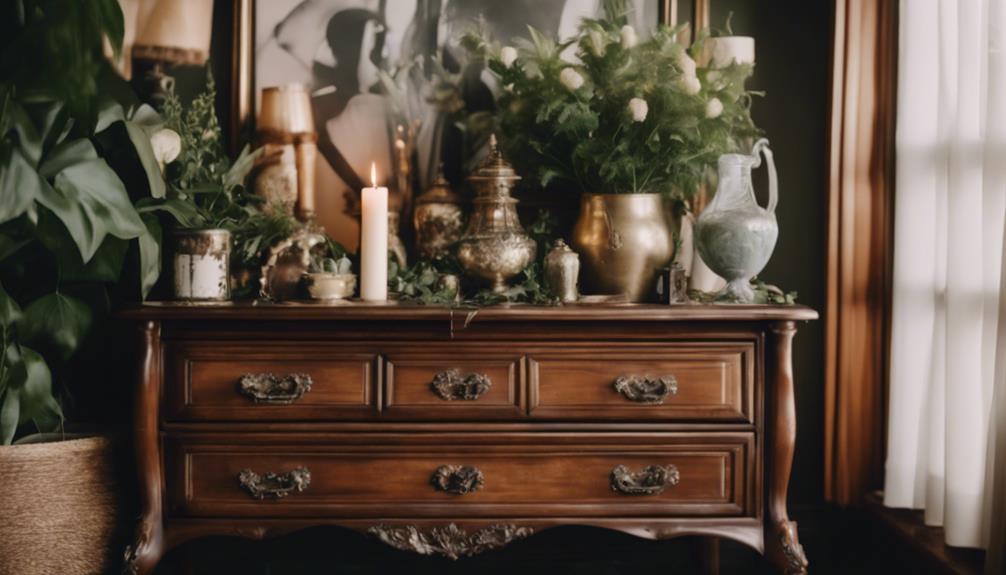
To complete your repurposed dresser, add the finishing touches by incorporating decorative elements that reflect your personal style and complement the surrounding space. You've transformed an old dresser into a new, functional piece, and now it's time to add the final flourishes.
Consider the following ideas to add a personalized touch to your dresser:
- Add knobs, drawer pulls, or trim to enhance the overall look
- Use paint, stencils, or decals to add a design or pattern
- Incorporate functional elements like hooks, baskets, or labels to improve organization and usability
- Utilize wallpaper, fabric, or contact paper to line the drawers or shelves for a pop of color or pattern
These decorative elements won't only add style to your new dresser but also make it a unique reflection of your taste and personality.
By incorporating functional elements, you'll create a space that's both beautiful and functional.
Frequently Asked Questions
How Can I Repurpose an Old Dresser?
You're wondering how to repurpose an old dresser, and the possibilities are endless! Consider transforming it into a functional piece, like a storage bench or bookshelf, to add functionality to your space.
You could also get creative and turn it into a bathroom vanity, pet feeding station, or even outdoor furniture.
Whatever you choose, get ready to breathe new life into an old piece of furniture and give it a fresh purpose.
How to Refurbish an Old Dresser?
As you start refurbishing your old dresser, envision it as a canvas waiting for a masterpiece. You're the artist, and with each stroke of the sandpaper, you're uncovering a new creation.
Remove the hardware, sand down the surface, and apply coats of paint to bring your vision to life. Don't forget to add new hardware or give the old a fresh coat of paint.
With each step, you're transforming a forgotten piece into a work of art that's uniquely yours.
How Do You Jazz up an Old Dresser?
You're looking to jazz up an old dresser, and there are several ways to do so.
Start by giving it a fresh coat of paint in a vibrant color to instantly update its look.
Update the hardware with modern or decorative knobs for a stylish touch.
You could also add wallpaper or contact paper to the drawers or back panel for a unique design.
How to Modernize a Wood Dresser?
To modernize a wood dresser, you'll want to 'freshen up' the finish by sanding down the wood to remove imperfections.
Next, apply a modern coat of paint or stain to give it a contemporary look.
Outdated hardware is a major giveaway of an old dresser, so swap it out with sleek, modern handles or knobs.
Conclusion
With your newly repurposed dresser, you've not only given old furniture a second life, but also infused a piece of your personality into your home. As you step back to admire your handiwork, the once-forgotten dresser now shines like a phoenix risen from the ashes, its revamped beauty a reflection of your creativity and resourcefulness.
The result is a one-of-a-kind masterpiece that not only tells a story but also sparks conversation, adding a touch of warmth and character to any room it inhabits.
