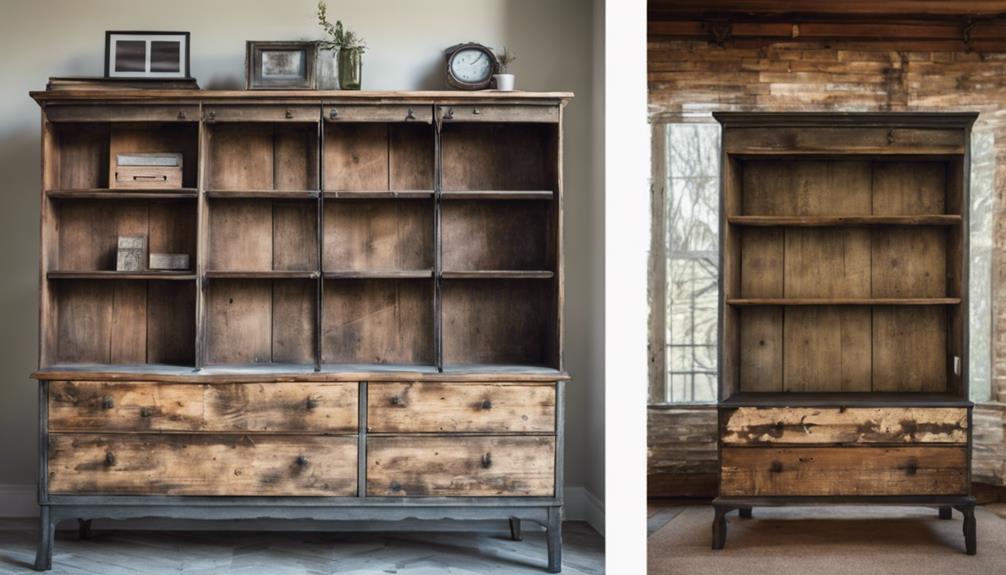

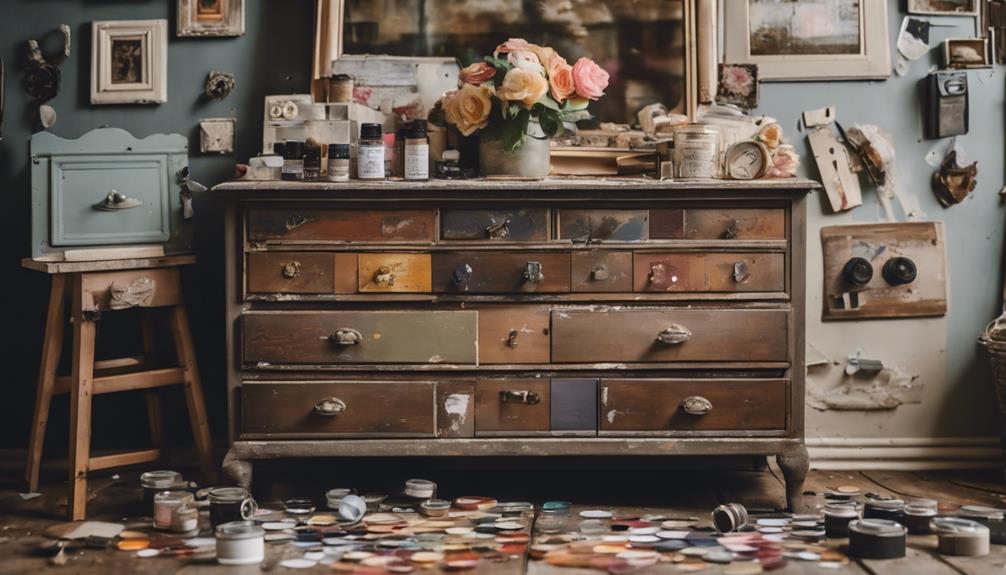
You're ready to upcycle an old dresser into a functional bookshelf that reflects your style. Start by preparing the dresser for transformation, removing top drawer supports and detaching the front to expose the inner structure. Next, measure and cut shelves to fit, ensuring a snug fit and adding cleats or brackets for support. Assemble shelves with hidden holes, add stability with furniture feet, and sand and fill holes for a smooth finish. Paint and decorate to taste, and finally, install and enjoy your new bookshelf. With these 7 steps, you'll be well on your way to creating a unique storage solution that showcases your creativity – and there's more to explore in the world of bookshelf design.
Key Takeaways
• Prepare the dresser for transformation by removing top drawer supports, detaching the front, and exposing the inner structure.
• Measure and cut shelves to fit the inside dimensions of the dresser, adding cleats or brackets for support.
• Assemble shelves with hidden holes using a Kreg Jig to create a seamless look and maximize storage space.
• Add stability with furniture feet to prevent damage, promote airflow, and enhance the overall appearance.
• Sand and fill holes for a smooth finish, preparing the surface for painting and decoration.
wooden bookshelf brackets
As an affiliate, we earn on qualifying purchases.
As an affiliate, we earn on qualifying purchases.
Prepare the Dresser for Transformation
Before you start transforming your dresser into a bookshelf, thoroughly remove the top drawer supports and detach the front of the dresser to expose the inner structure. This will give you a clear view of the drawers and the framework that holds them in place.
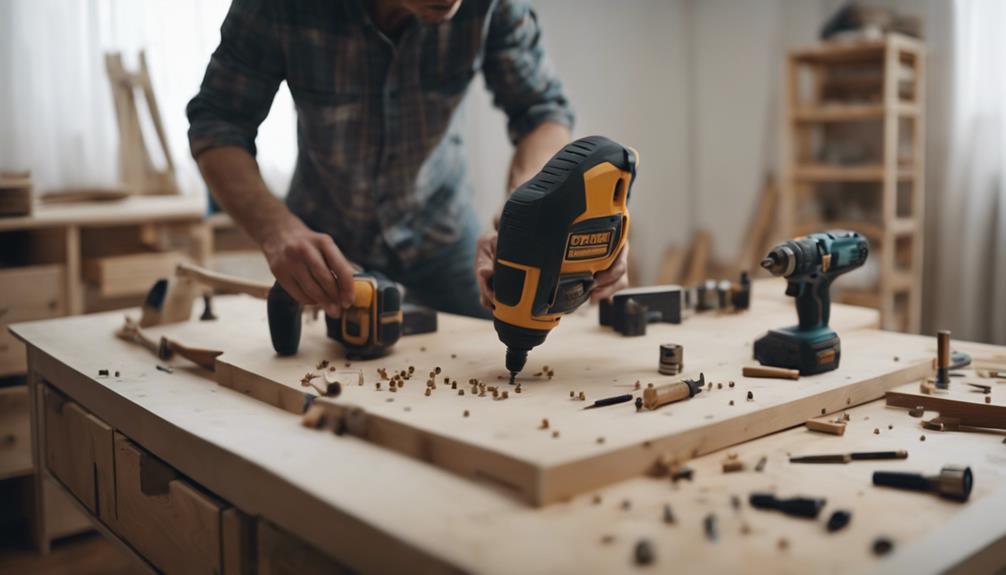
Next, use a Hammer and Chisel to carefully remove any remaining wood pieces that might be obstructing your view or hindering your progress. Be gentle, as you don't want to damage the underlying structure.
As you work, keep in mind that the goal is to create a strong foundation for your future bookshelf. Once you've cleared the area, take a closer look at the inside dimensions of the dresser. This will help you plan your next steps and guarantee a seamless transformation.
upcycled dresser bookshelf kit
As an affiliate, we earn on qualifying purchases.
As an affiliate, we earn on qualifying purchases.
Measure and Cut Shelves to Fit

With the dresser's inner structure exposed and prepared, you're ready to measure and cut the shelves that will bring your bookcase to life. This vital step requires precision to guarantee a snug fit and a sturdy structure.
| Shelf Measurement | Description |
|---|---|
| Width | Measure the inside width of the dresser to determine the shelf width. |
| Depth | Measure the inside depth of the dresser to determine the shelf depth. |
| Length | Cut the shelves to the desired length, ensuring a snug fit inside the dresser. |
Measure the inside dimensions of the dresser to determine the width and depth of the shelves needed for a proper fit. Use a saw to cut the shelves from a sturdy material like wood or plywood, ensuring they match the measurements taken accurately. Consider adding cleats or brackets for shelf support to guarantee stability and weight-bearing capacity for books or other items. Double-check measurements before cutting to avoid errors and ensure a precise fit for the shelves inside the dresser. With the shelves cut to size, your bookcase is taking shape, and you're one step closer to having a beautiful, functional piece of furniture in good shape.
Kreg Jig for shelves
As an affiliate, we earn on qualifying purchases.
As an affiliate, we earn on qualifying purchases.
Assemble Shelves With Hidden Holes
Using a Kreg Jig, you create hidden pocket holes in the shelves, guaranteeing a secure and sleek attachment inside the dresser. This clever technique allows you to repurpose your dresser into a functional bookshelf without compromising its aesthetic appeal.
By creating hidden holes, you can attach the shelves seamlessly, eliminating the need for visible screws or hardware. This not only enhances the overall appearance of your repurposed dresser but also makes it easier to adjust or remove shelves as needed.
When assembling the shelves, make sure you've taken precise measurements to secure a snug fit within the dresser. This will provide stability and prevent the shelves from shifting or collapsing.
As you transform your dresser into a bookshelf, the hidden hole assembly method will prove to be a game-changer. With this technique, you'll be able to maximize storage space while maintaining the dresser's original charm. Your repurposed dresser turned bookshelf will be a tribute to your creativity and resourcefulness.
furniture feet for stability
As an affiliate, we earn on qualifying purchases.
As an affiliate, we earn on qualifying purchases.
Add Stability With Furniture Feet
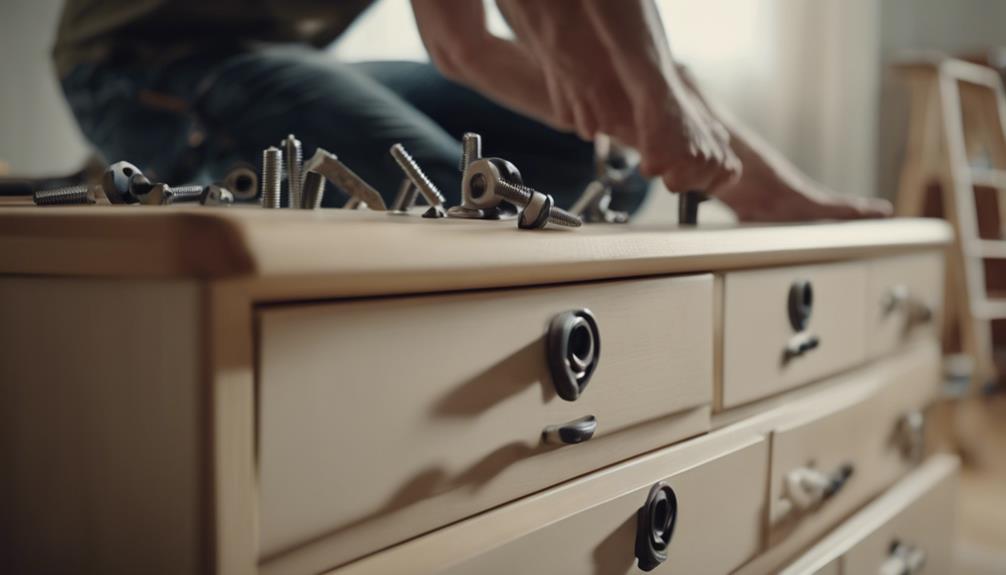
You can greatly enhance the stability of your repurposed dresser bookshelf by attaching furniture feet to its legs. This not only prevents damage to the bottom but also promotes better weight distribution. This is especially important for an old dresser, which may have worn-out legs or uneven floors that can cause it to wobble.
By raising the bookshelf off the ground, furniture feet guarantee proper airflow and prevent moisture damage. Additionally, they come in various styles and materials, allowing you to choose the perfect fit for your repurposed dresser's aesthetic.
Installing furniture feet is a simple and effective way to enhance the overall look and functionality of your dresser bookshelf. It's a critical step in transforming an old dresser into a sturdy and reliable bookshelf. With the right furniture feet, you can rest assured that your bookshelf will remain stable and secure, providing a safe haven for your treasured belongings.
Sand and Fill Holes for Smooth Finish
When you proceed with transforming your dresser into a bookshelf, it's crucial to guarantee a smooth finish by filling holes and sanding the surface.
You'll need to focus on completely filling holes and sanding for smoothness to achieve a professional-looking result.
Filling Holes Completely
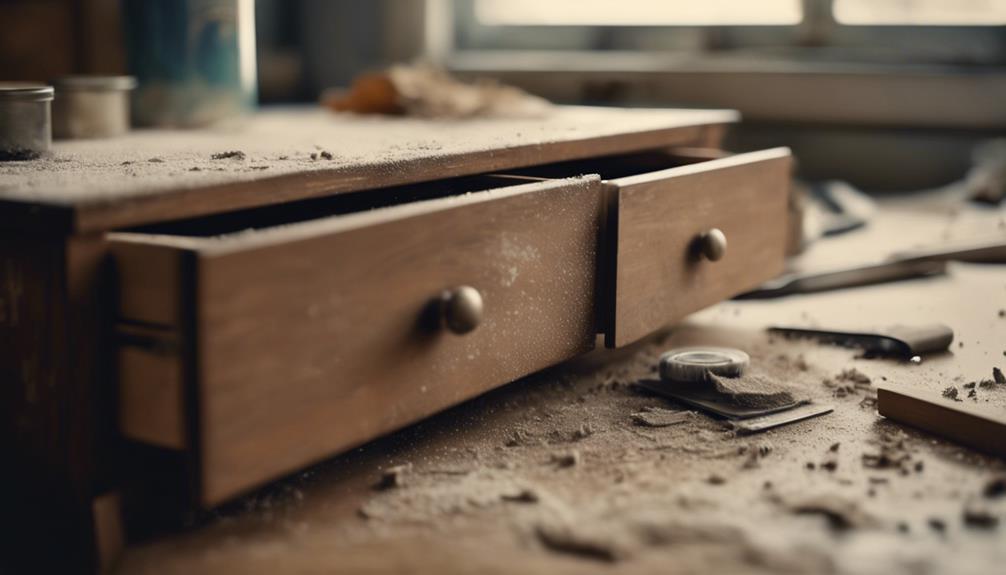
After removing all the hardware, it's essential to fill the resulting holes completely to maintain a smooth finish. A great transformation requires filling holes entirely to achieve a seamless look.
To guarantee a smooth surface, follow these essential steps:
- Use medium grit sandpaper to smooth out the surface around the holes in the dresser.
- Make sure all holes are entirely filled with wood filler to create a seamless finish.
- Sand the filled holes again to blend them with the surrounding wood for a uniform appearance.
- Pay attention to details and take your time to achieve a professional-looking result.
Sanding for Smoothness
With your orbital sander loaded with 80 grit sandpaper, tackle the dresser's surface, filling in any holes or imperfections with wood filler to create a seamless and smooth finish. This vital step is all about sanding for smoothness, guaranteeing your turned dresser-turned-bookshelf looks professional and polished. As you sand, focus on removing old finishes, rough patches, and imperfections, preparing the surface for painting.
To achieve a flawless finish, sand all surfaces, edges, and corners of the dresser thoroughly. Pay particular attention to areas that need extra attention, filling in holes with wood filler as needed. Smooth out any rough areas to ensure a clean appearance after painting.
| Sanding Tips | Benefits | Tools Needed |
|---|---|---|
| Use 80 grit sandpaper | Removes old finishes | Ryobi orbital sander |
| Fill holes with wood filler | Creates seamless finish | Wood filler |
| Sand all surfaces | Ensures polished look | Sandpaper, orbital sander |
Paint and Decorate to Taste
You can now express your creativity by painting and decorating your bookshelf to match your personal style and home decor. This is where you get to have fun and bring your vision to life.
When it comes to painting, remember to:
- Choose a paint color that complements your decor scheme, such as a soft blueish/grayish mix for a calming effect.
- Consider adding decorative elements like trim, stencils, or decals to personalize the bookshelf.
- Use a durable paint finish to guarantee longevity and easy maintenance.
- Incorporate knobs or handles that match the overall aesthetic, enhancing the visual appeal.
Install and Enjoy Your Bookshelf

Now that your bookshelf is built and decorated, it's time to put the finishing touches on your project.
You'll want to make sure that your bookshelf is stable and secure, and that it's customized to fit your personal style.
As you install and enjoy your new bookshelf, consider the final touches you can add to make it truly special.
Final Touches
Once the shelves are securely attached, take a step back to admire your handiwork and prepare to add the finishing touches to your one-of-a-kind bookshelf. You've worked hard to transform an old dresser into a functional and stylish bookcase, and it's time to enjoy the fruits of your labor.
Before you start loading up your new bookshelf, take a few moments to add some final flourishes. Here are a few ideas to get you started:
- Sand and prime all pieces to prepare for painting and finishing touches.
- Apply a few coats of paint in your desired color scheme for a polished look.
- Confirm a snug fit by dry fitting the shelves into the dresser before final installation.
- Secure the shelves in place using wood screws and Gorilla Wood Glue for stability.
With these final touches, you'll be ready to fill your bookshelf with your favorite books, decorative items, and mementos. Remember to comment below and share your DIY dresser-to-bookshelf project with us!
Don't forget to use Akismet to reduce spam and learn how your comment will be moderated. Happy DIY-ing with your dresser-turned-bookshelf!
Bookshelf Organization Tips
With your dresser-turned-bookshelf finally complete, it's time to focus on organizing your new storage space efficiently. You've successfully repurposed the drawer fronts into a functional bookshelf, and now it's time to maximize its potential.
When it comes to bookshelf organization, adjustable shelves are a game-changer. They allow you to accommodate books of various sizes and heights, ensuring efficient use of space. Consider organizing your books by genre, author, or color to create a visually appealing display.
You can also utilize baskets or bins to store small items like bookmarks, notepads, or reading glasses for easy access. Don't forget to incorporate decorative elements like plants, bookends, or framed photos to personalize your bookshelf.
Frequently Asked Questions
Can You Turn a Dresser Into a Bookshelf?
You're wondering if you can turn a dresser into a bookshelf? Absolutely, you can!
With some creativity and elbow grease, an old dresser can be repurposed into a functional bookshelf.
How to Make Shelves Out of Dresser Drawers?
Ironically, you're thinking of turning those outdated dresser drawers into shelves – genius!
To make shelves out of dresser drawers, you'll need to remove hardware, fill holes with wood putty, and sand the surface.
Measure the inside dimensions to determine the shelf width, then use a Miter Saw and Kreg Jig to cut and attach the shelves with hidden pocket holes.
Voilà! You'll have functional shelves perfect for tight spaces or creative decor.
How to Repurpose a Dresser Drawer?
You're looking to repurpose a dresser drawer, and you're wondering where to start. Begin by removing all hardware and filling any holes with wood putty.
Then, give the drawer a thorough sanding to prepare it for its new life. By doing so, you'll create a smooth surface for your new shelf. This vital step will guarantee a seamless transformation, allowing you to get creative with your upcycling project.
How Do You Upgrade a Boring Dresser?
As you gaze at your dresser, envision a canvas waiting for a masterpiece. Upgrading a boring dresser is an opportunity to express your creativity.
You can revitalize its look by repainting it a fresh color, swapping out knobs and handles for a modern twist, and adding decorative trim to give it a polished finish.
Conclusion
You've successfully transformed a dresser into a bookshelf, breathing new life into a discarded piece of furniture. Like a phoenix rising from the ashes, your creativity and perseverance have given birth to a functional work of art.
As you fill the shelves with beloved books and treasures, remember that sometimes the most beautiful transformations come from seeing the potential in the discarded and forgotten.