When we stumble upon thrifted treasures, the real magic happens when we upcycle them with paint. We scour thrift stores for quality materials like solid wood, ceramic, or glass, checking for structural integrity and uniqueness. After thorough cleaning and light sanding, we prime and paint our finds, choosing the right type for the project. We master basic brushstroke methods, experiment with decoupage, and distress for a vintage look. Finally, we seal our masterpieces with topcoats and add embellishments for a polished finish. With a little creativity, our discarded treasures transform into one-of-a-kind decor pieces that reflect our personal style, and the best part? There's even more to explore.
Key Takeaways
• Hunt for hidden gems with quality materials like solid wood, ceramic, or glass at thrift stores for upcycling projects.
• Thoroughly clean and lightly sand surfaces for better paint adhesion and a professional finish.
• Choose the right paint type for the project, considering options like chalk, acrylic, milk, or spray paint for durability.
• Master basic brushstroke methods and experiment with different effects, such as layering and blending, for a unique look.
• Seal upcycled pieces with a topcoat for protection and durability, following manufacturer's instructions for a polished appearance.

Furniture Refinishing Made Simple: A Beginner’s Step-by-Step Guide to Repairing, Sanding, Painting, Staining, Sealing, and Upcycling Wood Furniture for Your Home
As an affiliate, we earn on qualifying purchases.
As an affiliate, we earn on qualifying purchases.
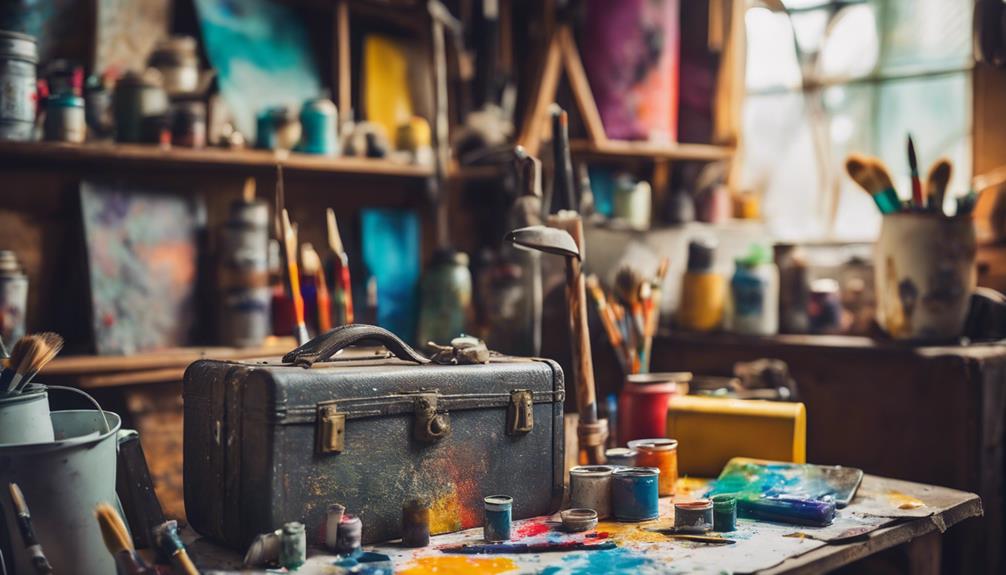
Thrift Store Hunting 101
As we venture into the world of thrift store hunting, we're on the lookout for hidden gems that can be transformed into one-of-a-kind masterpieces with a fresh coat of paint. When we're thrift store hunting, we're not just browsing for anything that catches our eye; we're on a mission to find quality materials that will take our upcycling project to the next level. We're looking for solid wood, ceramic, or glass items that have the potential to be reborn with a new look.
We're checking for structural integrity, making sure the item is functional and in good condition, so we can envision the before and after. The idea of painting and transforming these thrifted treasures into personalized decor pieces is what drives us. We're not limited by the original design; we're going to paint and reimagine it to fit our unique style.
As we hunt, we're considering the size and scale of the item, ensuring it fits our space and vision. By keeping an open mind and thinking outside the box, we can stumble upon one-of-a-kind finds that will make our upcycling project truly special.
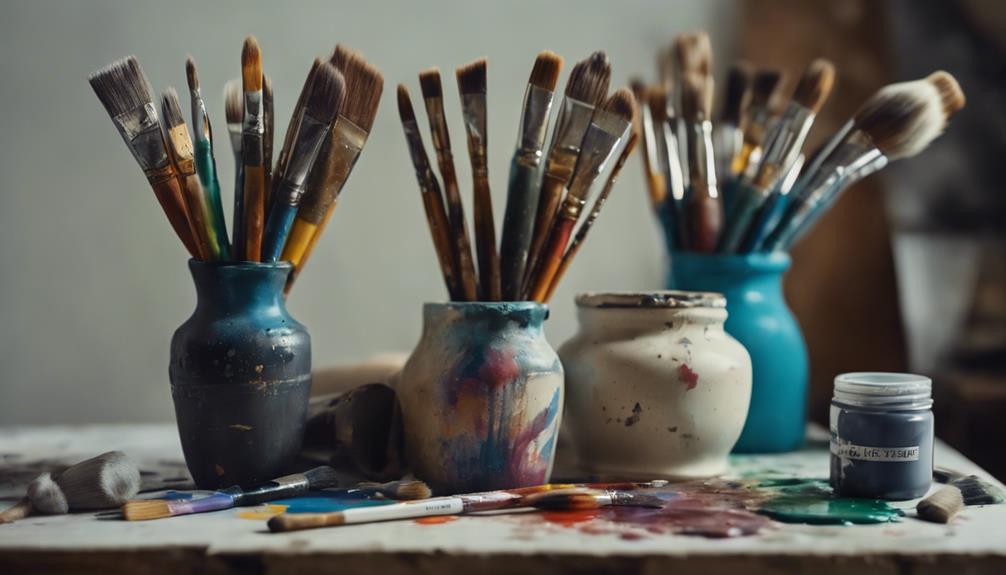
Preparing Your Treasure for Paint
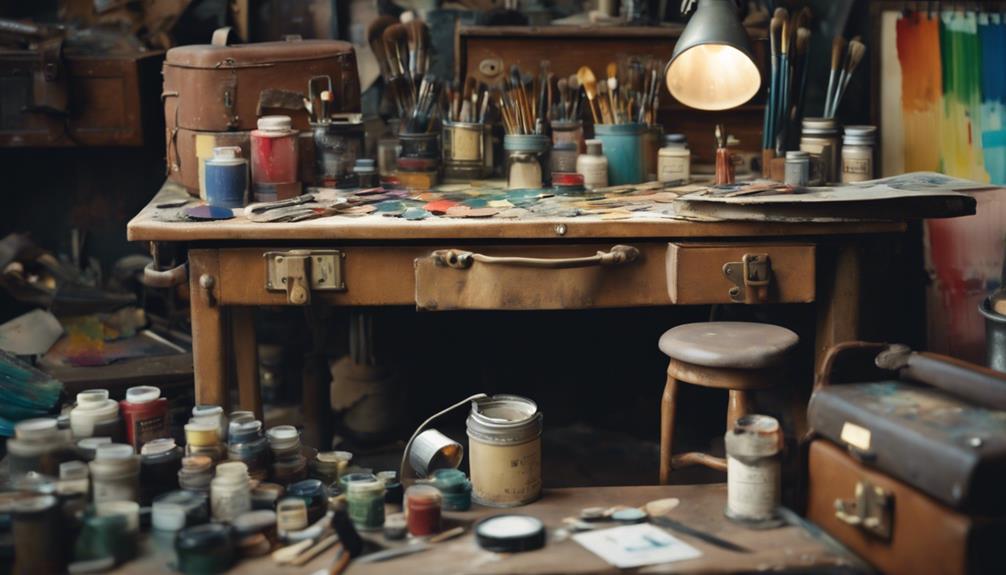
We've curated our thrift store finds, and now it's time to get our treasures ready for their makeover, starting with a thorough cleaning to remove any dirt or grime that might interfere with the paint. Going through this process is absolutely necessary to guarantee a professional finish.
We needed something more than just a quick wipe-down, so we grabbed some soap and water to give our treasures a good scrub.
Here are the essential steps to prepare our treasures for painting:
- Clean thoroughly: Remove dirt and grime with soap and water to prevent interference with paint adhesion.
- Sand lightly: Create a rough texture for better paint adhesion on surfaces like wood, metal, or plastic.
- Prime if needed: Apply a primer to guarantee the paint sticks well to different materials.
- Dry completely: Allow each coat of paint to dry completely before applying the next layer for a lasting result.
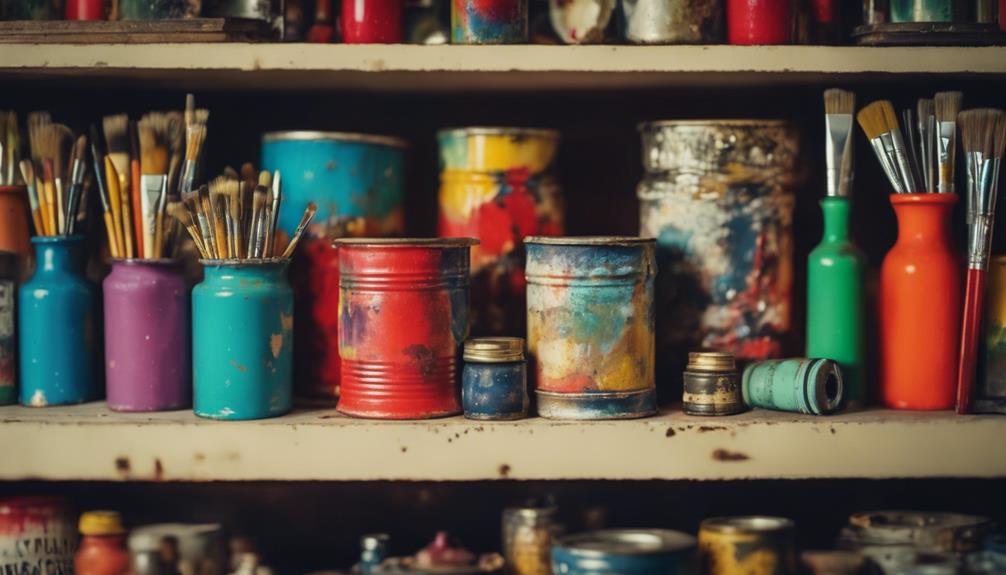
Choosing the Right Paint Type
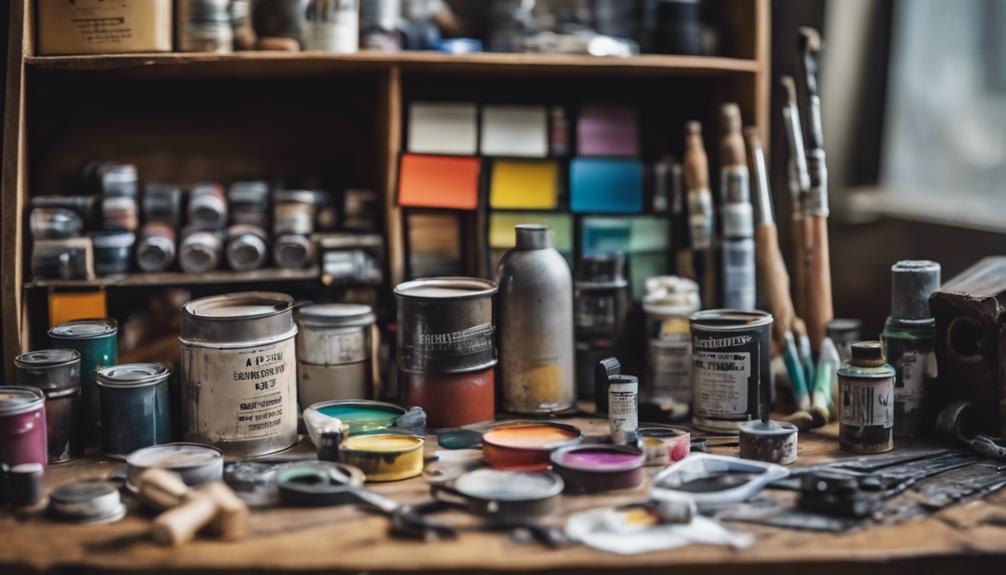
When delving into the world of upcycling thrifted treasures with paint, we need to explore the various paint types that can help us achieve our desired look.
From matte finishes to glossy coats, the right paint type can make all the difference in transforming our finds into unique masterpieces.
Paint Finish Options
When it comes to upcycling thrifted treasures, selecting the right paint type can make all the difference in achieving the desired look and durability. We want to make sure we choose a paint that not only enhances the appearance of our finds but also withstands the test of time.
One thing we need to contemplate is the finish we want to achieve. Do we want a matte, vintage look or a glossy, modern finish?
Here are some paint finish options to contemplate:
- Chalk paint for a matte, vintage look on thrifted treasures.
- Acrylic paint for a durable, glossy finish on upcycled items.
- Milk paint for a classic, time-worn appearance on repurposed decor pieces.
- Spray paint for a quick and even application on a variety of surfaces.
Best Paint Brands
Generally, we stick to popular paint brands like Annie Sloan Chalk Paint, Fusion Mineral Paint, and Dixie Belle Paint that cater specifically to furniture and decor projects, ensuring durability and excellent coverage.
When it comes to upcycling thrifted treasures, we want paints that can deliver on quality and performance. I'm going to emphasize that selecting the right paint type is vital, as it can make or break the entire project.
We've found that these popular brands offer a range of finishes, from matte to modern, and are designed to adhere well to different surfaces. Whether you're going for a vintage look with chalk paint or a sleek finish with mineral paint, these brands have got you covered.
Painting Techniques for Beginners

As we explore the world of upcycling, we're excited to share our favorite painting techniques for beginners, which will help us reveal the full potential of our thrifted treasures.
From mastering basic brushstroke methods, such as smooth strokes and textured sweeps, to grasping essential color theory tips, like the 60-30-10 rule, we'll discover how to bring our creations to life.
Basic Brushstroke Methods
We explore the world of basic brushstroke methods, where mastering a few fundamental techniques can elevate our upcycled creations from ordinary to extraordinary. By understanding the different brushstrokes, we can discover a world of creative possibilities. There are three primary brushstroke methods to grasp: flat, round, and liner. Each serves a specific purpose, and knowing when to use them can make all the difference.
Here are the basics of each brushstroke method:
- Flat Brushstroke: Ideal for filling in large areas with paint, perfect for creating bold backgrounds or solid colors.
- Round Brushstroke: Great for creating curved lines and shapes, adding a touch of elegance to our upcycled treasures.
- Liner Brushstroke: Used for fine details and thin lines, adding intricate designs to our projects.
- Practice and Experiment: Don't be afraid to try out different brushstrokes on a spare piece of material, blending colors, layering strokes, and varying brush sizes to achieve unique effects.
Essential Color Theory Tips
With our brushstroke techniques in hand, we're ready to harness the full potential of our upcycled creations by mastering the art of color selection.
As beginners, understanding color theory basics is important in choosing complementary or contrasting colors for our projects. Let's start with the fundamentals: primary colors – red, blue, and yellow – can be mixed to create secondary colors – orange, green, and purple – expanding our color palette.
Warm colors like reds, oranges, and yellows evoke energy and vibrancy, while cool colors like blues, greens, and purples create a calming effect. When selecting colors, we can opt for analogous colors, which are next to each other on the color wheel, for a harmonious look, or complementary colors, opposite on the wheel, for contrast.
Additionally, experimenting with shades, tints, and tones of colors can add depth and dimension to our painted thrifted treasures.
Simple Stenciling Techniques
We'll start by exploring simple stenciling techniques, a perfect way to add intricate designs and patterns to our upcycled treasures without needing extensive artistic skills. This technique is great for beginners, as it's easy to master and produces impressive results.
Here are the basic steps to get you started:
- Secure the stencil: Use painter's tape or adhesive spray to make sure the stencil is firmly attached to your surface.
- Apply paint evenly: Use a stencil brush or sponge to apply paint, making sure to cover the entire design. Avoid applying too much pressure, which can cause paint to bleed under the stencil edges.
- Lift the stencil: Carefully remove the stencil to reveal your design. Clean the stencil for reuse or different projects.
- Repeat and experiment: Try out different stencil designs, colors, and patterns to create unique and personalized upcycled pieces.
Adding Texture With Decoupage
By incorporating decoupage into our upcycling process, we can infuse our thrifted treasures with a tactile quality that draws the eye and invites touch. This technique involves gluing images or decorative paper onto a surface, adding texture and visual interest to our upcycled items.
We can take it a step further by layering decoupage paper or images with a sealant like liquid patina or Big Top, creating a durable and textured finish. Decoupage can be used on various surfaces, from wood to metal to glass, transforming thrifted items into unique decor pieces.
Experimenting with different types of decoupage paper, such as vintage prints or botanical images, allows us to add character and charm to our upcycled treasures. By using decoupage, we can personalize and enhance the look of our thrifted finds, making them stand out in our home decor.
With a little creativity, we can turn ordinary items into extraordinary pieces that reflect our personal style.
Distressing for a Vintage Look
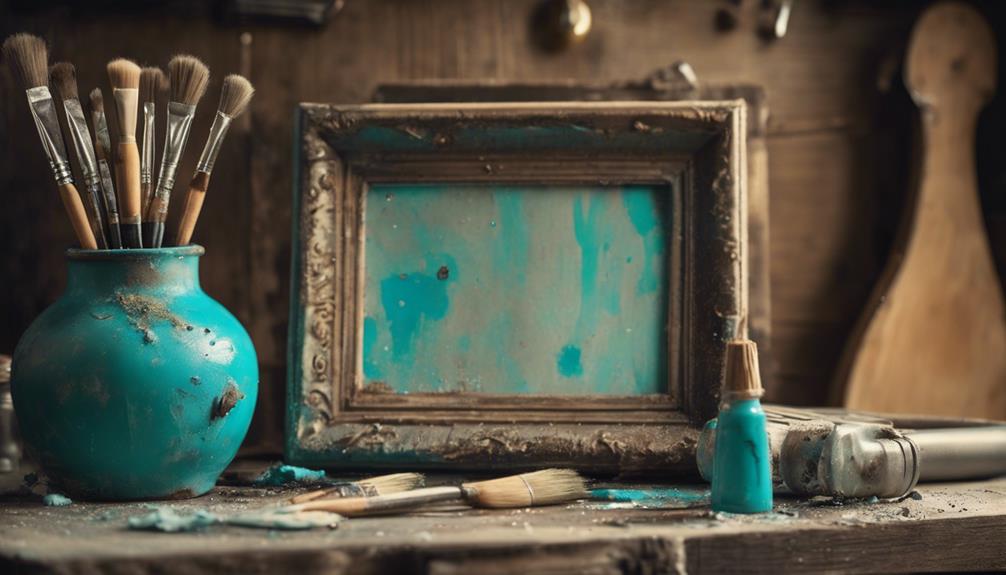
As we move beyond adding texture with decoupage, we're now ready to explore another way to inject character into our upcycled pieces: distressing for a vintage look. Distressing involves intentionally aging or weathering painted surfaces to create a unique, rustic appearance. By using techniques like sanding, scraping, or using tools like sandpaper or steel wool, we can add texture, depth, and character to our upcycled treasures.
Here are some key things to keep in mind when distressing:
- Start with a base coat: A solid base coat is essential for a successful distressing process.
- Choose your tools wisely: From sandpaper to steel wool, the right tools can make all the difference in achieving the desired level of distress.
- Distress in layers: Work in layers to achieve a nuanced, multi-dimensional look.
- Practice makes perfect: Don't be discouraged if your first attempts at distressing don't turn out as expected – it takes practice to master the technique.
Sealing Your Masterpiece
Now that we've achieved the desired level of distress, it's time to seal our masterpiece with a topcoat, guaranteeing our hard work remains vibrant and protected for years to come.
Sealing our upcycled treasures with a topcoat like Big Top helps safeguard the paint and finish from wear and tear, providing a durable and long-lasting finish.
By applying a topcoat after painting and distressing, we can enhance the look of our upcycled items and give them a professional finish.
Following the manufacturer's instructions when applying a topcoat is crucial to properly seal our painted projects. This step not only protects the paint but also adds a polished and finished appearance to our creations.
Adding Embellishments and Accents
As we continue to breathe new life into our thrifted treasures, we're excited to explore the world of embellishments and accents.
Here, the right textures and metallic accents can elevate our creations from ordinary to extraordinary. By incorporating different textures, such as lace, fabric, or beads, we can add depth and visual interest to our upcycled pieces.
Whether we're aiming for a vintage, distressed look or a sleek, modern aesthetic, the right embellishments and accents can help us achieve a truly one-of-a-kind design.
Embellishing With Textures
We can instantly elevate our upcycled creations by incorporating textured elements, which add depth, visual interest, and a touch of personality to our thrifted treasures. By doing so, we can create unique pieces that reflect our personal style and taste.
To get started, we can try incorporating the following textured elements into our projects:
- Twine or tags: Add a rustic touch to your upcycled decor with twine or tags that evoke a vintage feel.
- Beads, buttons, or charms: Incorporate small embellishments like beads, buttons, or charms to add a touch of whimsy and personality to your project.
- Fabric scraps, lace, or ribbons: Experiment with different textures and patterns by incorporating fabric scraps, lace, or ribbons into your design.
- Stencils, stamps, or embossing techniques: Add intricate textures and designs to your painted thrifted treasures using stencils, stamps, or embossing techniques.
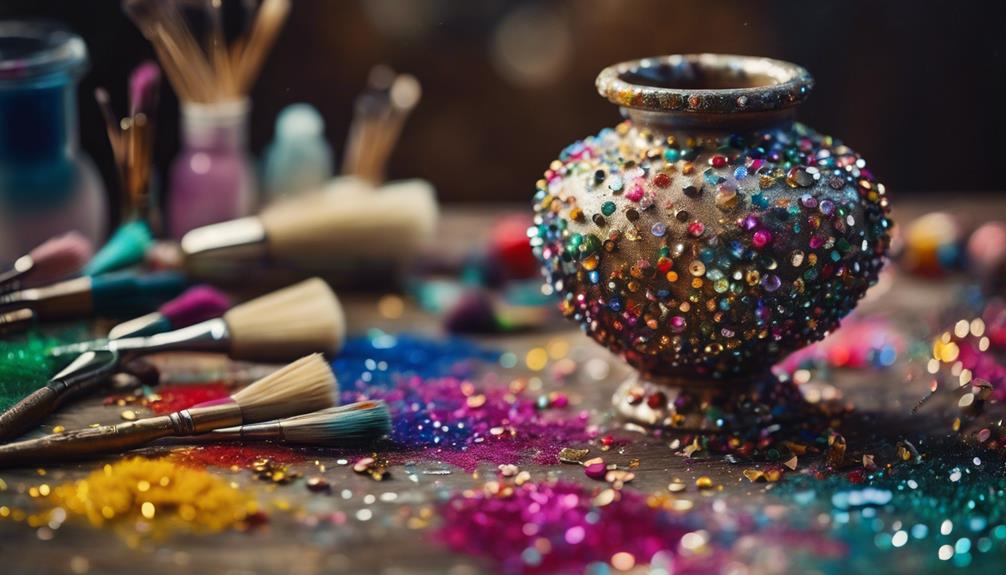
Adding Metallic Accents
We can reveal the full potential of our upcycled thrift store finds by incorporating metallic accents, which instantly add a touch of sophistication and glamour to our creations.
With metallic paints in shades of gold, silver, or copper, we can highlight details or edges on furniture, frames, or decorative items, giving them a luxurious finish. These accents can transform vintage pieces into stylish decor elements, perfect for modernizing our thrifted treasures.
To achieve unique metallic effects, we can experiment with different application techniques, such as dry brushing or stenciling. By adding metallic accents, we can enhance the overall aesthetic of our upcycled projects, making them stand out in any room.
Whether we're going for a sophisticated look or a trendy vibe, metallic accents can help us achieve our desired style. With a little creativity and experimentation, we can reveal the full potential of our thrifted treasures and turn them into stunning pieces that showcase our personal taste and flair.
Upcycling Ideas to Get You Started
Let's immerse ourselves in some inspiring upcycling ideas to get us started on transforming those thrifted finds into one-of-a-kind decor pieces. We can experiment with different techniques like painting, distressing, and sealing to give our second-hand treasures a fresh new look. Adding details like decoupage, twine, or stencils can enhance our upcycled creations.
Here are some ideas to get us started:
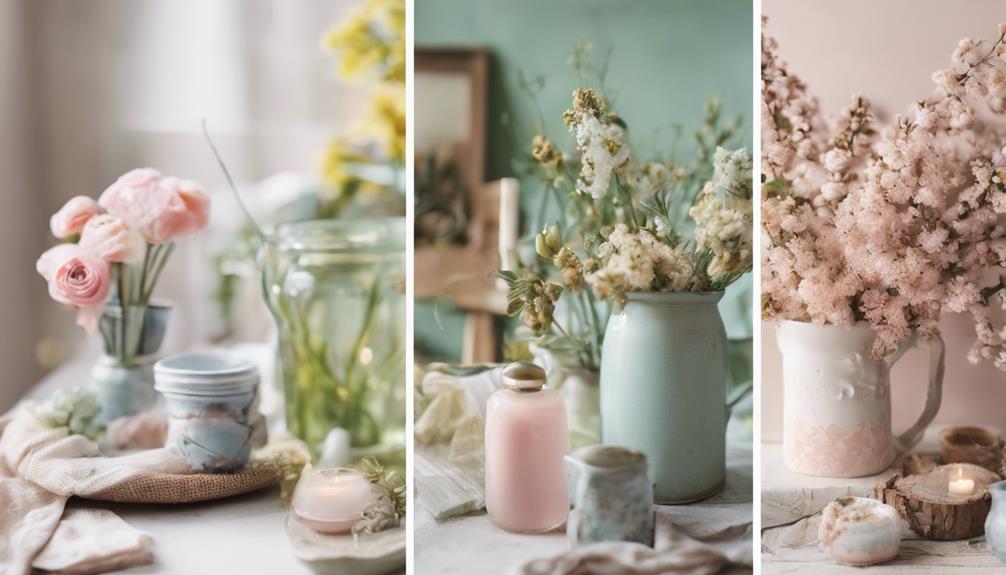
- Vintage Window Makeover:
Paint an old window with a soft, pastel color and add some distressed details to create a beautiful decorative piece.
- Mason Jar Revamp:
Transform old mason jars into beautiful vases by painting them with bold, bright colors and adding some decorative twine.
- Old Door Turned Headboard:
Upcycle an old door into a one-of-a-kind headboard by painting it with a bold, contrasting color and adding some decorative stencils.
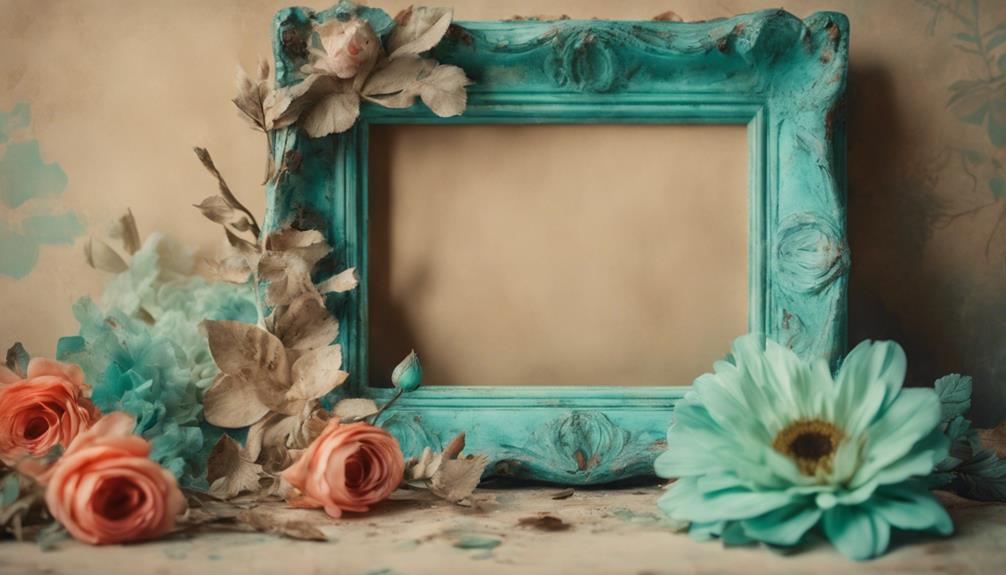
- Thrifted Vase Makeover:
Give an old vase a fresh new look by painting it with metallic accents and adding some decoupage details.
Displaying Your Upcycled Masterpiece
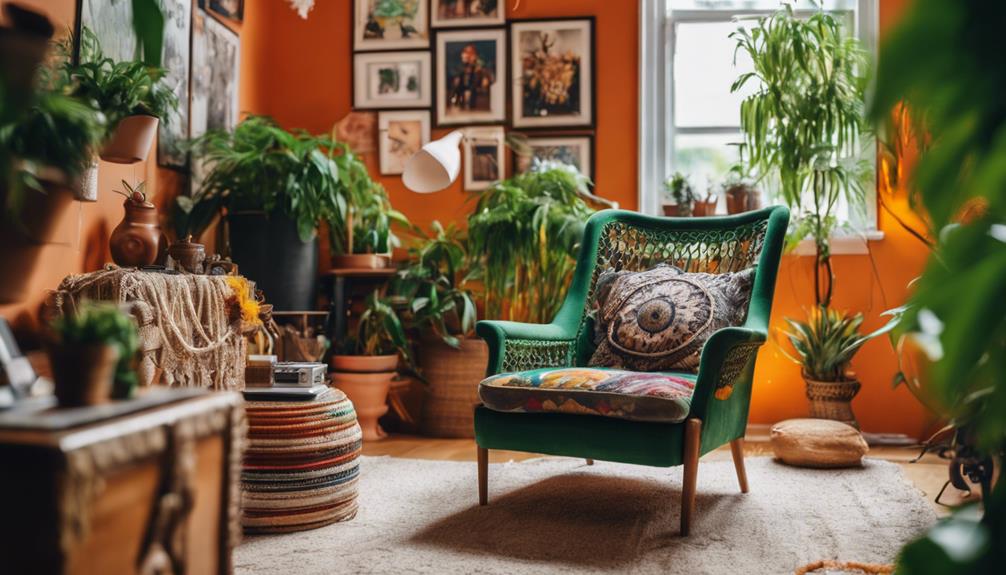
Now that we've transformed our thrifted finds into unique decor pieces, it's time to showcase our creative handiwork in a way that adds visual appeal to our homes. To do this, we need to think strategically about how to display our upcycled masterpieces.
Here are some ideas to get us started:
| Display Idea | Tips and Variations |
Showcase on Shelves
Use floating shelves or traditional ones with decorative brackets
Create a Vignette
Group similar items together for a cohesive look
Add a Personal Touch
Incorporate photos, plants, or other decor items
Rotate Seasonally
Update our displays periodically to keep things fresh
Highlight a Theme
Emphasize a particular style or theme in our upcycled pieces
Frequently Asked Questions
What Paint to Use for Upcycling Furniture?
When deciding what paint to use, we consider the look we want to achieve – do we want a vintage vibe, a smooth finish, or durability?
How to Upcycle Furniture for Beginners?
We're new to upcycling, so we start by researching basics like preparing surfaces, choosing the right paint, and mastering simple techniques, then gradually experiment with more complex designs and embellishments.
Conclusion
As we conclude our upcycling journey, we're left with a sense of accomplishment and a hint of curiosity – what's next?
With our newly acquired skills, we're poised to transform thrift store finds into one-of-a-kind masterpieces.
But, as we gaze upon our latest creation, we can't help but wonder: what hidden treasures await us in the thrift stores of tomorrow, waiting to be reborn with a stroke of our brush?