When painting your interior wall, choose a well-lit room with good ventilation. Opt for a space with minimal furniture and smooth walls for easier painting. Utilize painter's tape for precise edges. Lighting impacts color perception, so aim for natural or LED lighting. Ventilation aids paint drying and reduces odors. Make sure spacious, clutter-free areas with access to windows for ventilation and light. Protect furniture with plastic sheets and clear the room. Prepare walls by repairing imperfections and removing dust. Ideal painting conditions involve clean surfaces, proper temperature, and ventilation. Follow these tips for a successful paint job.
Key Takeaways
- Choose a well-lit room with good ventilation.
- Opt for a space with minimal furniture.
- Select a room with smooth walls.
- Consider using painter's tape for precision.
- Ensure proper ventilation for paint drying and air circulation.
As an affiliate, we earn on qualifying purchases.
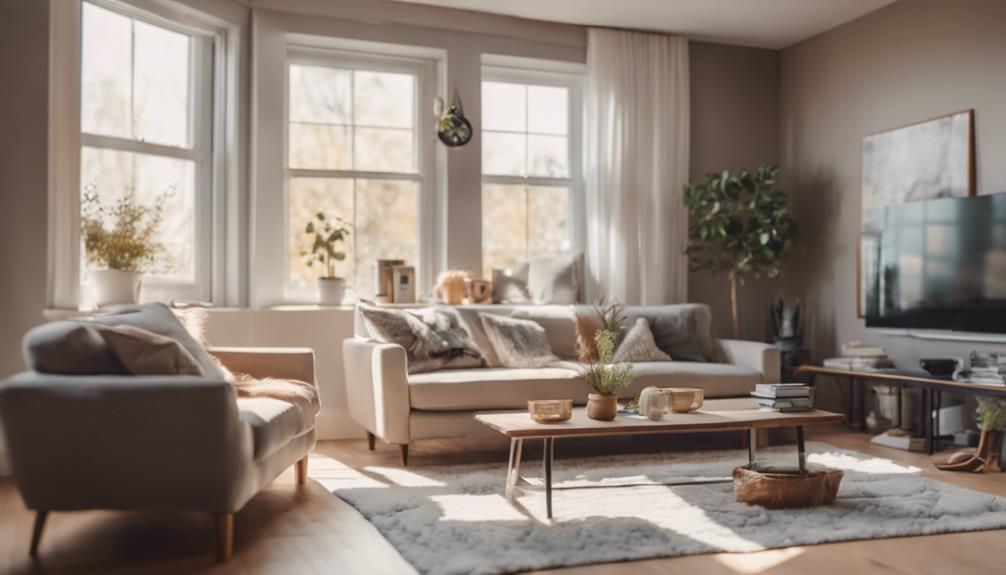
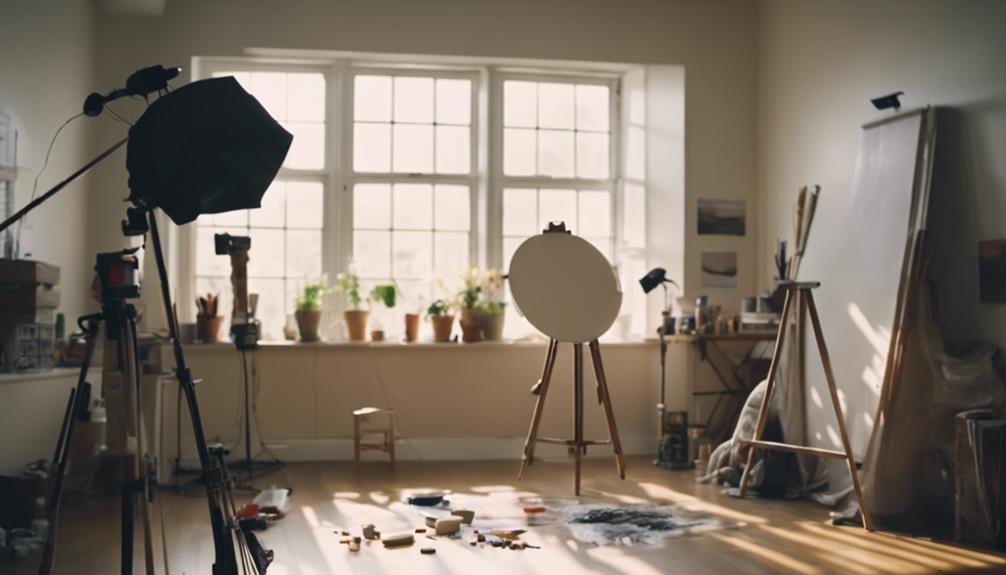
Ideal Room Selection
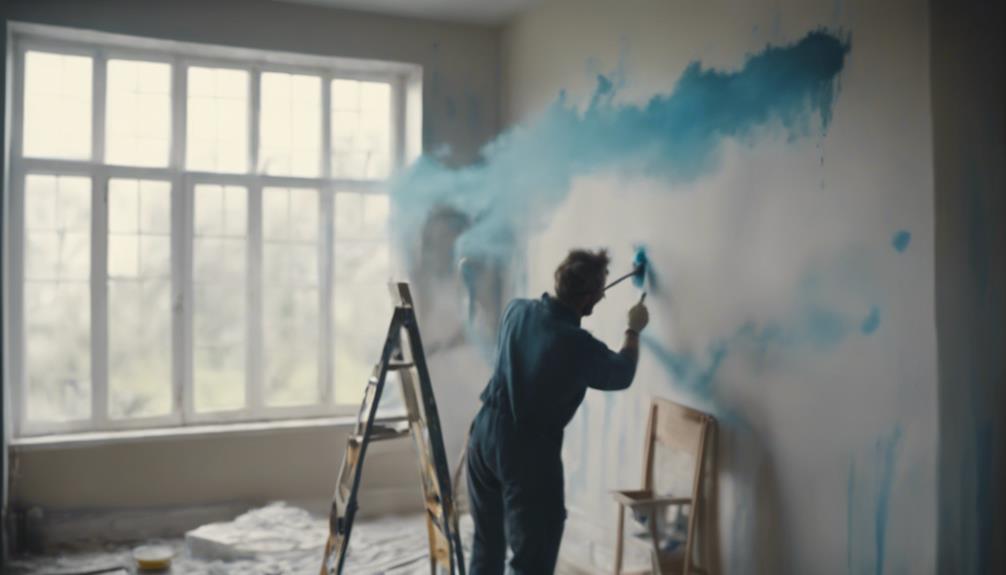
When selecting the ideal room for painting your interior walls, opt for a well-lit space with good ventilation to guarantee a smooth and efficient painting process. A well-lit room will help you see the true colors of the paint and make sure you don't miss any spots. Good ventilation is key for the paint to dry properly and for you to breathe easily.
Choose a room with minimal furniture to make moving around easier and to protect your belongings from accidental paint splatters. Pick a room with smooth walls and few imperfections to achieve a clean and professional-looking finish. Consider using painter's tape to protect areas you don't want to paint, like the ceiling or trim.
Opt for a room with a neutral color palette to make shifting between colors simpler. Prioritize rooms with windows or doors for easy access to natural light and fresh air while painting.
Importance of Good Lighting
Good lighting is essential when painting interior walls as it allows you to accurately see colors and finishes. Without proper lighting, you might make mistakes in color selection and application, impacting the final outcome of your project.
Natural light and high-quality artificial lighting can greatly enhance the appearance of painted walls.
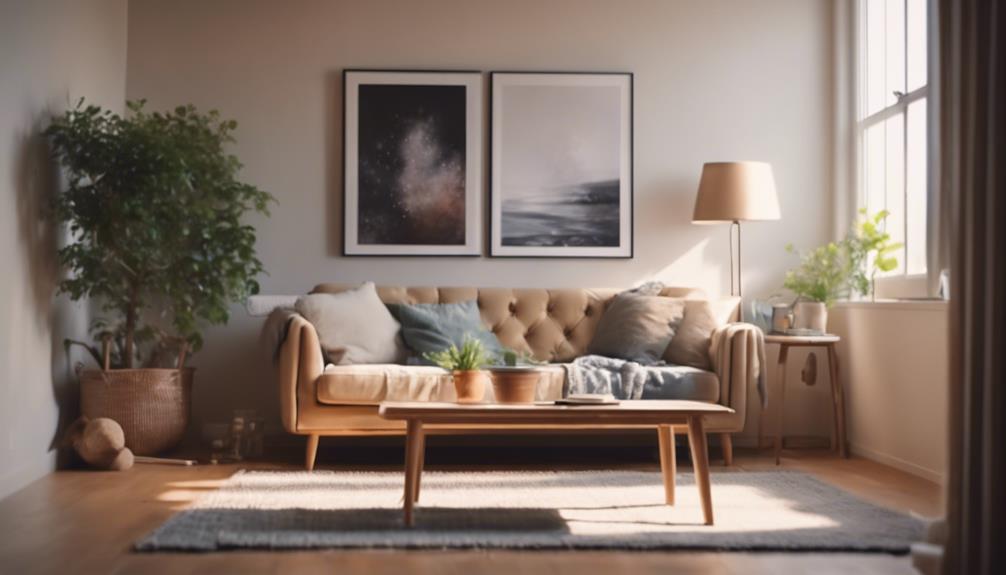
Natural Light Benefits
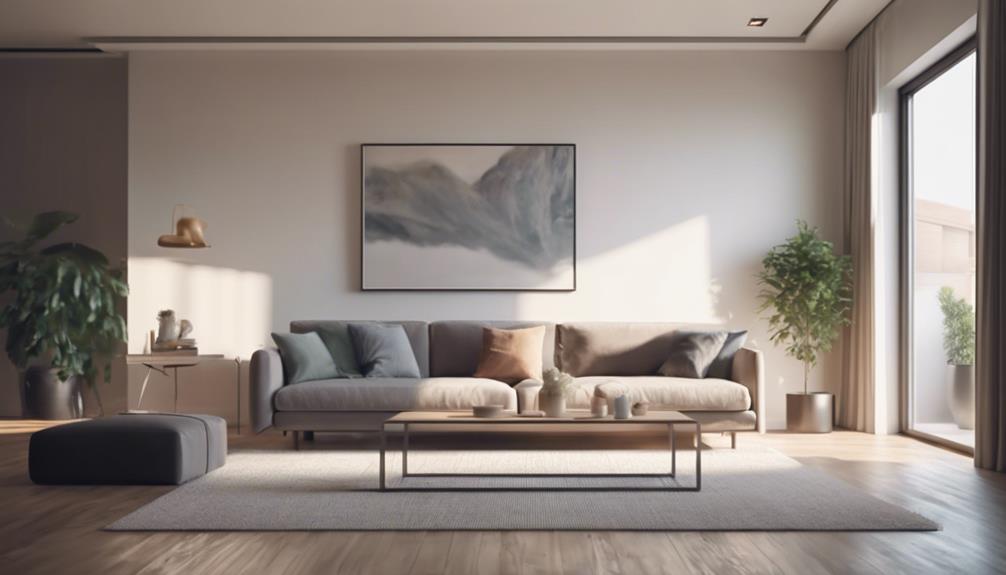
Enhancing the ambiance of a room, natural light plays a crucial role in creating a welcoming and spacious environment. Good natural light not only boosts mood and productivity but also highlights architectural details and wall colors, enhancing the overall design.
Exposure to natural light is linked to better sleep patterns and improved well-being. By utilizing natural light effectively, you can reduce the need for artificial lighting, leading to increased energy efficiency and lower electricity costs.
Incorporating more natural light into your space can help you feel more energized, focused, and connected to the outdoors. Embrace the benefits of natural light to transform your room into a vibrant and uplifting sanctuary.
Artificial Lighting Options
To accurately perceive paint colors on your interior walls, it's essential to take into account the options available for artificial lighting. LED lights are a great choice for illuminating painted walls, offering brightness and energy efficiency. Warm white LEDs can enrich warm paint colors, while cool white LEDs complement cooler tones.
Adjustable lighting fixtures provide the flexibility to highlight different wall colors throughout the day. By choosing the right lighting, you can showcase the texture and finish of your painted walls, enhancing the overall aesthetic of your room.
Consider how different lighting options can affect the way colors appear on your walls and create the ambiance you desire in your living space.
Enhancing Color Perception
When considering the importance of good lighting for enhancing color perception in your living space, remember that the appropriate light source can greatly impact how paint colors appear on your interior walls. To enhance color perception effectively, follow these steps:
- Utilize Natural Light: Assess paint samples in natural light to see true undertones without artificial distortion.
- Understand Light Sources: Different bulbs, like incandescent or LED, can alter how colors are perceived.
- Consider Light Direction: North-facing rooms offer cooler light, while south-facing rooms provide warmer light, affecting color perception.
- Test Samples: Experiment with paint samples throughout the day to observe how they adapt to varying lighting conditions in your space.
Ventilation Considerations
When painting interior walls, keep in mind the importance of proper ventilation for air circulation. Opening windows and using fans can greatly benefit the ventilation in the room.
Make sure you have the right methods in place to promote a healthier painting environment.
Air Circulation Importance
Ensuring proper air circulation while painting your interior walls is vital for optimizing the drying process and achieving a professional finish. Here are some key points to keep in mind:
- Speed Up Drying: Good air circulation helps paint dry faster, allowing for efficient application of multiple coats.
- Healthier Indoor Environment: Proper ventilation reduces paint fumes, creating a healthier space for you and your family.
- Consistent Paint Application: Adequate air circulation ensures even drying of the paint on the walls, maintaining a uniform finish.
- Reducing Strong Odors: Opening windows and using fans during painting can decrease strong paint odors, improving the overall air quality in the room.
Ventilation is essential for ensuring that painted surfaces dry evenly and completely, resulting in a professional-looking outcome.
Window Opening Benefits
To optimize your painting process and create a healthier indoor environment, consider the benefits of opening windows for improved ventilation during the painting of your interior walls. Proper ventilation is essential to prevent paint fumes from building up, aiding in faster drying and reducing strong odors. Improved air circulation through window openings helps maintain a comfortable environment while working. This ventilation also minimizes health risks associated with inhaling paint fumes and expels excess moisture, promoting quicker wall drying. Ensuring that your workspace has adequate ventilation by utilizing window openings will not only make the painting process more efficient but also create a safer and more pleasant atmosphere for you to work in.
| Benefits of Window Opening | |
|---|---|
| Prevents paint fumes accumulation | Aids in faster drying |
| Reduces strong odors | Maintains comfortable environment |
Proper Ventilation Methods
Consider utilizing various ventilation methods to maintain a healthier indoor environment while painting your interior walls.
- Open windows and use fans to improve air circulation and reduce fumes and odors.
- Maintaining a warm room temperature aids in paint drying for a smoother finish.
- Allow sufficient time for the paint to dry completely before closing windows or turning off fans.
- Adequate ventilation helps prevent moisture build-up, reducing the risk of mold growth on freshly painted walls.
Spacious Area Requirements
For ensuring smooth and efficient painting, make sure there's ample space around the walls for easy movement and accessibility to all sections. When painting interior walls, having a spacious area is essential for a comfortable painting experience and to achieve even coverage. Aim for a minimum clearance of 3 feet around the walls to prevent accidental spills and allow for hassle-free maneuvering. Consider removing or covering large furniture to create an unobstructed painting space, reducing the risk of splattering paint on your belongings.
Adequate lighting is vital for accurate color perception and ensuring a uniform finish on the walls. Additionally, proper ventilation is key to managing paint fumes and facilitating the drying process, ultimately leading to a smoother paint job. By preparing a well-ventilated, well-lit, and clutter-free space, you can enhance your painting experience and achieve professional-looking results.
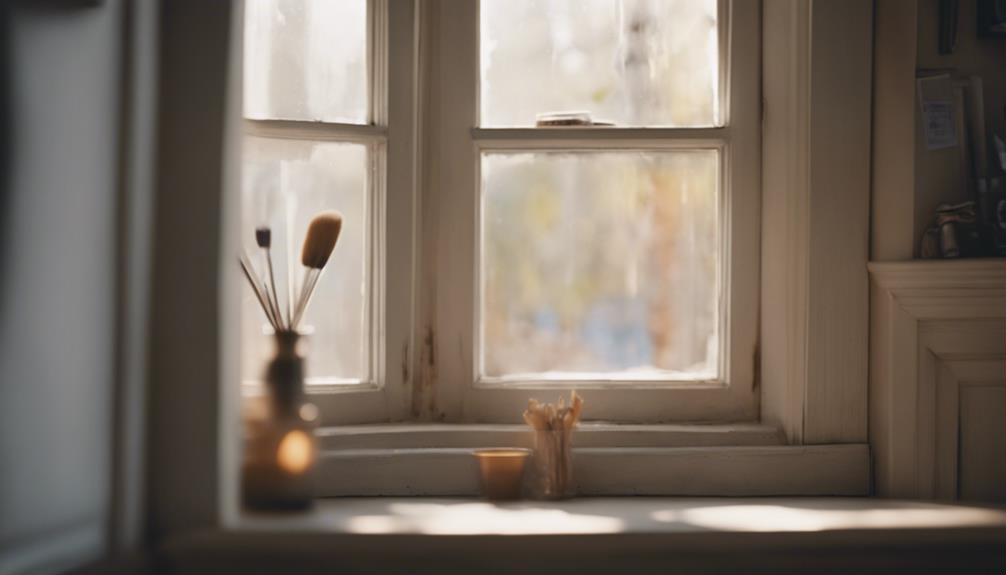
Access to Windows
Ensuring that windows are easily accessible is essential for proper ventilation and natural light during the interior wall painting process. Here's why having access to windows is vital:
- Ventilation: Windows provide a way for fresh air to circulate, helping to reduce paint fumes and speeding up the drying process.
- Natural Light: Having windows nearby allows you to see colors more accurately and aids in applying paint evenly across the walls.
- Spills Cleanup: Easy access to windows makes it convenient to clean up any accidental spills or splatters that may occur during painting.
- Imperfections Detection: Natural light coming through the windows helps you spot any imperfections or missed areas on the walls, ensuring a more professional finish.
Furniture Clearing and Protection
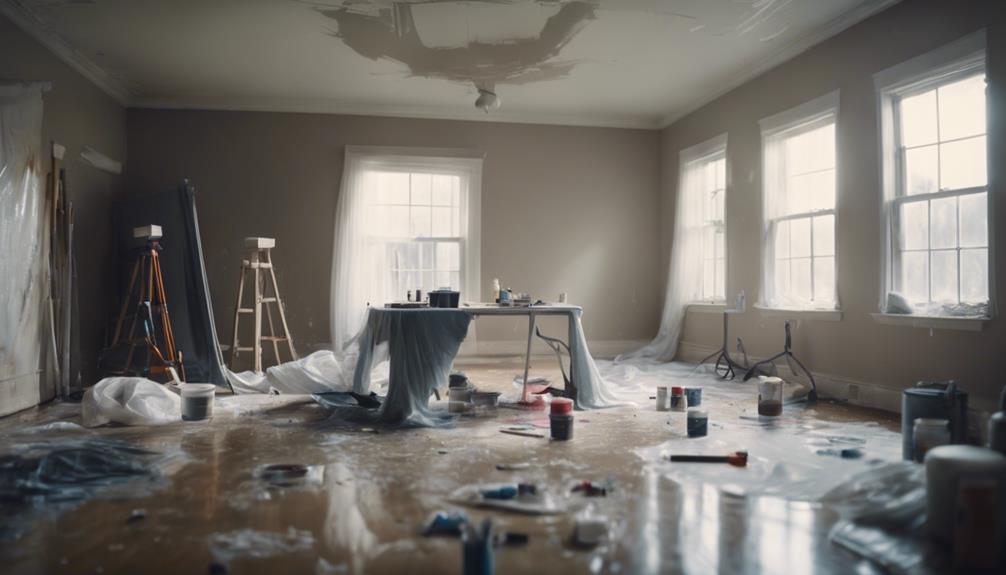
Clear furniture from the room to provide a spacious work area for painting the interior walls. Protect your furniture from paint splatters and drips by using plastic sheets or moving them to another room. Cover delicate items like electronics and decor with plastic wrap or relocate them to a safe spot. Utilize drop cloths to shield floors from paint spills, making cleanup easier post-painting.
Prioritize safeguarding valuable furniture and belongings to prevent any damage during the painting process. By moving furniture out of the room or covering it appropriately, you'll create a more open space for painting without the risk of accidental spills or splatters damaging your belongings. Remember to secure fragile items and make sure your floors are well-protected before starting the painting project. Taking these precautions will help you maintain the condition of your furniture and belongings while you refresh your interior walls.
Wall Preparation

To guarantee a smooth and professional paint finish on your interior walls, start by thoroughly cleaning the surfaces to remove dust, dirt, and grease. Here's a simple guide to prepare your walls for painting:
- Repair Imperfections: Fill in any cracks, holes, or stains on the walls using spackle. After applying spackle, sand the area for a smooth surface ready for painting.
- Remove Dust Completely: Wipe the walls with a tack cloth after sanding to make sure all dust is eliminated. This step is essential to prevent any paint defects from occurring during the painting process.
- Spot Prime Repaired Areas: Before painting, spot prime the repaired areas with a primer. This helps in achieving uniform color and coverage on the wall, especially over repaired spots.
- Apply Painter's Tape: Use painter's tape to protect trim, baseboards, and adjacent surfaces from accidental paint splatters. It also guarantees clean and sharp edges once the painting is done.
Dust and Debris Removal
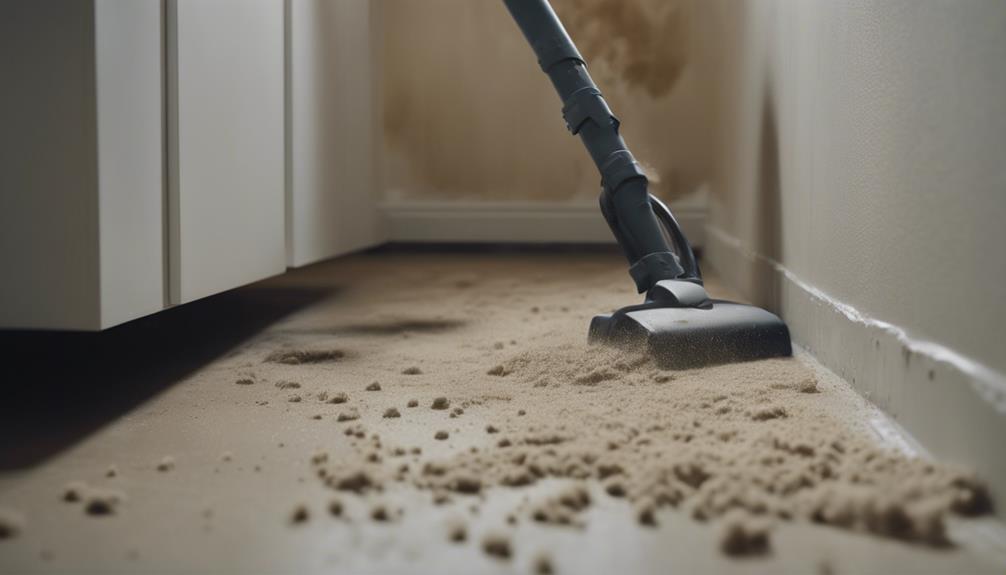
Before painting, make sure to thoroughly clean your walls to remove dust and debris. Use a clean microfiber cloth to wipe down surfaces and a vacuum with a soft brush attachment to eliminate loose dirt and cobwebs.
Consider using a mild detergent solution for stubborn dirt or grease buildup.
Prep for Painting
Make sure your walls are free of dust and debris by meticulously wiping them down with a damp cloth before you begin painting. To prep for painting, follow these steps:
- Apply painter's tape to protect areas you don't want to paint.
- Clean the surface by vacuuming walls with a soft brush attachment.
- Use a Tack cloth to pick up any remaining dust for a smooth finish.
- Get your paint supplies ready, including paint rollers and interior paint for a professional finish.
Removing dust and debris helps the paint adhere better, leading to a polished look. Remember, thorough prep work is key to a successful painting project.
Clean Walls Thoroughly
Clean your walls thoroughly by using a wet cloth to wipe down and remove any dust, dirt, and debris before beginning the painting process. Ensuring your walls are free of dust and debris is vital to achieving a smooth finish and helping the paint adhere properly.
By cleaning the walls, you're preparing them for the paint job and ultimately contributing to the longevity of the paint. Don't forget to clear out any cobwebs and hard-to-reach corners using a broom. This step is essential for the overall cleanliness of the walls.
Taking the time to properly clean your interior walls will set a solid foundation for a successful painting project.
Use Protective Covers
After thoroughly cleaning your walls, the next step is to use protective covers such as drop cloths or plastic sheets to shield floors, furniture, and fixtures from dust and debris during the painting process. To prep the walls effectively, follow these steps:
- Remove dust and debris: Wipe down walls with a damp cloth or vacuum with a brush attachment.
- Clean surfaces: Make sure baseboards and window sills are clean for proper paint adhesion.
- Use mild cleaning solution: Wash walls with a dishwashing liquid solution if greasy for a smooth finish.
- Eliminate hidden debris: Clear cobwebs and sweep corners for a flawless paint application on interior walls.
Optimal Painting Conditions
For the finest results when painting interior walls, aim to create ideal painting conditions within the room. Make sure temperatures are between 50-85°F for best paint application and drying. Keep humidity levels around 40-70% to prevent issues like blistering or cracking.
Essential ventilation is vital for paint to dry correctly and to avoid strong fumes building up. Avoid direct sunlight on the walls during painting to prevent uneven drying and color discrepancies. Choose a time when the room won't be disturbed to allow for uninterrupted painting and drying time.
Professional Finish Tips
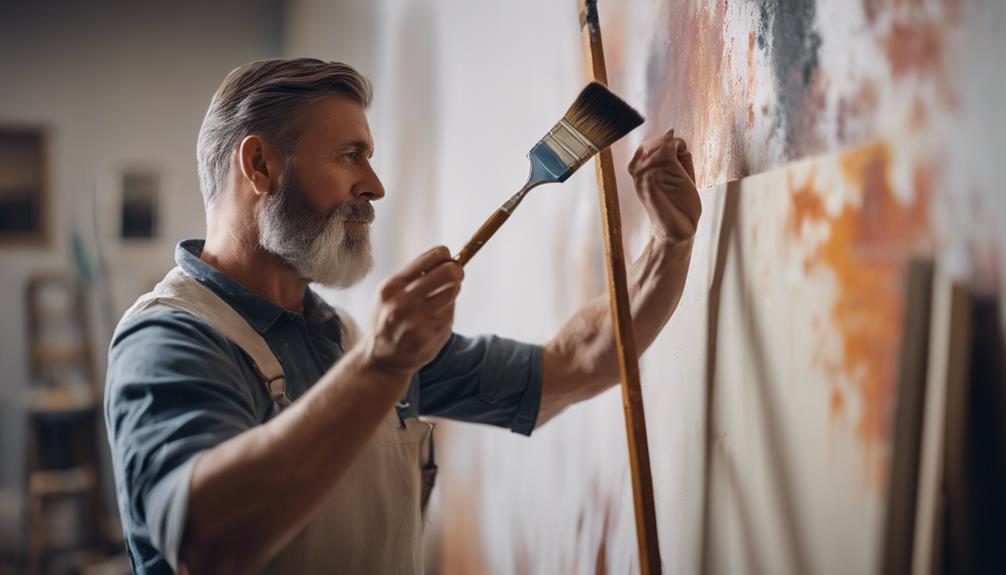
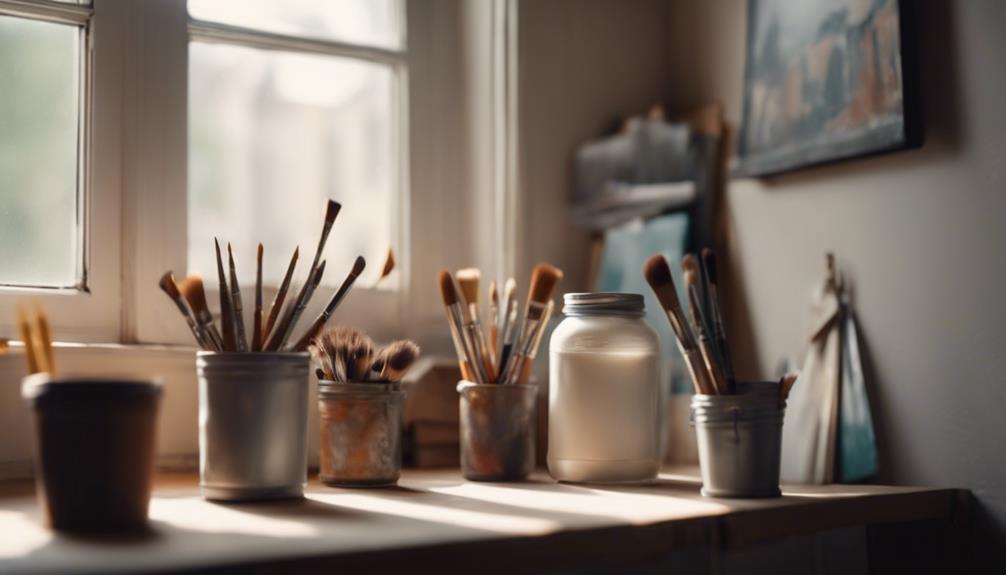
To achieve a professional finish when painting interior walls, prioritize using high-quality paint for best coverage and durability. Here are some tips to help you achieve a flawless look:
- Choose the Right Tools: Opt for premium brushes and rollers to guarantee a smooth and even application of paint on your interior walls.
- Proper Lighting is Key: Use work lights to illuminate the area you're painting. This will help you spot imperfections and guarantee a professional finish.
- Consider a Paint Sprayer: For efficiency and a consistent coat of paint, think about using a paint sprayer on your interior walls.
- Use Painter's Pyramids: These handy tools can help you dry painted items without smudging the finish, maintaining a professional look.
Frequently Asked Questions
What Is the Best Way to Paint Interior Walls?
To paint interior walls effectively, start by preparing the surface with cleaning, patching imperfections, and applying primer. Use quality brushes and rollers, and consider using painter's tape for clean lines.
Apply paint in a W shape from top to bottom, allowing each coat to dry. Choose colors based on the room's mood and lighting, opting for low-VOC paints.
Finish by removing tape carefully, allowing paint to dry completely, and adding finishing touches.
What Is the Correct Order to Paint a Room?
Start painting a room by tackling the ceiling first, then move on to the walls, and finish up with the trim and baseboards. Working from the top down helps prevent drips on freshly painted areas. Make sure to complete each section fully before moving on for a seamless look.
Utilize painter's tape to protect edges while you paint different parts of the room. Allow ample drying time between coats for the best results and to avoid imperfections.
What Is the Best Direction to Paint a Wall?
To paint a wall, start from the top and work your way down to the baseboards. Use long, vertical strokes for a smooth finish.
Work in sections, overlapping each stroke slightly for full coverage. Follow the room's natural flow and paint in the same direction as the light source to minimize brush marks.
This method helps prevent streaks and guarantees a professional look.
Where Do You Start Painting Walls?
Start painting walls by preparing the area and choosing the right tools. Begin at the top with the ceiling to avoid drips on fresh paint. Work from a corner outwards in small sections for control.
Focus on one wall at a time, ensuring even coverage and allowing coats to dry. Use a brush for edges and corners, then a roller for larger areas.
Finish with trim for a polished look.
Conclusion
Choose the ideal room with good lighting and ventilation to paint your interior walls. Guarantee a spacious area with access to windows for best painting conditions. Proper wall preparation, including dust and debris removal, is crucial for a professional finish.
Did you know that 90% of professional painters recommend painting in well-lit rooms to achieve the best results? Make sure to follow these tips for a successful interior painting project.