
We're excited to create a unique and rustic Christmas tree collar using reclaimed wood pallets. First, we'll select our wood material, considering the desired look and feel for our project. Accurate measurements of our tree stand will guarantee a snug fit, and cutting the wood with a compound miter saw will secure precise dimensions. We'll assemble the panels with wood glue, brad nails, and screws, then sand them for a polished finish. With our collar assembled, we can get creative with painting, decorating, and adding embellishments. Want to see how it all comes together? Let's get started and uncover the full potential of our DIY project.
Key Takeaways
• Choose pine boards or pallet wood for a rustic tree collar, considering the desired look and feel for your project.
• Measure the tree stand's width and height accurately to create a precise cut list for your wood pieces.
• Assemble the panels using wood glue, brad nails, and screws, and sand the pallet wood to smooth out rough edges.
• Ensure the collar fits snugly around the tree stand and secure it with small embellishments like ribbons or bows for a festive touch.
• Add a personalized touch with painting, stenciling, or experimenting with different ribbon materials and patterns.
wood pallet Christmas tree collar
As an affiliate, we earn on qualifying purchases.
As an affiliate, we earn on qualifying purchases.
Choosing the Right Wood Materials
What type of wood will work best for our DIY Christmas tree collar project?
When it comes to choosing the right wood materials, we've a few options to explore. For a traditional and affordable choice, we can opt for pine boards. They're easy to work with and can be found at most home improvement stores. Plus, they provide a classic look that complements our Christmas tree perfectly.
If we want to add a touch of rustic charm to our Christmas tree collar, we can contemplate using pallet wood. Not only is it an eco-friendly option, but it also adds a unique, weathered charm to our design. Pallet wood is sturdy and durable, making it an excellent choice for a long-lasting tree collar.
Ultimately, the type of wood we choose will depend on the look and feel we want to achieve.
Whether we go for the classic pine boards or the rustic pallet wood, we can't go wrong. Both options are sturdy, durable, and perfect for creating a beautiful Christmas tree collar that will elevate our holiday decor.
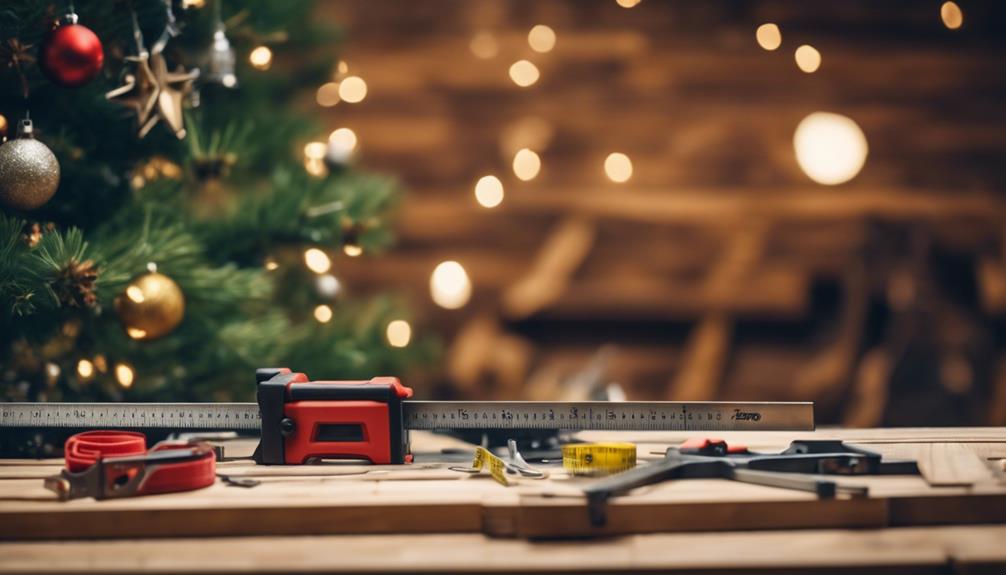
Measuring Your Tree Stand Size

As we move forward with creating our wood pallet Christmas tree collar, we need to get precise measurements of our tree stand size.
We'll need to take into account both the diameter and height of the stand to guarantee a snug fit.
Tree Stand Dimensions
We need to measure the width of our Christmas tree stand from one leg to the other to determine the size of tree collar we'll need. This measurement will guarantee our DIY tree collar fits snugly around the stand.
We'll also measure the height from the floor to the lowest branch of the tree to make certain the collar won't obstruct the branches.
For a standard-sized tree, our tree collar panels should be approximately 17 inches wide and 14 inches tall. We can consider leaving a gap between the boards for a crate-like appearance, but make sure to adjust the panel sizes accordingly.
It's essential to cut and assemble the panels to fit our Christmas tree stand's dimensions precisely. This will ensure a secure and even fit.
Stand Size Matters
In order to guarantee a snug fit, we measure our metal Christmas tree stand's width from one leg to the other, determining the size needed for our DIY tree collar. This important step ensures our collar fits perfectly around the stand, providing a seamless look.
We also measure the height from the floor to the lowest branch of our tree to make sure the tree collar panel will fit properly. For a standard Christmas tree, our panel size should be approximately 17 inches wide and 14 inches tall.
To achieve this, we create a cut list with 12 narrow pallet boards that are 17 inches long and 6 narrow pallet boards that are 14 inches long for the tree collar panels. We'll assemble the panels using wood glue, leaving a small gap between the boards for a crate-like look and easy installation around the tree stand.
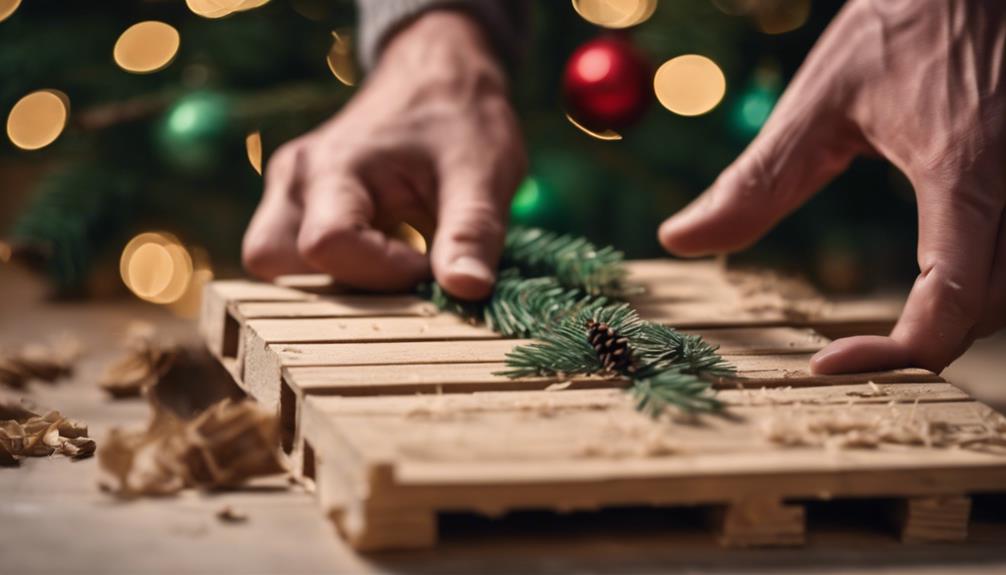
Cutting and Assembling Panels
Now that we've gathered our materials, we're ready to start building our tree collar's panels.
We'll explore some essential pallet disassembly tips to get the most out of our wood, and then we'll move on to arranging our panels in a way that creates a beautiful, sturdy structure.
Pallet Disassembly Tips
With precision, we carefully dissect the pallet into individual boards, uncovering the raw beauty within. Pallet disassembly is an important step in creating our DIY wood pallet Christmas tree collar.
We use a compound miter saw to carefully cut the pallet boards into desired sizes for assembling the tree collar panels. Measuring and cutting the boards accurately guarantees a sturdy and visually appealing structure.
When disassembling the pallet, we take care to preserve the original boards' rustic charm. We deliberately leave imperfections intact, as they add character to our finished tree collar.
After measuring and cutting the boards, we assemble the panels, leaving a gap between the boards for a crate-like appearance. To secure the panels, we use a combination of brad nails, wood screws, and wood glue for added strength.
Panel Arrangement Ideas
We arrange our pallet boards in a crate-like fashion, deliberately leaving gaps between them to achieve a rustic, authentic look for our Christmas tree collar. This design not only adds a touch of rustic charm to our wooden tree but also creates a unique, one-of-a-kind piece.
To create the panels, we cut 12 narrow pallet boards to 17 inches long and 6 to 14 inches long. Before securing them with a nail gun, we dry fit the panels to make sure proper alignment. We also apply wood glue for added strength when assembling the panels.
Here are some key considerations when arranging the panels:
- Cut the pallet boards to the desired length and width for a uniform look.
- Dry fit the panels to make sure proper alignment before securing them.
- Use wood glue for added strength when assembling the panels.
- Consider leaving gaps between boards for a more authentic crate appearance.
- Use a nail gun to secure the panels together for a sturdy collar.
Sanding and Smoothening Edges
How do we transform rough pallet wood into a polished Christmas tree collar, worthy of showcasing our festive spirit? The answer lies in sanding and smoothening the edges. Sanding pallet wood helps smooth out rough edges and splinters, giving our tree collar a polished finish. We use heavy grit sandpaper, like 150, to sand down the wood effectively.
| Grit | Purpose |
|---|---|
| 150 | Sanding down the wood effectively |
| 220 | Smoothening out small imperfections |
| 320 | Achieving a high-gloss finish |
| 400 | Final polishing for a mirror-like finish |
Painting and Decorating Options

Now that our pallet wood is sanded and smooth, we're ready to tap into our creativity and add some festive flair to our Christmas tree collar through painting and decorating. This is the fun part where we get to make our tree collar truly unique and personalized.
Here are some painting and decorating options to explore:
- Use chalk paint for a matte finish that adds a touch of rustic charm to our tree collar
- Add a pinch of glitter to our paint for a sparkly and festive look
- Go for a modern and elegant look with metallic paint
- Experiment with different stencil patterns to create unique and personalized decorations
- Try a distressed painting technique for a vintage and rustic appearance
With these options, we can create a Christmas tree collar that reflects our personal style and adds a touch of magic to our holiday decor. Whether we choose a bold and bright look or a more subtle and rustic approach, the most important thing is to have fun and be creative!
Attaching Collar to Tree Stand

With our beautifully decorated collar in hand, it's time to attach it to the tree stand, guaranteeing a secure and stable fit that won't compromise the tree's stability.
We want to make sure the collar fits snugly around the stand without obstructing its functionality. To achieve this, we'll need a tree collar with an opening that accommodates the tree stand, allowing it to sit flat on the floor. If needed, we can adjust the collar's size or design to prevent interference with the stand's functionality.
To add an extra layer of security, we can place weights or secure the tree stand within the collar to prevent tipping or movement. Once the collar is attached, we'll test the stability and balance of the tree to ensure a safe and secure setup.
Adding Embellishments and Ribbons

As we add the final flourishes to our DIY wood pallet Christmas tree collar, a sprinkle of festive embellishments and ribbons can elevate its charm and personality. We can experiment with different ribbon sizes, colors, and textures to match our holiday decor theme.
Here are a few ideas to get us started:
- Tie ribbons around the tree collar for a whimsical and colorful accent.
- Attach bows to the tree collar corners or along the sides for a charming finishing touch.
- Use ribbons with festive patterns, such as snowflakes or holly, to add an extra layer of holiday cheer.
- Experiment with different ribbon materials, such as velvet or burlap, to add texture and depth.
- Don't be afraid to mix and match different embellishments to reflect our personal style and creativity.
Finishing Touches and Display
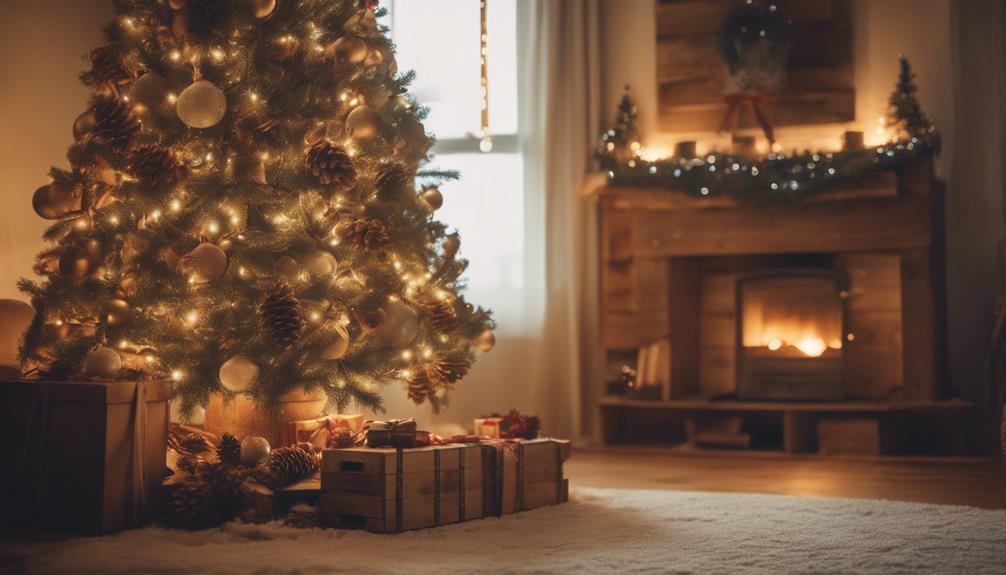
We're ready to add the final flourishes to our wood pallet Christmas tree collar, and a fresh coat of paint or a personalized stencil design can make all the difference. Consider painting the tree collar in a color that complements your holiday decor to give it a cohesive look. You can also add a personal touch by stenciling a festive design or your family name on the surface.
| Embellishment | Description | Tips |
|---|---|---|
| Paint | Adds a pop of color | Choose a color that matches your holiday decor |
| Stencils | Adds a personal touch | Use festive designs or your family name |
| Ribbons/Bows | Adds a festive feel | Use red and green for a traditional look |
Once you've added your finishing touches, it's time to display your tree collar. Place it around the base of your Christmas tree, ensuring it fits securely around the tree stand. You can also add small embellishments like ribbons, bows, or ornaments to enhance the overall holiday feel of the tree collar. Share your finished tree collar on social media and get ready for the likes and comments to roll in!
Frequently Asked Questions
How Do You Make a Wooden Christmas Tree Collar?
We make a wooden Christmas tree collar by cutting pallet boards to size, assembling the panels with wood glue and nails or screws, and sanding for a smooth finish.
Then, we customize it with paint, stencils, or decorations.
Finally, we place the finished collar around the base of the tree for a polished look.
With some creativity and basic DIY skills, we can create a unique and festive tree collar that adds a personal touch to our holiday decor.
What Can I Use Instead of a Christmas Tree Collar?
As we decorate our trees, we often wonder, what can we use instead of a Christmas tree collar? Coincidentally, we've found some amazing alternatives!
We can opt for a tree skirt, which adds a touch of elegance, or get creative with wicker baskets, galvanized tubs, or wooden crates. Even a decorative tree stand can do the trick!
The key is to choose an alternative that complements our tree's size, shape, and our overall holiday theme.
How Do You Size a Christmas Tree Collar?
When sizing a Christmas tree collar, we measure the diameter of the tree stand to determine the correct fit.
We also take into account the tree's height and the distance from the floor to the lowest branch to guarantee the collar isn't too bulky.
How to Make an Inexpensive Tree Collar?
We're on a mission to create an inexpensive tree collar without breaking the bank! To make one, we'll repurpose wooden crates or pallet boards, using wood glue, nails, and paint to craft a budget-friendly design.
We can customize it with stencils, paint colors, and distressing techniques for a unique look. By upcycling materials, we'll save money and reduce waste.
It's a fun, creative project that's easy on the wallet and the environment!
Conclusion
With our DIY wood pallet Christmas tree collar now complete, we've transformed a humble tree stand into a rustic winter wonderland centerpiece. Like a perfectly wrapped present, our handmade collar adds a touch of elegance and charm, making our tree stand tall and proud.
As we step back to admire our handiwork, we can't help but feel a sense of pride and accomplishment, knowing that our creativity and resourcefulness have brought joy to our holiday season.