
To fix a running toilet, start by inspecting the tank for issues like a misaligned flapper or faulty fill valve. Check that the chain isn’t tangled and adjust the float to the correct water level. Replace worn parts if needed, and ensure the handle moves smoothly. Properly sealing and adjusting these components stops water from constantly flowing. If you follow these steps, you’ll be able to identify and fix the problem efficiently—you’ll find out more with each step.
Key Takeaways
- Inspect and replace the flapper if it’s warped, damaged, or not sealing properly.
- Adjust the float mechanism to ensure the water level stops at the correct height.
- Check and tighten or replace the fill valve if it leaks or doesn’t shut off.
- Verify the chain length and handle operation for smooth flushing and proper closure.
- Test the toilet after repairs to confirm it stops running and functions correctly.
Top picks for "runn toilet"
Open Amazon search results for this keyword.
As an affiliate, we earn on qualifying purchases.
Identifying the Cause of the Running Toilet

A running toilet can be frustrating, but the first step to fixing it is figuring out what’s causing the issue. Start by checking if the float is set correctly, as an incorrect level can lead to constant running, wasting water and harming water conservation efforts. Listen for sounds of water continuously flowing into the tank, which indicates a potential problem with the fill valve or flapper. Examine the tank for mineral buildup or debris, which can interfere with proper toilet maintenance. Inspect the flush handle and chain for proper connection, ensuring nothing is stuck or misaligned. Identifying these common causes helps you pinpoint the issue without unnecessary repairs, making your toilet more efficient and conserving water. Being attentive to these details simplifies fixing the problem promptly. Additionally, understanding water conservation efforts can motivate you to resolve the issue quickly and prevent further water waste.
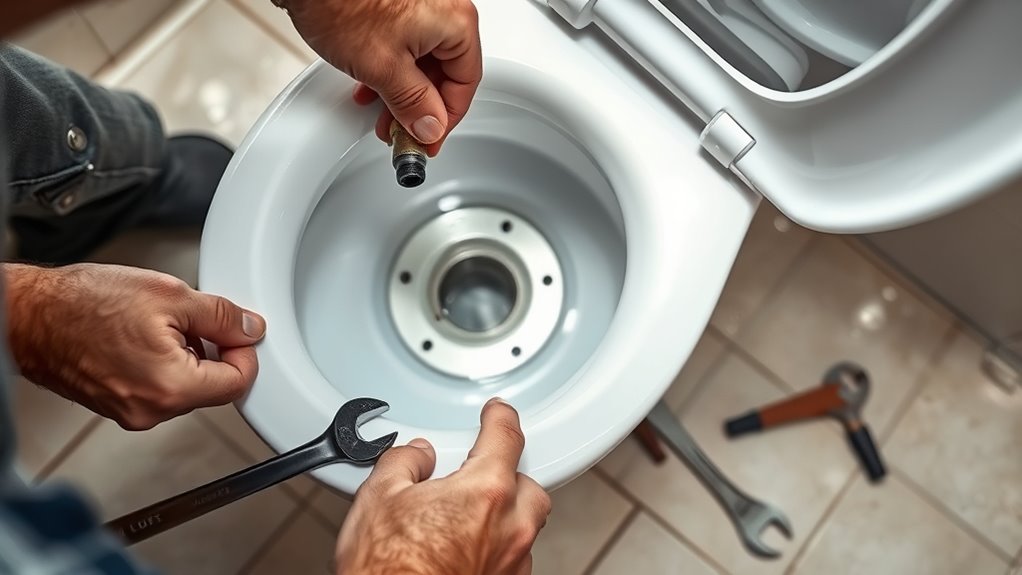
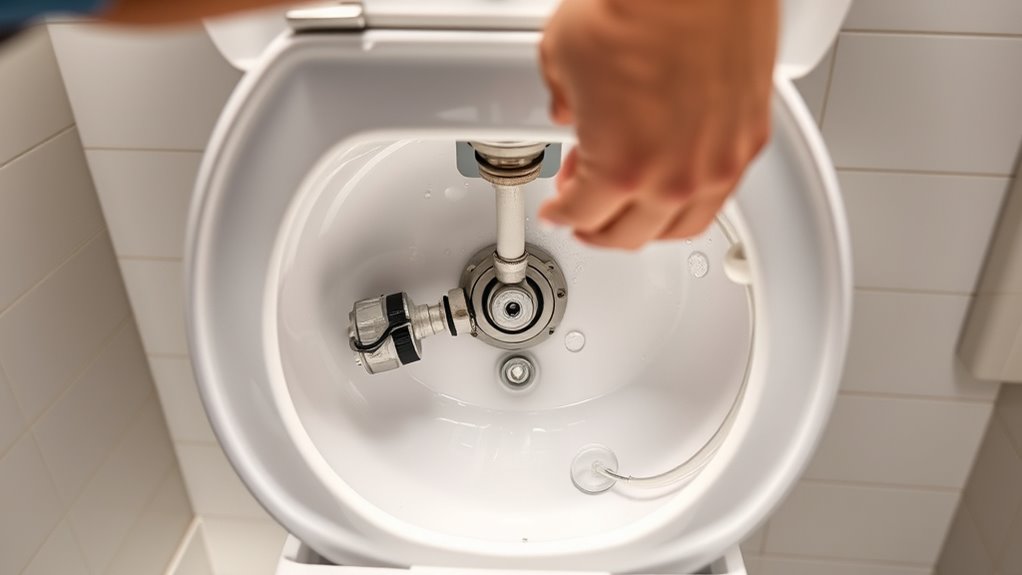
Inspecting and Replacing the Flapper Valve

To guarantee your toilet stops running, inspecting the flapper valve is a vital step. First, remove the tank lid carefully to access the inside. Check if the flapper is sealing properly—look for warping, mineral buildup, or damage. If it’s worn or damaged, replace it. While you’re at it, tighten the toilet seat if it feels loose, and ensure the chain attached to the flapper isn’t too slack or too tight. Use the table below to understand common issues:
| Issue | Cause | Solution |
|---|---|---|
| Flapper not sealing | Warping or buildup | Replace or clean |
| Flapper chain too loose | Incorrect length | Adjust chain length |
| Flapper chain too tight | Too tight | Loosen chain |
| Tank lid not fitting | Warped or damaged | Replace lid |
| Loose toilet seat | Hardware loosened | Tighten bolts |
This step guarantees a proper seal and stops your toilet from running. Additionally, inspecting the flapper valve regularly can prevent future issues and extend the lifespan of your toilet components.
Adjusting or Replacing the Fill Valve

When your toilet continues to run after flushing, adjusting or replacing the fill valve can often resolve the issue. A faulty fill valve can cause water to leak into the tank continuously, undermining toilet aesthetics and wasting water. To start, check if the fill valve is properly positioned and adjust the height if needed. If it’s old or damaged, replacing it is a straightforward fix. Modern fill valves help conserve water by shutting off automatically once the tank reaches the correct level. This not only improves toilet aesthetics by preventing constant leaks but also promotes water conservation. Turn off the water supply, drain the tank, and remove the old valve. Installing a new one ensures your toilet functions efficiently and saves water. Additionally, understanding the importance of contrast ratio can help in selecting the right toilet model with efficient flushing performance.
Checking the Float Mechanism
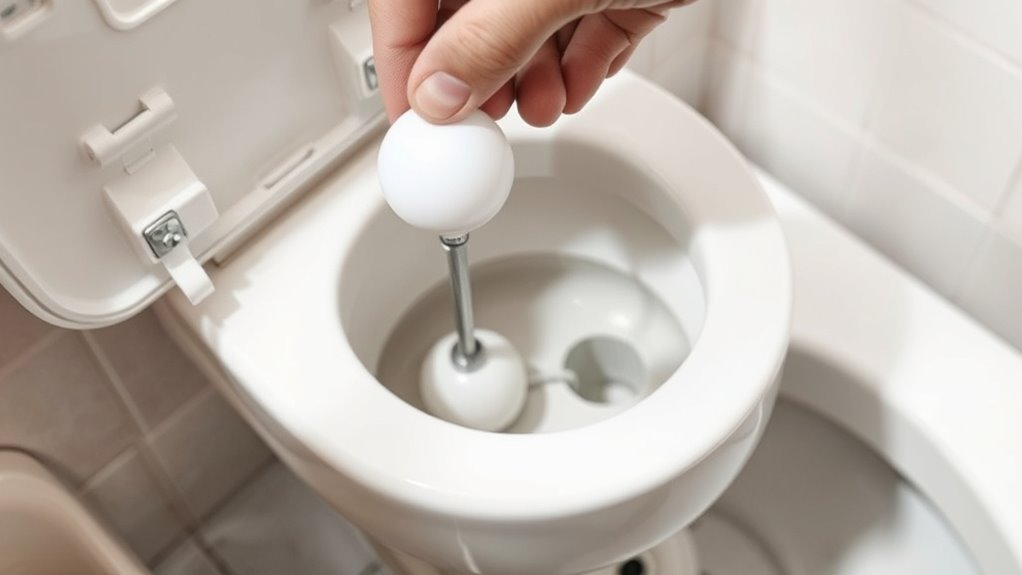
Start by inspecting the float to see if it’s sitting at the correct level. If it’s too high or low, you’ll need to adjust its position to guarantee the water stops at the right height. Making these simple checks can often fix a running toilet without replacing any parts. Additionally, ensuring the float mechanism is properly maintained can prevent future issues.
Inspect Float Position
Have you checked whether the float is properly positioned? The float mechanism controls the water level in your toilet tank. If the float is too high, the water will keep running, wasting water and causing noise. If it’s too low, the tank may not fill enough, leading to weak flushes. To inspect, lift the tank lid and observe the float’s position. It should sit just below the overflow tube’s top when the tank is full. Ensure the float moves freely without obstruction and isn’t caught on anything. If the float is misaligned or stuck, adjust or reposition it carefully. A properly positioned float ensures the water level stays within the correct range, preventing continuous running and fixing the issue temporarily. Additionally, understanding the float mechanism can help you troubleshoot more effectively.
Adjust Float Level
To properly adjust the float level, locate the float mechanism inside your toilet tank. Before making any adjustments, guarantee you follow safety precautions, like turning off the water supply. Once safe, observe how the float sits; it should be about an inch below the overflow tube’s top. If it’s too high or low, adjust the float accordingly. Here are some toilet maintenance tips to keep in mind:
- Don’t force the float; gentle adjustments prevent damage.
- Check for debris or mineral buildup that could affect movement.
- Test the flush afterward to guarantee proper water level and function.
- Regularly inspect the float mechanism to ensure it remains properly aligned and functional, preventing issues like toilet running.
Taking these steps helps prevent running toilets and prolongs your toilet’s lifespan. Remember, proper float adjustment is a simple yet vital part of regular toilet maintenance.
Examining the Chain and Handle Components
Before making any adjustments, it’s important to inspect the chain and handle components for signs of wear or damage. Check the flush handle for looseness or corrosion, which can cause inconsistent flushing. Make sure the handle moves smoothly and isn’t sticking. Next, examine the chain connecting the flush handle to the flapper. It should have just enough slack to allow the flapper to close fully without sagging or being too tight. If the chain is tangled, worn out, or too long, replace or adjust it. Also, inspect the toilet seat area for any debris or obstructions that might interfere with the handle’s movement. Properly functioning handle and chain components are essential for stopping a running toilet and ensuring it flushes correctly. Recognizing these parts can help prevent issues related to toilet malfunctions and ensure smooth operation.
Correcting Water Level Settings

Adjusting the water level in your toilet tank is the next step to fixing a running toilet. Proper water levels prevent unnecessary waste and support water conservation efforts, helping both your wallet and the environment. To do this, locate the fill valve and adjust its float arm or ball. Make sure the water stops about 1 inch below the overflow tube’s opening.
Consider these points:
- Maintaining ideal water levels enhances toilet aesthetics by avoiding overflowing or overflowing tank issues.
- Correct water levels reduce water waste, promoting eco-friendly habits.
- Precise adjustments ensure your toilet functions efficiently, saving you money on your water bill.
Repairing or Replacing Damaged Toilet Parts
If your toilet keeps running, you might need to identify worn parts like the flapper or fill valve. Replacing these components can often stop the leak and restore proper function. Taking a close look at these parts helps you determine whether repair or replacement is necessary. For those interested in improving the efficiency of their fixtures, understanding the basics of toilet tuning can also be beneficial.
Identifying Worn Parts
Worn or damaged parts are often the culprit behind a running toilet, so inspecting these components is a crucial first step. Start by removing the tank lid carefully, and check inside for signs of wear or corrosion. Look closely at the toilet seat hinges, as they can loosen or crack over time, affecting the overall function. Also, examine the flush mechanism for any damaged or warped parts. Regular maintenance and knowledge of local business hours can help ensure timely repairs and avoid further damage. To help identify issues, consider these key points:
- Worn-out flapper or seal, which can cause continuous water flow
- Corroded or warped fill valve, hindering proper tank refilling
- Cracks or warping in the tank lid, which might indicate underlying damage
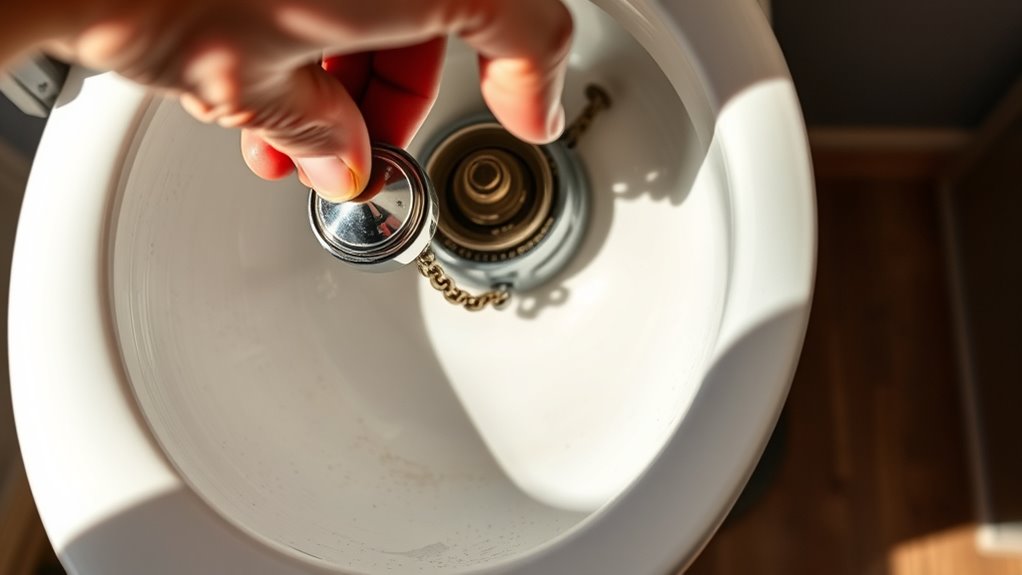
Replacing Flapper Valve
Replacing a flapper valve is a straightforward fix that can stop your toilet from running continuously. First, turn off the water supply and drain the tank. Remove the old flapper by unhooking it from the flush valve. Check the condition of the toilet seat and bathroom tiles around the base to ensure there’s no water damage or mold. Install the new flapper, making sure it seals tightly. Adjust the chain length if necessary for proper operation. Here’s a quick visual guide:
| Step | Action | Notes |
|---|---|---|
| Turn off water | Shut valve and drain tank | Prevent water overflow |
| Remove old flapper | Detach and inspect flush valve | Check for damage or debris |
| Install new flapper | Attach securely and test | Ensure a tight seal |
| Final check | Flush and verify no leaks | Confirm proper function |
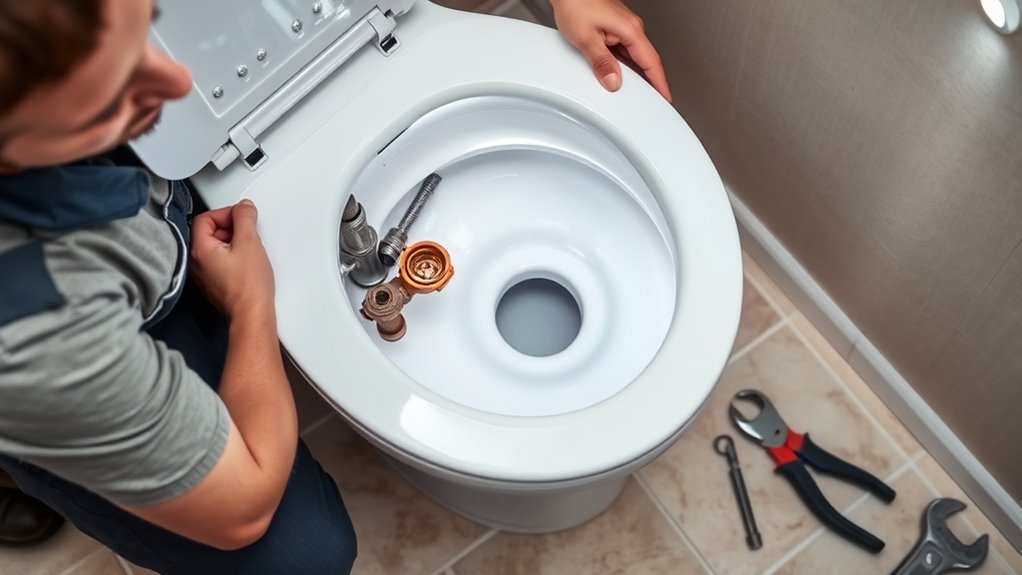
Repairing Fill Valve
When your toilet continues to run after flushing, the fill valve is often the culprit. This component controls water flow into your toilet tank and can wear out over time. To repair it, start by turning off the water supply and draining the tank. If the fill valve is damaged, you might need to replace it entirely. When fixing or replacing the valve, consider these points:
- Ensuring a proper seal prevents leaks and reduces water waste.
- Adjusting the float arm helps regulate water level and stop the continuous fill.
- Replacing worn bathroom fixtures, like the toilet seat, can improve overall function and hygiene.
- Using professional tools and equipment can facilitate a more efficient repair process.
A faulty fill valve can cause ongoing issues, but with the right tools and attention, you can restore your toilet’s performance efficiently.
Testing the Toilet After Repairs
After completing the repairs, it’s important to test the toilet to make sure everything functions correctly. Flushing the toilet a few times helps you verify that the fill valve and flapper work properly, preventing future leaks and conserving water. This step guarantees your plumbing maintenance efforts paid off and that your toilet isn’t wasting water by running continuously. Observe the water level in the tank; it should stabilize at the correct height without overflowing or draining too low. If the toilet stops running after a flush, you’ve likely fixed the issue successfully. Regular testing also promotes water conservation, saving you money and reducing your environmental impact. Be sure to check for any leaks or unusual noises, and make adjustments if necessary.
Frequently Asked Questions
How Often Should I Perform Maintenance on My Toilet to Prevent Running Issues?
You should perform preventive maintenance on your toilet every six months to keep it running smoothly. Regular checks help identify issues early, preventing running problems and extending your toilet’s lifespan. Simple tasks like inspecting the flapper, adjusting the fill valve, and cleaning the tank can make a big difference. By staying proactive, you reduce the chances of costly repairs and guarantee your toilet functions efficiently for years to come.
Can a Clogged Vent Pipe Cause My Toilet to Run Continuously?
Surprisingly, a clogged vent pipe can cause your toilet to run continuously and create that persistent toilet noise. When the vent is blocked, air can’t flow freely, disrupting the water level and triggering endless refilling. So, instead of ignoring that strange noise, check your vent pipe first. Clearing it restores proper airflow, stopping your toilet from running and saving you from the frustration of a never-ending cycle.
What Are the Signs of a Faulty Fill Valve Beyond Constant Running?
Beyond constant running, you might notice float ball issues causing inconsistent fill levels or the fill valve making strange noises. If the float ball gets stuck or is misaligned, your toilet may cycle on and off repeatedly. Additionally, a faulty fill valve can produce hissing or banging sounds. These signs indicate the fill valve isn’t functioning properly and should be inspected or replaced to restore proper operation.
Is It Safe to Use Chemical Cleaners to Fix a Running Toilet?
You shouldn’t use chemical cleaners to fix a running toilet, as they can compromise toilet safety. Chemical cleaners may damage internal components or cause clogs, making the problem worse. Instead, focus on inspecting and replacing parts like the fill valve or flapper. If you’re unsure, it’s safer to call a plumber. Using the right approach prevents potential damage and keeps your toilet functioning correctly without risking safety.
When Should I Consider Replacing My Entire Toilet Instead of Repairing Parts?
You should consider replacing your toilet if it’s nearing its overall lifespan, typically 10-15 years, or if repairs become frequent and costly. When replacement considerations outweigh fixing parts—like persistent leaks, cracks, or inefficient flushing—it’s more practical to install a new toilet. This ensures better performance and saves you money in the long run. If repairs no longer address the issues effectively, a full replacement is often the smarter choice.
Conclusion
Think of your toilet as a well-tuned orchestra. When one instrument—like the flapper or float—misplays, the whole symphony falters. By carefully inspecting and adjusting each part, you’re conducting a smooth, efficient performance once again. With a little patience, you’re the maestro, bringing harmony back to your bathroom. Soon, your toilet will run like a flawless melody, leaving you with peace of mind and a well-sung symphony of comfort.