
To achieve a professional look when painting your home, start with essential surface preparation by cleaning and filling imperfections. Choose high-quality paints and tools that suit your project. Master application techniques by maintaining wet edges and using consistent patterns. For clean edges, cut in with an angled brush and use painter’s tape. Don’t forget about proper drying times and effective clean-up of your tools. There’s much more to learn for flawless results, so keep exploring!
Key Takeaways
- Prepare surfaces by cleaning, filling imperfections, and sanding to ensure optimal paint adhesion and a smooth finish.
- Select high-quality paints and tools, using the appropriate brush and roller for the paint type and surface texture.
- Apply paint using consistent patterns and maintain wet edges to achieve an even and professional-looking coat.
- Use painter’s tape for clean edges and an angled brush for cutting in around corners and trim for precise lines.
- Allow adequate drying time between coats and clean tools promptly to maintain their performance and longevity.

Pro Grade Paint Brushes, 5-Piece Paint Brush Set: Flat & Angle Brushes for Latex and Oil Paints, Stains, Interior & Exterior Home Improvement
5 PIECE PAINT BRUSH SET FOR WALLS, TRIM & CABINETS – Includes flat and angled paint brushes designed…
As an affiliate, we earn on qualifying purchases.
As an affiliate, we earn on qualifying purchases.
Essential Preparation Techniques for a Flawless Finish

When you take the time to prepare your surfaces properly, you’ll achieve a professional-looking finish that lasts. Start by cleaning surfaces with a mild detergent or TSP solution to remove dust, dirt, and grease, which enhances paint adhesion and guarantees a smooth finish. Additionally, maintaining air quality in your workspace can help reduce dust accumulation while painting. A clean environment can also reduce allergens and pollutants, ensuring a healthier space while you work.
Next, address any wall imperfections by filling holes and cracks with spackling compound or wood filler. Once dry, sand these areas for a flawless surface. Moisture-resistant materials can also be used to protect against future damage in high-humidity areas.
Address wall imperfections by filling holes and cracks, then sand for a perfectly smooth surface.
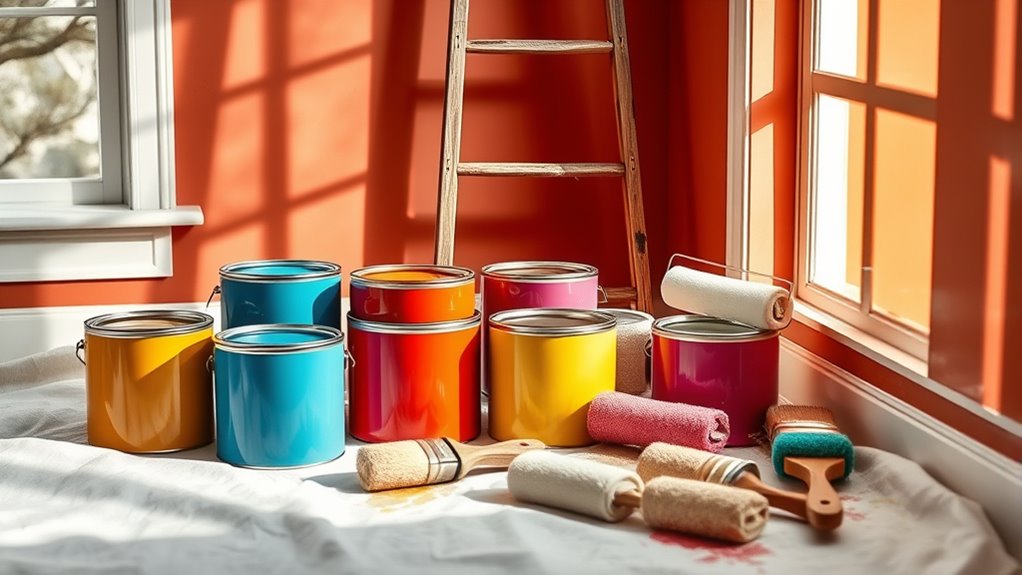
Protect your floors and furniture using canvas drop cloths and painter’s tape around baseboards to prevent drips. Don’t forget to maintain proper ventilation in your workspace to speed up drying times.
Finally, organize all your tools and materials before you start to streamline the prep work and enhance efficiency. Additionally, ensuring color accuracy in your painting project can elevate the overall aesthetic of your space.

Pro Grade Paint Roller Kit, Brush & Roller,10 Piece Set, Wall Painting Naps for Professionals & Homeowners – All Paints & Stains, Washable, Reusable, Easy to Clean, Superior Absorbency.
Complete Painting Solution: This ten piece set includes everything for interior paint jobs; use paint brushes for walls…
As an affiliate, we earn on qualifying purchases.
As an affiliate, we earn on qualifying purchases.
Choosing the Right Paint and Tools
How do you guarantee your paint job looks professional? Start by choosing the right type of paint. Professional painters use high-quality paints like latex or oil-based options for better coverage and durability. Next, invest in the appropriate tools. High-quality brushes with synthetic bristles are ideal for water-based paints, while natural hog hair brushes work best for oil-based ones. Additionally, consider smart toilet innovations that can enhance your bathroom experience while you take a break from painting. Air quality can also impact your painting results, so using an air purifier with HEPA filters can help remove dust and allergens from the environment. Regular maintenance of your tools can ensure they remain in optimal condition, similar to how routine inspections help in maintaining heat pump efficiency.
| Tool Type | Purpose |
|---|---|
| Angled Sash Brushes | Cutting in for clean lines |
| Lint-free Microfiber Rollers | Smooth application |
| Roller Covers | Optimize paint distribution |
Don’t forget to select roller nap thickness based on your surface texture for even coverage. With these choices, you’ll achieve a smooth finish every time. Additionally, regular cleaning processes for your tools ensures they perform optimally during your painting projects.

Duck Clean Release Blue Painter's Tape, 2-Inch (1.88-Inch x 60-Yard), Single Roll, 240195
Ideal for a variety of surfaces including painted walls, trim, glass, wood and metal
As an affiliate, we earn on qualifying purchases.
As an affiliate, we earn on qualifying purchases.
Mastering Application Techniques for Even Coverage
To achieve an even finish, mastering your application techniques is essential. You’ll want to use consistent patterns and maintain wet edges to avoid unsightly marks. Additionally, ensuring proper air quality can help prevent dust and allergens from settling on freshly painted surfaces. Using an air purifier with a HEPA filter can significantly reduce airborne particles, enhancing your painting environment.
Roller and Brush Techniques
Achieving a professional look while painting your home often comes down to mastering roller and brush techniques.
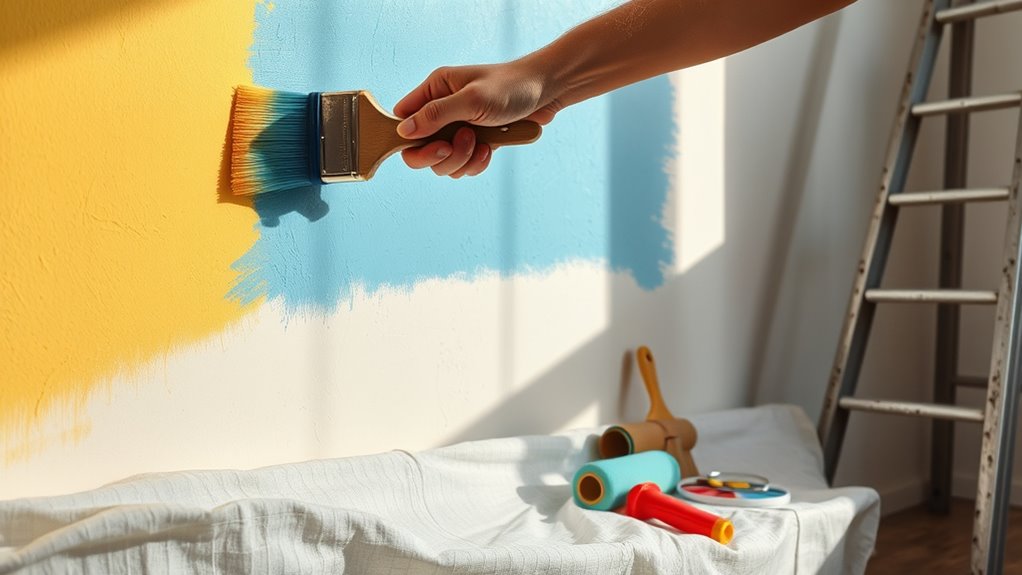
Start by using a high-quality angled brush for cutting in along edges and corners—maintain a consistent angle for an even application.
When using a roller, apply paint in a W or M pattern to guarantee proper distribution and avoid lap marks; always overlap your strokes slightly.
Choose the right roller nap thickness based on surfaces: a longer nap for textured areas and a shorter one for smooth finishes.
Remember to use moderate pressure on the roller to maintain a smooth coat and prevent ridges.
With these techniques, you’ll achieve a flawless, professional-looking paint job that enhances your home’s aesthetic.
Maintaining Wet Edges
Mastering roller and brush techniques sets the foundation for a flawless paint job, but maintaining wet edges is what truly elevates your work.
Focus on painting small sections, about 3–4 feet square, to prevent the paint from drying before you blend new strokes. Use a slow, even motion with your brush and roller, ensuring consistent overlap with previously painted areas for seamless blending.
Regularly check your paint load; overloading can cause drips that disrupt your wet edge technique. Don’t let paint dry between sections—reapply fresh paint while the previous coat is still wet for ideal adhesion.
Correct Application Patterns
While applying paint, using correct application patterns is essential for achieving even coverage and a professional finish.
Employ the W or M rolling technique to guarantee ideal paint distribution. This method helps you maintain a wet edge, preventing lap marks by slightly overlapping strokes. Work in small sections of 3–4 feet to keep the paint workable.
When cutting in, use an angled brush at a consistent angle to create sharp lines without painter’s tape. Avoid overloading your brush or roller, as this leads to drips and uneven coverage.
For flawless results, always apply multiple thin coats instead of one thick coat. This technique enhances drying time and improves the overall integrity of your final finish.

Terberl 31 Piece Multi-Purpose Spray Tool Cleaning Kit with Spray Tools Filters, Paint Tools Clean Kit Airbrush Cleaning Kit for HVLP Gravity, Suction, Detail Paint Tool, Airbrush
Spray Tool Cleaning Kit/ Spray Tool Filter: Different sizes of cleaning brushes can be used for cleaning different…
As an affiliate, we earn on qualifying purchases.
As an affiliate, we earn on qualifying purchases.
Tips for Cutting In and Creating Clean Edges
When it comes to cutting in, mastering your technique is essential for achieving clean edges.
Use the right tools, like a high-quality angled brush, and don’t forget to practice your strokes on scrap material first.
With a steady hand and some preparation, you’ll create precise lines that elevate your paint job.
Mastering Cutting In Technique
Achieving clean edges in your painting project can be a game changer for the final look of your home. Mastering the cutting in technique is essential for sharp lines.
Here are some tips to help you:
- Use a high-quality angled brush, holding it at a consistent angle for better control.
- Apply painter’s tape along edges to create a clean boundary and prevent paint bleed.
- Work in small sections (2-3 feet) while maintaining a wet edge to avoid lap marks.
- To avoid drips, dip your brush one-third into the paint and tap off excess.
Practice a steady hand and a fluid motion for even application.
Consider using a putty knife as a guide for a straight edge.
Tools for Clean Edges
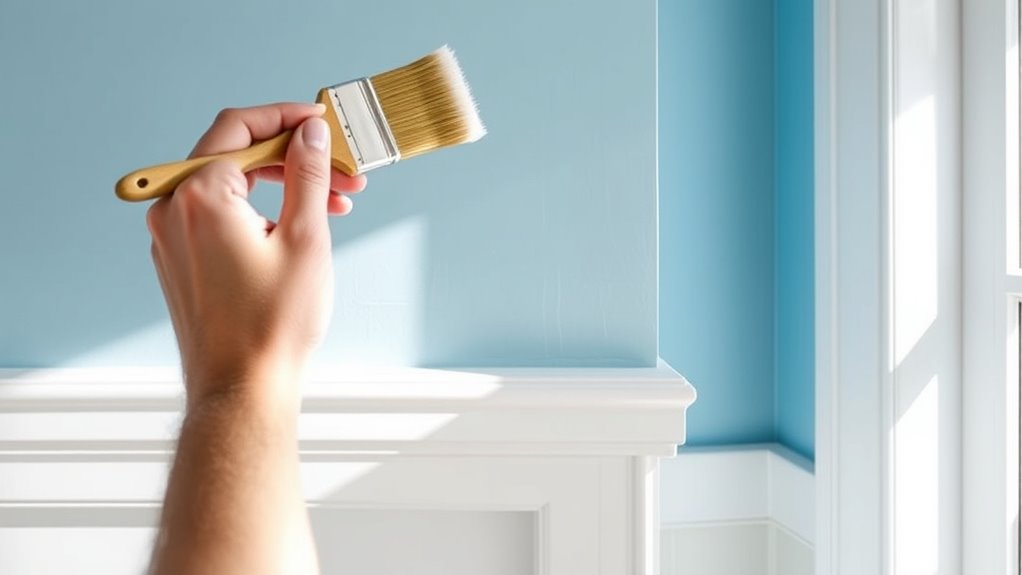
How can you guarantee clean edges while painting? Start with a high-quality angled sash brush for cutting in along edges and corners. This gives you better control, ensuring clean lines.
Maintain a consistent angle and pressure to prevent paint bleeding onto adjacent surfaces. If you want a straight edge without tape, use a wide putty knife as a guide, dragging the brush along it.
After cutting in, roll the adjacent surface while the paint’s still wet to avoid lap marks. Keep a small brush or foam roller handy for touch-ups on edges, maintaining that crisp look even after your paint project is complete—just like the professional painters do!
Practice for Precision Lines
Maintaining clean edges is key to a polished paint job, and practice is what sharpens your skills. Here are some tips to master cutting in and create those sharp lines:
- Use a high-quality angled brush, holding it at a consistent angle for control and precision.
- Start lower on the trim and work upwards; this helps maintain a steady hand and reduces drips.
- For beginners, utilize painter’s tape to prevent paint bleeding, but experienced painters can achieve cleaner results without it.
- Apply paint using the wet edge technique, guaranteeing smooth, continuous strokes to avoid lap marks and assure a flawless finish.
With practice, you’ll be on your way to achieving those perfect precision lines!
Importance of Proper Drying and Curing
While many people focus on color and technique, the importance of proper drying and curing can’t be overstated.
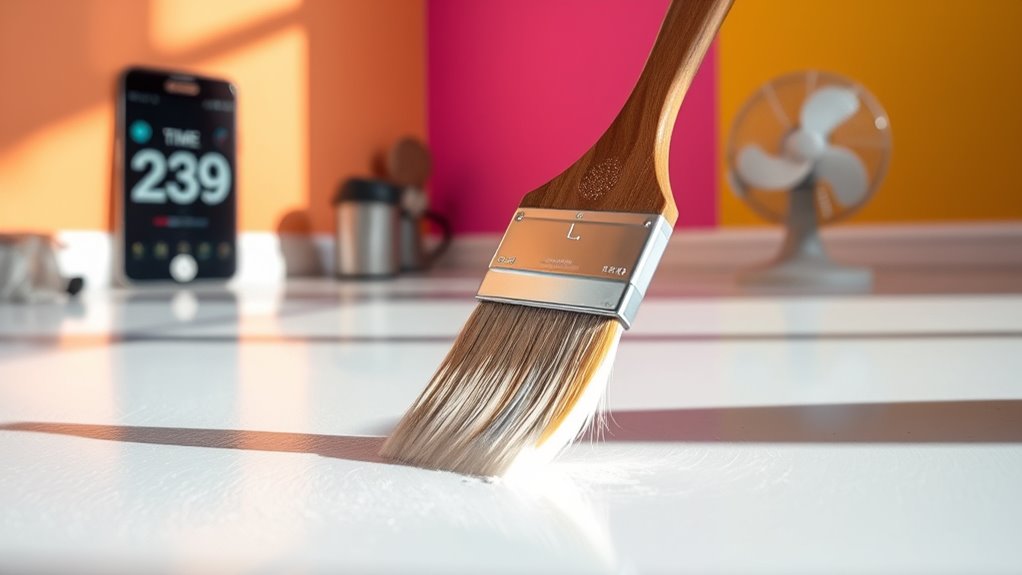
Verify you allow adequate drying time between coats—typically 2-4 hours for latex paints—to promote paint adhesion and prevent peeling or cracking.
The curing process can take up to 30 days, so avoid cleaning or placing furniture against freshly painted surfaces during this time.
Avoid cleaning or placing furniture against freshly painted surfaces for up to 30 days to ensure proper curing.
Monitor environmental conditions, as higher humidity and cooler temperatures can slow down drying times.
Good ventilation is essential; it speeds up drying and reduces lingering odors.
Overworking paint can lead to visible issues in the final finish, so always allow each layer to dry fully before applying subsequent coats, just like the professional painters do.
Effective Clean-Up and Maintenance Strategies

Once you’ve finished painting, effective clean-up and maintenance strategies play an essential role in preserving your hard work.
Follow these steps to guarantee your project stays in top shape:
- Clean brushes and rollers promptly with warm water and mild soap for latex paints, or odorless mineral spirits for oil-based types.
- Store leftover paint in a cool, dry place. Label it with the color and date for easy identification during future touch-ups.
- Inspect painted surfaces regularly for signs of wear or damage, addressing any issues promptly to prevent deterioration.
- To clean painted walls, use a soft sponge with mild soap and warm water, avoiding abrasive cleaners that can harm the finish.
These strategies will help maintain the beauty of your newly painted spaces.
Frequently Asked Questions
How Do You Paint a House Like a Professional?
To paint a house like a professional, start with thorough preparation. Clean the surfaces, repair any imperfections, and apply painter’s tape for clean edges.
Choose high-quality paints and primers, using a bonding primer on tricky surfaces. Master cutting in with an angled brush and use a roller in a W or M pattern for even coverage.
Allow proper drying time between coats, and maintain a wet edge to avoid lap marks for a flawless finish.
In What Order Should You Paint a House?
When you’re painting a house, start with the ceiling. Apply a 3-inch border using an angled brush, then roll the broad areas.
Next, tackle the trim, windows, and doors; removing doors can help you achieve a smooth finish.
After that, cut in and roll the walls, ensuring clean edges.
Finally, paint the baseboards last, addressing any drips from previous steps.
Remember to work top to bottom and left to right for efficiency.
How Do You Paint a Room Like an Expert?
Did you know that using high-quality paint can increase your home’s value by up to 10%?
To paint a room like an expert, start by prepping the space—clear furniture and clean surfaces. Use the right brushes and rollers for your paint type.
Apply the paint with a “W” or “M” technique, keeping a wet edge. Allow drying time between coats and remove tape at a 45-degree angle for crisp lines.
You’ll impress anyone who sees it!
How Do You Get a Professional Finish When Painting?
To get a professional finish when painting, start by prepping your surfaces thoroughly.
Clean and repair any imperfections, and don’t skip the primer.
Use high-quality brushes and rollers, choosing the right nap length for your surface.
Apply multiple thin coats instead of one thick layer for better results.
Cut in with an angled brush for clean edges, and maintain a wet edge to blend seamlessly.
This’ll help you achieve a flawless look.
Conclusion
With the right preparation, tools, and techniques, you can transform your home into a masterpiece that rivals a Renaissance painting. Remember to cut in carefully for crisp edges and allow your paint to dry properly for the best results. After all, a little patience goes a long way. So grab your brush and channel your inner artist—your walls are waiting for a fresh coat that’ll have everyone saying, “Wow, did you hire a pro?”