To replace weathered exterior caulk, start by inspecting the existing seal for cracks or damage. Remove old caulk carefully with a utility knife or caulk remover, then clean and dry the surface thoroughly. Choose a high-quality, weather-resistant caulk that matches your surface color. Apply it evenly using a caulking gun, smooth the bead, and let it cure properly. For detailed steps and expert tips, continue exploring the process to guarantee a durable, weatherproof seal.
Key Takeaways
- Inspect existing caulk for cracks, gaps, or mold to determine if replacement is necessary.
- Remove all old, damaged caulk thoroughly using appropriate tools and clean the surface beforehand.
- Select high-quality, weather-resistant caulk that matches the exterior surface color for durability and aesthetic appeal.
- Apply the new caulk carefully with a caulking gun, smoothing it for a neat, sealed finish.
- Regularly inspect and maintain caulk joints every 6 months to prevent water damage and prolong sealing effectiveness.

Dap 18026 Caulk-Be-Gone Caulk Remover
As an affiliate, we earn on qualifying purchases.
As an affiliate, we earn on qualifying purchases.
Assessing the Condition of Existing Caulk
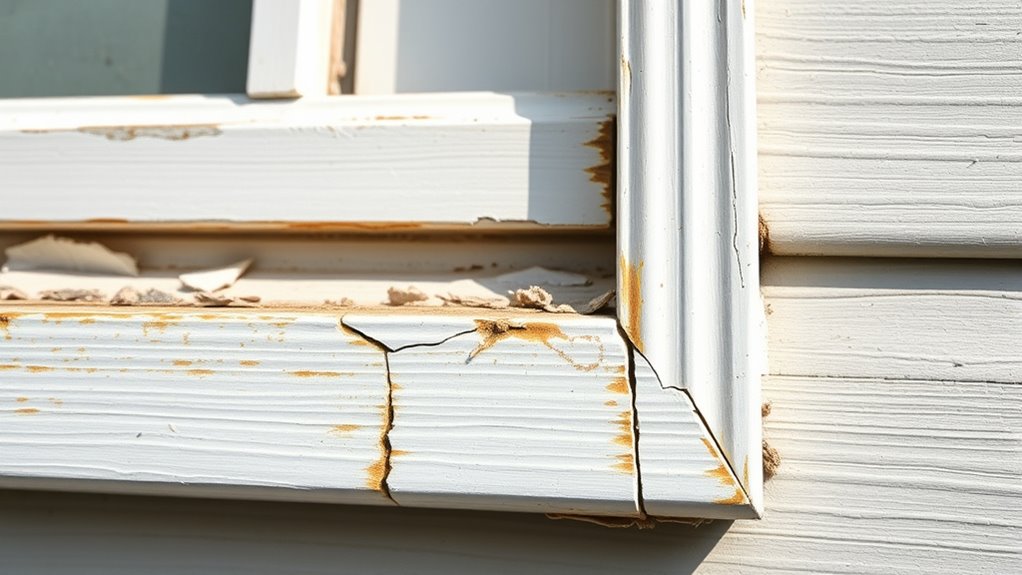
Before replacing weathered exterior caulk, it’s essential to evaluate its current condition. Check the caulk’s durability by inspecting for cracks, gaps, or peeling areas. These signs indicate the caulk may no longer provide an effective seal and needs replacement. Understanding common deterioration causes, such as exposure to harsh weather, UV rays, temperature fluctuations, and moisture, helps you identify problems early. If you notice mold, mildew, or crumbling sections, it’s a clear sign that the caulk has deteriorated. Don’t ignore these signs; compromised caulk can lead to water infiltration and further damage. Carefully assess the entire area, paying special attention to corners and joints, to determine whether the existing sealant can be salvaged or if a full removal and replacement are necessary. Regular inspection can prevent issues related to water infiltration, which can cause extensive damage if left unaddressed.

Selsil Siliconized Super Acrylic Latex Sealant, Indoor & Outdoor Paintable Caulk – Flexible, Weather & Moisture Resistant, White Caulking for Baseboards, Windows, Doors & More – 5.5 oz (160 ml)
ENHANCED STRENGTH & FLEXIBILITY: Our SELSIL Acrylic Latex Sealant is reinforced with silicone emulsion that enhances its strength…
As an affiliate, we earn on qualifying purchases.
As an affiliate, we earn on qualifying purchases.
Preparing the Area for New Sealant
Start by cleaning the area thoroughly to remove dirt and debris, ensuring the new sealant sticks properly. Next, carefully remove all old caulk, taking care to get rid of any residue. Finally, dry the surface completely so it’s ready for the fresh sealant to adhere effectively. To ensure a proper seal, consider understanding material compatibility when selecting your sealant.
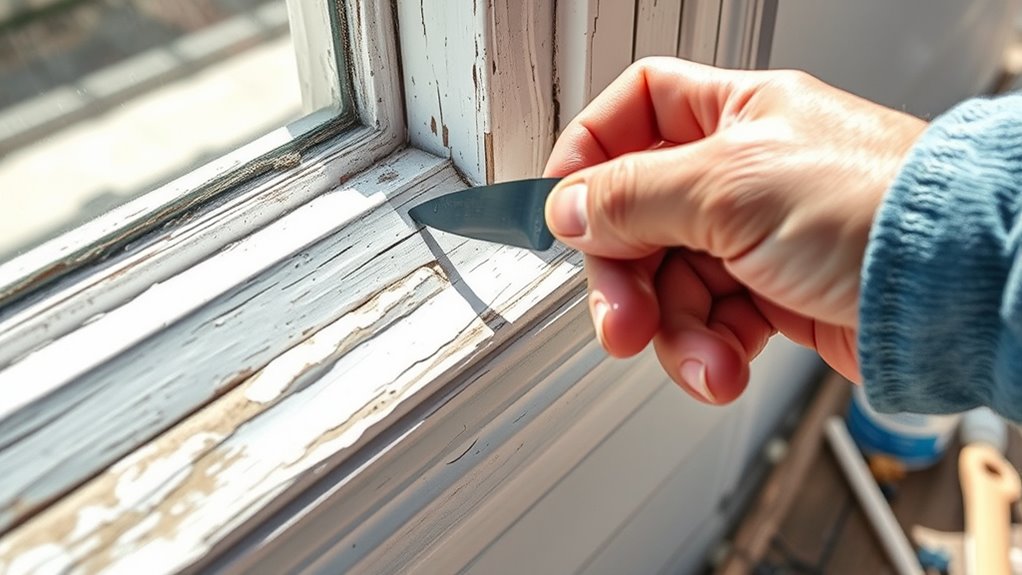
Clean and Remove Old Caulk
Have you ever wondered why new caulk fails to adhere properly? Often, leftover debris or old caulk prevents a good seal. To prepare, thoroughly remove the old caulk using the right tools, like a utility knife or caulk remover. When selecting new caulk, consider the caulk color selection to match your surface, and verify tool compatibility for a smooth application. Proper surface preparation, including cleaning and drying, is essential for reliable sealing performance. Here are key steps: – Scrape away as much old caulk as possible – Clean the area with solvent or rubbing alcohol – Check surface for residue or dirt – Let the surface dry completely before applying new sealant
Removing old caulk properly creates a clean, primed surface, ensuring your fresh sealant bonds well and lasts longer.
Dry Surface Completely
After removing the old caulk and cleaning the surface, it’s essential to make sure the area dries completely. Moisture control is vital, as lingering dampness can prevent the new sealant from adhering properly and lead to mold or deterioration. Use a clean cloth or towel to pat the surface dry, ensuring all crevices and corners are moisture-free. Proper surface preparation involves removing any remaining moisture, dirt, or debris, which can compromise the sealant’s effectiveness. Avoid rushing this step; even a small amount of moisture can cause problems down the line. If needed, use a fan or allow extra time for thorough drying. Ensuring the surface is dry will promote better adhesion and a longer-lasting, weatherproof seal. Additionally, verifying that the surface is free from dirt or debris helps ensure optimal sealant performance and durability.
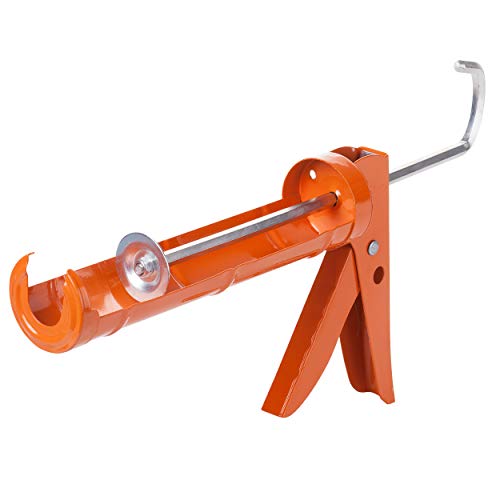
Bates- Caulking Silicone Gun, 10:1 Thrust Ratio, Hand Caulking Guns, No Drip
Introducing the Bates caulking gun, your versatile companion designed to seamlessly dispense a variety of materials – from…
As an affiliate, we earn on qualifying purchases.
As an affiliate, we earn on qualifying purchases.
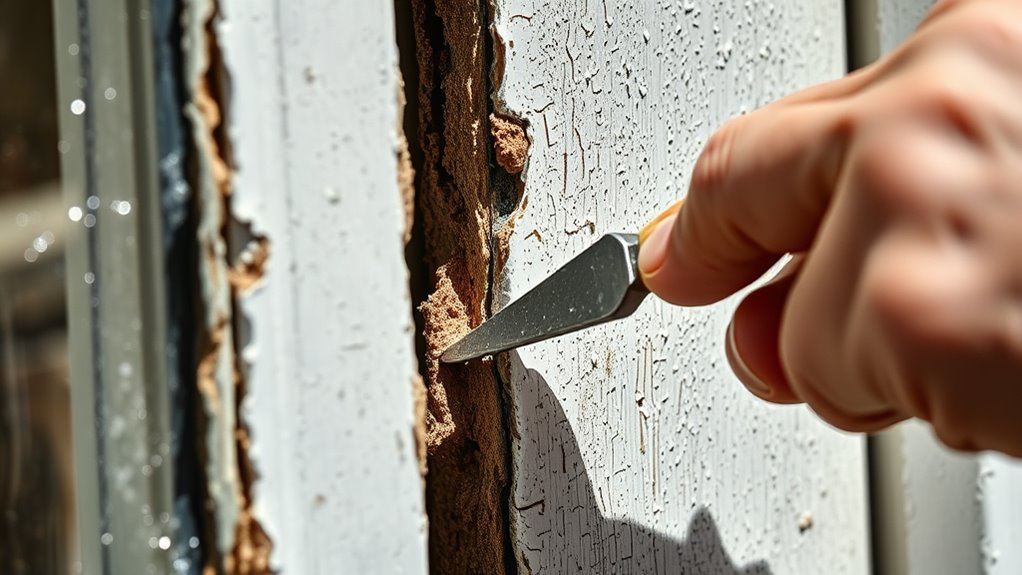
Removing Old or Damaged Caulk

Removing old or damaged caulk is a crucial step to guarantee a proper seal and a clean surface for the new application. You need to carefully eliminate all compromised material to ensure the new caulk adheres properly. Use a utility knife, caulk remover, or a putty knife to scrape away the old caulk, especially if it’s cracked or peeling. Be aware of different caulk types, such as silicone, acrylic, or polyurethane, as sealing techniques vary. Proper removal prevents gaps and mold growth, ensuring a durable seal. Additionally, understanding local regulations can help you choose the right materials and disposal methods. Wear gloves and eye protection, and make certain all residue is thoroughly cleaned before applying new caulk.
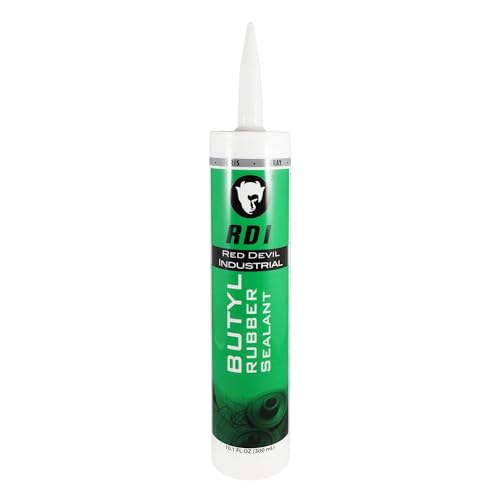
Red Devil 0697GI RD Pro Butyl Rubber Sealant – High-Performance Industrial-Grade Sealant for Outdoor & Below-Grade Applications, Paintable, Excellent Adhesion, 10.1 oz Cartridge, Gray
PROVIDES A WATERTIGHT SEAL: High-performance butyl rubber sealant ideal for outdoor and below-grade applications where a durable, weatherproof…
As an affiliate, we earn on qualifying purchases.
As an affiliate, we earn on qualifying purchases.
Cleaning and Drying the Surface
Before applying new caulk, you need to clean the surface thoroughly by removing dirt and debris. Make sure to scrub away any grime so the caulk adheres properly. Once cleaned, dry the area completely to guarantee a strong, lasting seal. Ensuring the surface has the right color accuracy helps in achieving a more precise and durable application.
Remove Dirt and Debris
To guarantee a proper bond when replacing exterior caulk, it’s essential to remove dirt and debris from the surface thoroughly. Dirt and grime can compromise adhesion, so cleaning ensures your weatherproofing techniques work effectively. Use a stiff brush or scraper to remove loose debris, and wash the area with a mild detergent and water. Rinse well and let it dry completely. This preparation helps you select the right caulk and ensures a lasting seal. Remember, a clean surface improves caulk adhesion and durability. Proper cleaning also prevents mold and mildew growth, maintaining the integrity of your exterior. Additionally, understanding how arcade games operate can inspire creative ideas for home improvement projects. Scrape off loose dirt and old caulk. Use a brush to loosen stubborn debris. Apply a mild detergent for thorough cleaning. Allow the surface to dry completely before caulking.
Ensure Complete Drying
Ensuring the surface is completely dry is essential for a strong, lasting caulk bond. Moisture can compromise weatherproofing techniques and reduce caulk longevity. Before applying new caulk, thoroughly dry the area using a cloth or towel, and wait if necessary to ensure no dampness remains. Proper drying prevents mold and adhesion issues. Use a fan or dehumidifier in humid conditions to speed up the process. Here’s a quick guide:
| Step | Method | Tip |
|---|---|---|
| Clean surface | Remove residual dirt | Use a mild cleaner |
| Check dryness | Touch test or use a tool | Ensure no moisture remains |
| Dry thoroughly | Air dry or use fans | Wait at least 24 hours |
Additionally, understanding filtration systems can help reduce surface moisture and improve drying times. This approach guarantees superior surface conditions, improving weatherproofing and caulk longevity.
Applying New Exterior Caulk Effectively
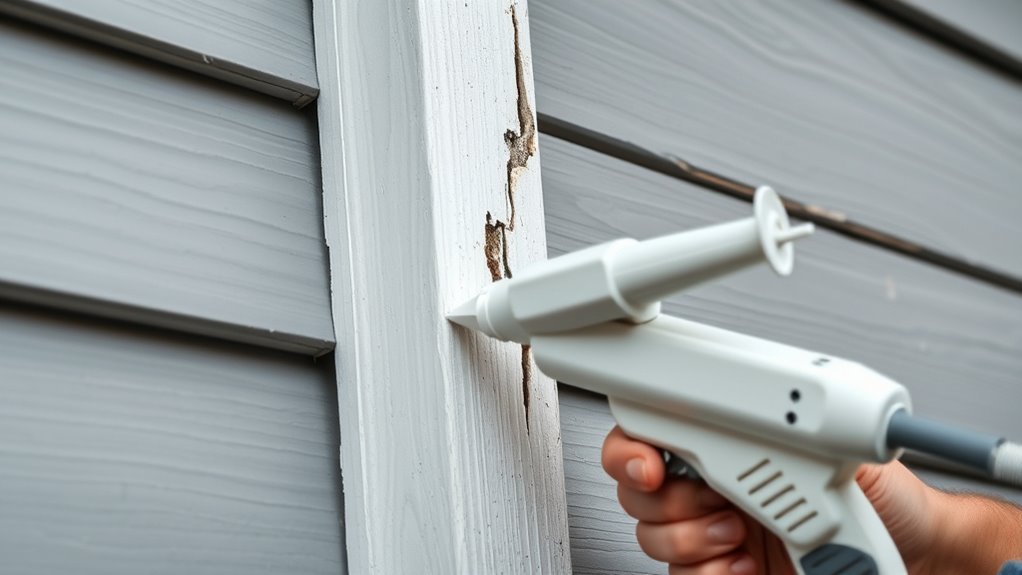
Applying new exterior caulk starts with preparing the surface properly. Clean the area thoroughly, removing old residue and debris, then let it dry completely. When selecting caulk, consider color matching to blend seamlessly with your siding or trim, and choose a high-quality product suited for exterior use. To apply effectively:
- Cut the tip at a 45-degree angle for control
- Use a caulking gun for steady application
- Squeeze a continuous bead along the joint
- Smooth the bead with a caulk finishing tool or finger
This ensures a neat, durable seal. Proper preparation and careful application help prevent future leaks and enhance your home’s appearance. Remember, the right caulk and technique make all the difference in achieving a professional finish. Incorporating sound vibrations into your maintenance routine can also promote better adhesion and longevity of the seal.
Finishing Touches and Maintenance Tips

After finishing your caulking project, paying attention to finishing touches and regular maintenance guarantees your repair lasts longer and stays looking great. To enhance durability, choose the right caulk selection that matches your exterior color. Proper color matching ensures the repair blends seamlessly, preserving your home’s curb appeal. Once the caulk cures, remove any excess promptly for a clean finish. Regularly inspect caulk joints for cracks or wear and reapply as needed to prevent water damage. Keep the surface clean by washing it with mild soap and water. To help you stay organized, here’s a quick guide:
| Task | Tip | Frequency |
|---|---|---|
| Color matching | Use sample swatches beforehand | Before application |
| Caulk selection | Choose weather-resistant types | During purchase |
| Inspection | Check for cracks or gaps | Every 6 months |
| Cleaning | Gentle washing with soap | Monthly |
| Reapplication | Reapply when deteriorating | As needed |
Additionally, selecting the appropriate caulk type ensures it withstands outdoor elements and prolongs the lifespan of your repair.
Frequently Asked Questions
How Often Should Exterior Caulk Be Replaced for Optimal Protection?
You should replace exterior caulk every 5 to 7 years for maximum protection. Follow a regular maintenance schedule to inspect the caulk for cracks or deterioration, especially after harsh weather. The material’s longevity depends on exposure and quality, so addressing issues early keeps your home sealed and protected. Don’t wait until leaks or damage occur—timely replacement ensures your exterior remains weatherproof and energy-efficient.
What Types of Caulk Are Best for Different Outdoor Surfaces?
For different outdoor surfaces, you should choose the right type of sealant for ideal results. For example, use acrylic latex caulk for wood and siding, as it’s easy to apply and paintable. For concrete or masonry, silicone sealants offer better flexibility and weather resistance. Always check surface compatibility before applying, ensuring the sealant bonds well and withstands outdoor conditions. This approach keeps your exterior protected and looking great.
Can I Paint Over New Exterior Caulk Immediately?
Imagine you just applied new exterior caulk around your windows. You can usually paint over it immediately if you choose a paint that matches your home’s color and offers moisture resistance. This guarantees a seamless look and protects against weather. Just make sure the caulk is fully cured, typically 24 hours, so the paint adheres well and lasts. This way, you keep your home looking fresh and weatherproof.
How Do Weather Conditions Affect the Caulking Process?
Weather conditions critically impact the caulking process. If temperatures fluctuate too much, the caulk may not adhere properly or could crack as it cures. High moisture levels, like rain or humidity, prevent the caulk from setting correctly and can cause mold or mildew later. To guarantee a durable seal, you should apply caulk when the weather is stable, with moderate temperatures and low moisture levels, ideally on a dry, mild day.
What Tools Are Recommended for Precise Caulk Application?
Honestly, your precision in caulking depends on the right tools. You’ll want a quality caulking gun, a steady hand, and maybe a fancy nozzle for those tricky corners. Mastering caulking techniques means keeping your tools clean and well-maintained—no one wants a messy job. For spotless results, use a caulk smoothing tool and avoid rushed work. Proper tool maintenance guarantees your caulk is neat, durable, and weatherproof—because no one likes a leaky, sloppy seal!
Conclusion
Replacing weathered exterior caulk is like giving your home a fresh breath of life. When you assess, prepare, remove, clean, and apply with care, you’re sealing out the elements and safeguarding your sanctuary. Think of it as mending a worn-out shield—restoring strength and beauty. With regular maintenance, your home will stand proud, resilient against the storms of time, making every season a demonstration of your dedication and love for your space.