
To effectively soundproof a room, start by sealing gaps around doors, windows, and outlets with high-quality sealant or weatherstripping. Add mass-loaded vinyl or soundproof paint to walls for better noise blocking. Use heavy curtains and install soundproof windows to reduce external noise. Incorporate acoustic panels or foam to absorb sound reflections inside. For extra soundproofing, consider professional solutions or layered barriers—if you want to learn more, there are simple strategies that really work.
Key Takeaways
- Seal gaps, cracks, and upgrade doors and windows with high-quality materials like weatherstripping and double-pane glass.
- Use mass-loaded vinyl, acoustic foam, and soundproof paints for effective barriers and absorption.
- Add heavy, dense curtains and acoustic panels to reduce sound reflections and external noise.
- Measure noise levels and identify primary sources to target specific soundproofing strategies.
- Consider professional installation for customized, long-lasting soundproofing solutions.
Assessing Your Room’s Noise Levels and Sources
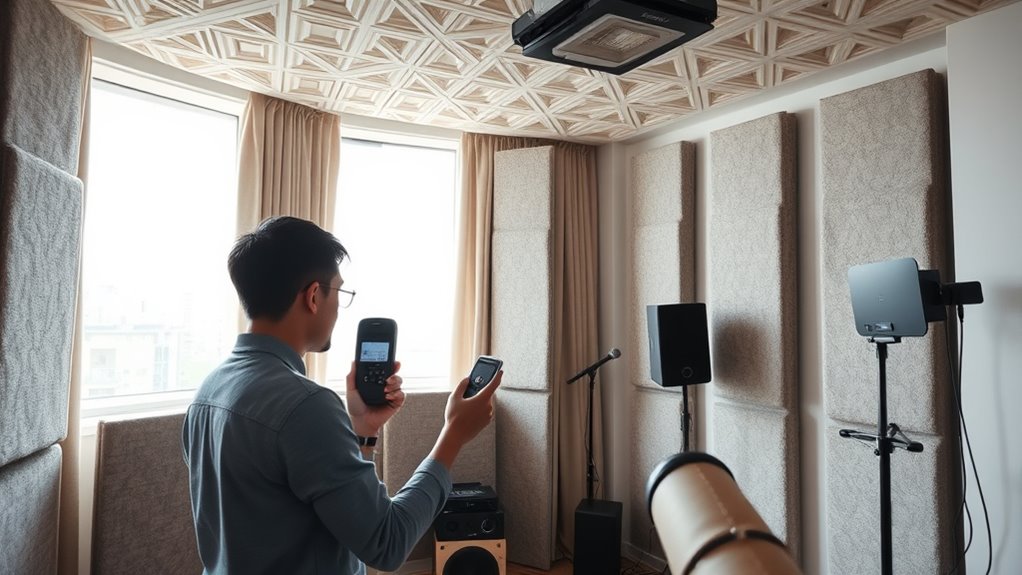
Before you begin soundproofing, it’s essential to identify where the noise is coming from and how loud it is. Use a sound level measurement device to gauge the noise levels at different times of day. This helps you understand the intensity and frequency of the noise, so you can prioritize your efforts. Noise source identification is vital; listen carefully to determine whether the sound originates from outside, adjacent rooms, or appliances within the space. Take note of specific loud spots and times when noise peaks. By accurately evaluating your room’s noise levels and sources, you’ll gain a clear picture of what needs to be addressed. This step guarantees your soundproofing efforts are targeted and effective from the start. Additionally, understanding the noise levels and sources can help you select the most appropriate soundproofing materials and methods for your situation.
Sealing Gaps and Cracks to Block Noise Leaks
Start by identifying common leak points like door frames, window edges, and baseboards. Use sealant effectively to close gaps and prevent noise from escaping or entering. Remember to regularly inspect and maintain these seals to keep your room soundproof over time. Incorporating proper insulation can further enhance noise reduction and improve overall effectiveness.
Identify Common Leak Points
Have you ever noticed noise sneaking through tiny gaps around doors and windows? These small openings are common leak points that let sound escape or enter your room. Check for ventilation gaps around exhaust fans or vents, as these can be surprisingly large noise pathways. Electrical outlets are another often-overlooked area; they can leak sound if not properly sealed. Inspect all walls, corners, and seams for cracks or gaps, especially near baseboards and molding. Don’t forget to examine the edges where different materials meet, like window frames or door frames. Identifying these leak points is essential to effective soundproofing. Additionally, understanding sound transmission can help you better target the most critical areas for sealing. Once you’ve pinpointed them, sealing these gaps will markedly reduce noise transfer and improve your room’s acoustics.
Use Sealant Effectively
Sealing gaps and cracks is one of the most effective ways to block noise leaks and improve your room’s soundproofing. To do this well, choose a high-quality sealant with good durability, ensuring it withstands temperature changes and wear over time. Use proper sealing techniques by applying enough sealant to cover all gaps completely, creating a solid barrier against sound leaks. Be sure to fill cracks around windows, door frames, outlets, and baseboards thoroughly, smoothing the sealant for a tight seal. Proper application prevents future cracks from forming and maintains the effectiveness of your soundproofing efforts. Additionally, understanding the importance of air quality and how proper sealing can contribute to a healthier indoor environment can enhance your overall home improvement strategy. Remember, careful sealing maximizes the benefits of your insulation, making your room quieter and more private.
Regularly Inspect and Maintain
To keep your room effectively soundproofed, it’s essential to regularly inspect for new gaps or cracks that may develop over time. These small openings can cause noise leaks, undermining your efforts. Check around windows, doors, and along your soundproof flooring for signs of wear or damage. Use a flashlight to spot hidden cracks or gaps and seal them promptly with appropriate materials like acoustic sealant or weatherstripping. Remember, even with noise canceling headphones, sealing gaps improves overall soundproofing. Maintaining your soundproofing measures ensures consistent noise reduction, preventing sound from escaping or entering through unnoticed openings. Regular inspections and maintenance are key to preserving the effectiveness of your soundproofing efforts over time. Additionally, inspecting soundproofing materials regularly helps ensure they remain in good condition and continue to block noise effectively.
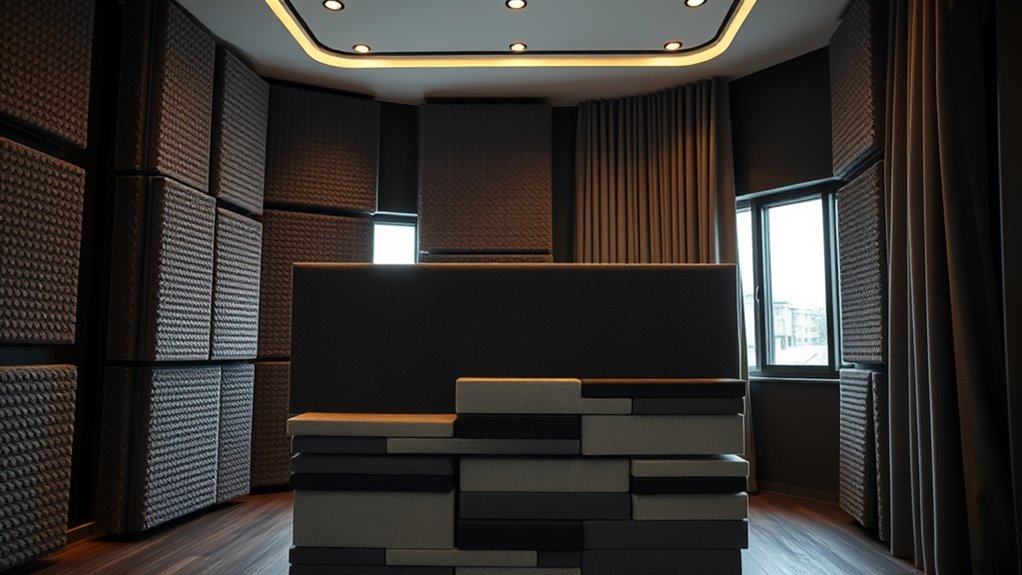
Using Acoustic Panels and Foam for Sound Absorption
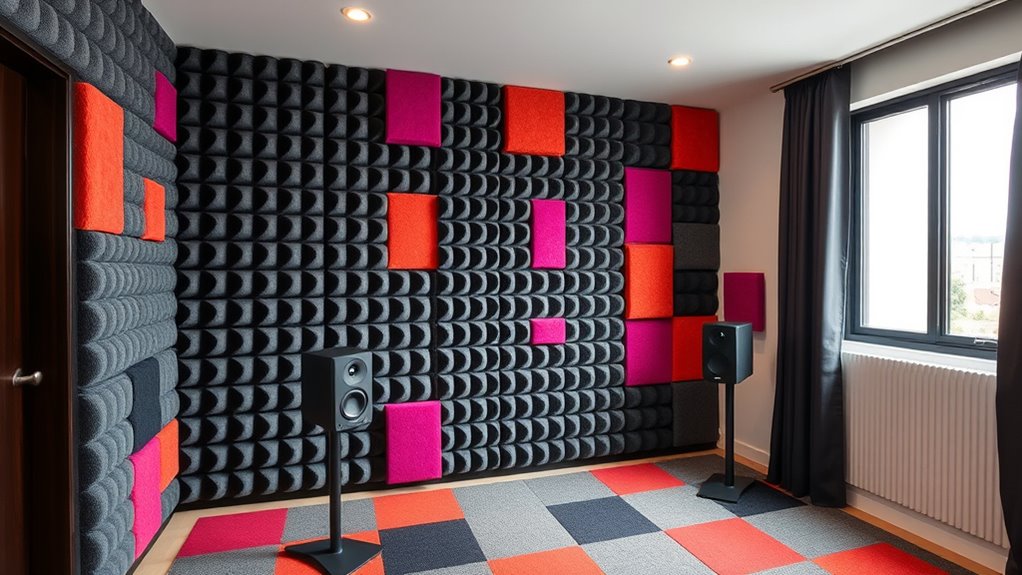
Using acoustic panels and foam is an effective way to absorb sound waves and reduce echo within a room. Acoustic foam is designed specifically for sound absorption, helping to dampen reflections and minimize reverberation. When you place these panels strategically on walls or ceilings, they trap sound energy and prevent it from bouncing around. This improves the room’s acoustics, making speech clearer and music more precise. Acoustic foam comes in various shapes and thicknesses, allowing you to customize your setup based on your needs. By reducing echo and sound reverberation, these materials create a more comfortable and quieter environment. Incorporating acoustic panels and foam is a straightforward step toward enhancing your room’s soundproofing without extensive construction. Top 15 options for convenience in outdoor settings.
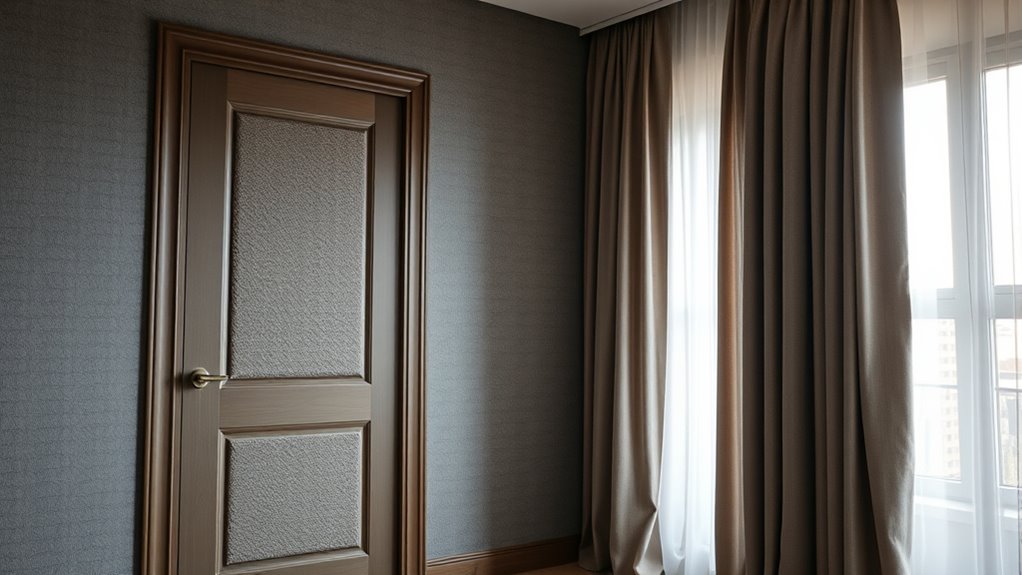
Installing Heavy Curtains or Soundproof Windows

After installing acoustic panels and foam, you can further block sound transmission by adding heavy curtains or investing in soundproof windows. Heavy curtains are made from dense, thick fabrics that absorb sound waves and prevent noise from passing through windows. They’re an easy, affordable way to improve noise reduction, especially during nighttime. Soundproof windows, on the other hand, are specially designed with multiple panes and insulating materials that minimize sound leaks from outside. They provide a significant barrier against external noise and can drastically improve your room’s acoustics. Both options work best when properly installed, sealing gaps around frames to maximize sound insulation. Combining heavy curtains with soundproof windows offers an effective, layered approach to creating a quieter, more peaceful environment. Sealing gaps around frames is crucial to optimize the soundproofing effectiveness of both solutions.
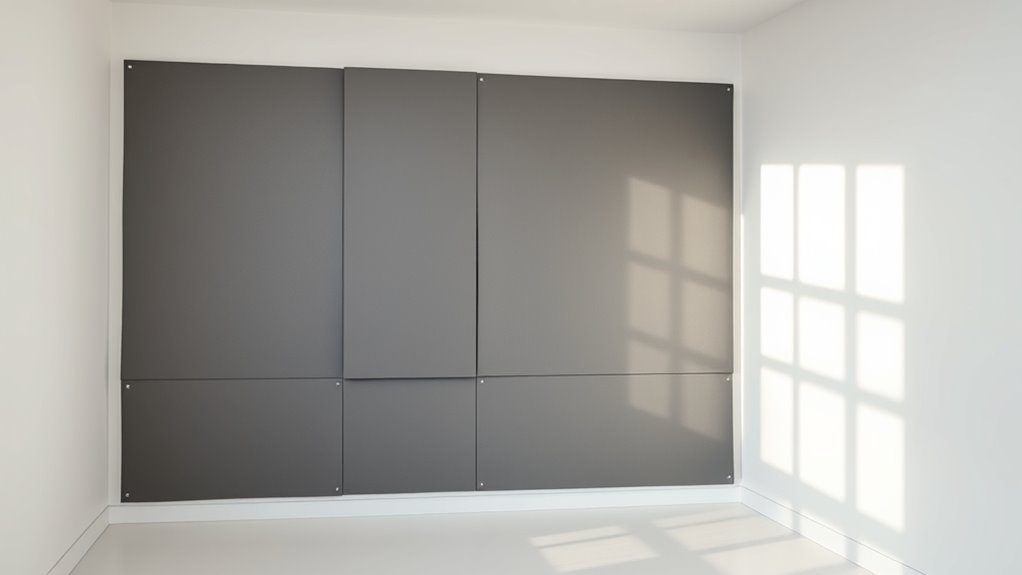
Applying Mass-Loaded Vinyl and Soundproof Paints
Applying mass-loaded vinyl and soundproof paints can substantially boost your room’s sound barrier. You’ll want to follow proper techniques to make certain of even coverage and maximum effectiveness. Here are some tips to help you get the best results from these materials. Using the right methods can also prevent common mistakes and improve overall soundproofing success. Proper application techniques are essential for achieving a professional-grade soundproofed space.
Enhancing Sound Barrier
Have you considered how adding mass to your walls can markedly improve soundproofing? Using materials like mass-loaded vinyl (MLV) creates a dense barrier that blocks sound transmission. This extra mass enhances vibration isolation, preventing noise from traveling through walls or floors. When combined with soundproof paints, you strengthen your room’s defenses against airborne sounds. For an even more effective barrier, consider installing soundproof flooring designed to absorb vibrations and reduce impact noise. These methods work together to suppress sound waves before they enter or exit your space. By increasing the mass and damping vibrations, you markedly improve your room’s soundproofing capabilities, making it a quieter, more peaceful environment. Incorporating soundproofing materials that are specifically designed to dampen vibrations can further optimize your results.
Application Techniques and Tips
To effectively enhance your room’s soundproofing, proper application techniques for mass-loaded vinyl (MLV) and soundproof paints are key. When installing MLV, ensure it’s tightly sealed with minimal overlaps to prevent sound leaks, and avoid obstructing ventilation considerations. For soundproof paints, apply multiple thin coats, following the manufacturer’s instructions, and consider how interior decor elements may impact coverage. Use a roller or sprayer for an even finish. Keep in mind that strategic placement affects both soundproofing and style. To visualize, consider this:
| Technique | Tip | Result |
|---|---|---|
| MLV Installation | Seal edges thoroughly | Maximize soundproofing |
| Soundproof Paints | Apply thin, even coats | Smooth finish, better coverage |
| Ventilation & Decor | Maintain airflow, choose colors | Improved comfort, aesthetic |
Additionally, monitoring air quality indicators can help determine the most effective placement and application methods for your specific space.
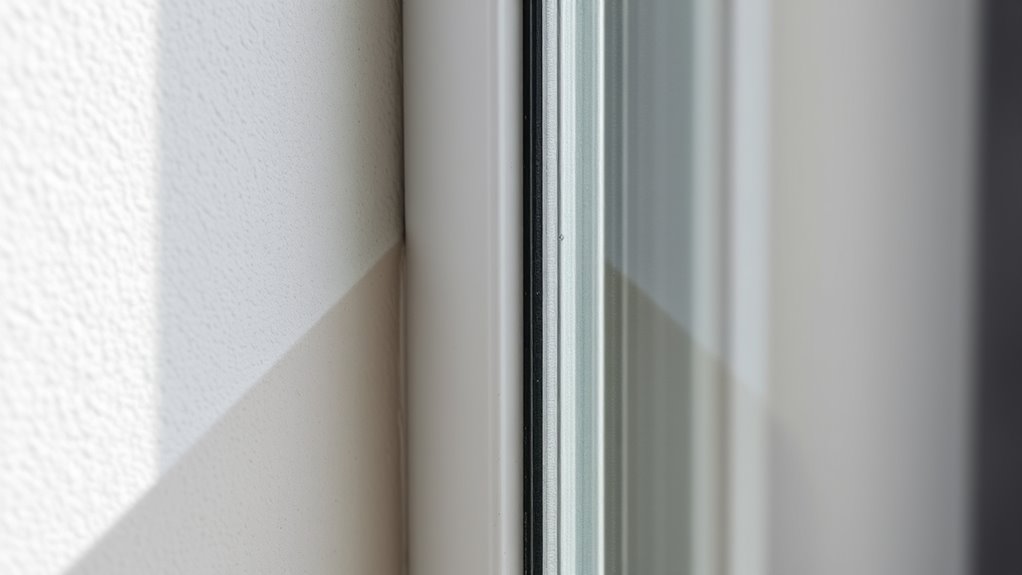
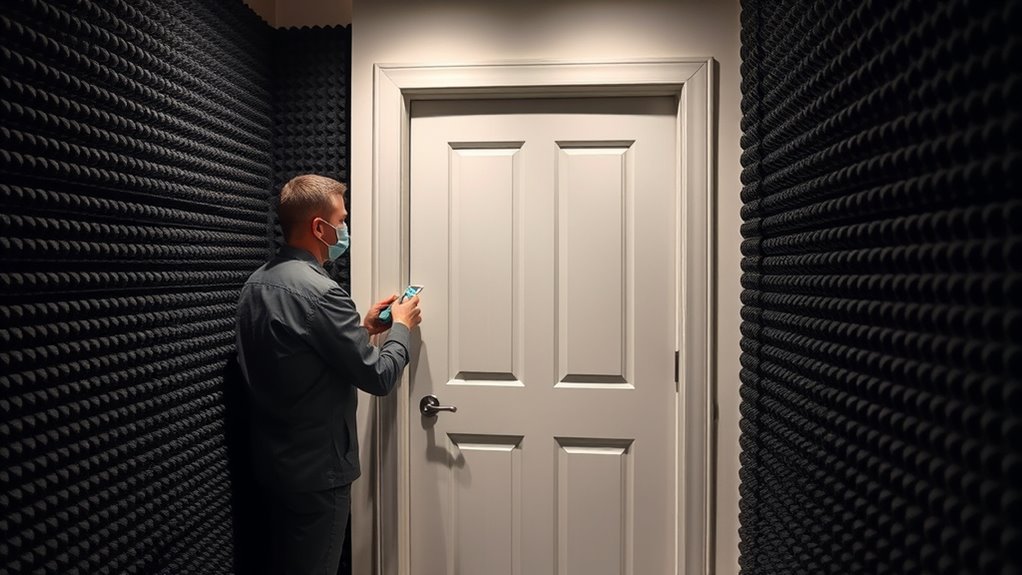
Enhancing Doors and Windows for Better Noise Control
Enhancing doors and windows is a crucial step in improving your room’s noise control. Start by adding door insulation, such as weatherstripping or door sweeps, to seal gaps that let sound pass through. Upgrading your door’s core to a solid, dense material also helps block noise better. For windows, consider installing high-quality window glazing, which considerably reduces sound transmission. Double or triple-pane glass adds an extra layer of soundproofing compared to single-pane options. Using acoustic sealant around window frames further prevents sound leaks. These upgrades create a tighter barrier against noise infiltration, making your space quieter and more comfortable. Properly insulating doors and upgrading window glazing are simple yet effective steps in your overall soundproofing strategy.
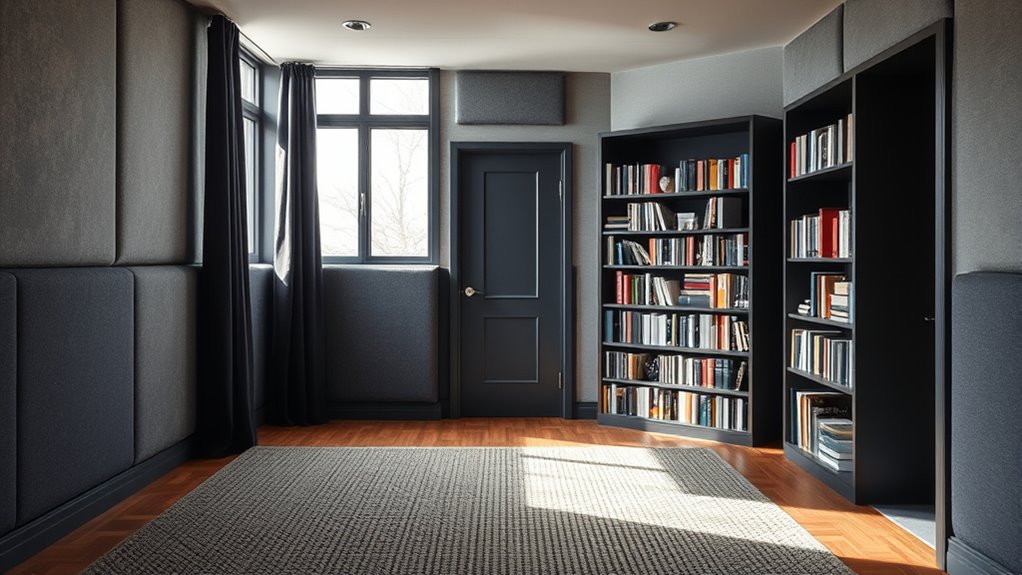
Creating DIY Soundproof Barriers and Room Dividers
Wondering how to create effective soundproof barriers on a budget? DIY barriers and decorative dividers are great solutions. You can repurpose thick curtains, bookshelves filled with dense materials, or foam panels to block sound. Arranging these strategically along walls helps reduce noise transfer. For added style, use decorative dividers made from fabric-covered panels, lattice, or repurposed furniture. These not only serve as visual accents but also dampen sound waves. Attach sound-absorbing materials like acoustic foam or mass-loaded vinyl behind or within your DIY barriers for better results. Keep in mind, layering and sealing gaps improve their effectiveness. With some creativity and effort, you can build attractive, functional soundproof barriers that fit your space and budget.
Considering Professional Soundproofing Solutions
When DIY solutions fall short of your noise reduction goals, professional soundproofing services offer more effective and reliable results. A professional consultation helps identify the specific sources of noise and determines the best strategies for your space. These experts can recommend tailored solutions that address your unique needs, ensuring maximum soundproofing efficiency. With custom installation, they use specialized materials and techniques that aren’t typically available to homeowners, creating a seamless, effective barrier against noise. Investing in professional services can save you time and effort while delivering superior results. Whether you’re aiming to silence external sounds or contain noise within a room, collaborating with soundproofing specialists ensures you get a comprehensive, long-lasting solution that meets your expectations.
Frequently Asked Questions
How Do I Determine the Most Effective Soundproofing Method for My Room?
To determine the most effective soundproofing method for your room, start by identifying the noise frequency you want to block—low or high. Then, consider material selection; dense, mass-loaded materials work best for low frequencies, while softer, absorbing materials target higher frequencies. Assess your room’s construction and noise sources, and choose solutions like insulation, acoustic panels, or sealing gaps accordingly for best results.
Can Soundproofing Solutions Be Customized for Different Room Sizes?
Yes, soundproofing solutions can be customized for different room sizes. You should consider your room’s specific dimensions and acoustical needs, then choose tailored solutions like custom-matched insulation, door seals, or wall treatments. By evaluating your space’s unique characteristics, you can select and implement the most effective soundproofing methods that fit your room size perfectly, ensuring ideal noise reduction and a quieter environment.
What Are the Cost Differences Between DIY and Professional Soundproofing?
The cost comparison shows DIY soundproofing is more budget-friendly, often costing a few hundred dollars, while professional solutions can run into thousands. If you’re on a tight budget, DIY methods let you save but may require more time and effort. Consider your budget considerations carefully—professional soundproofing offers expertise and better results but at a higher price, making it ideal if you want the best quality and less hassle.
How Long Does It Take to See Noticeable Noise Reduction Results?
You can usually see noticeable noise reduction within a few days to a week after installing soundproofing materials, depending on the methods used. Once you add insulation, acoustic panels, or weatherstripping, the noise reduction becomes more evident. Keep in mind that the full effect might take a couple of weeks as the materials settle and the soundproofing improves. Consistent use of these materials enhances your room’s soundproofing over time.
Are There Any Eco-Friendly Soundproofing Options Available?
You’ll be amazed by eco-friendly soundproofing options that are as effective as they are sustainable. Recycled materials like cork panels, recycled denim insulation, and natural solutions such as wool or hemp offer fantastic noise reduction without harming the environment. These eco-friendly choices not only help you reduce your carbon footprint but also create a healthier, more natural space. Embrace green options and enjoy peace and quiet the planet will thank you for!
Conclusion
Remember, a little effort can go a long way—like they say, “A stitch in time saves nine.” By evaluating your noise sources, sealing leaks, and adding sound-absorbing materials, you can make your space much quieter. Whether you choose DIY fixes or professional solutions, taking action now will pay off in peace and tranquility. Don’t wait for noise to become overwhelming; start soundproofing today and enjoy a calmer, more serene room.