
To never miss a stud again, start by choosing the right detector—magnetic, electronic, or a combo—and prepare your wall by cleaning and marking reference points. Use multiple techniques like visual clues, tapping, and scanning slowly with the device, confirming each spot with repeated passes. Be aware of wall materials and avoid false signals around outlets or pipes. For even better accuracy, learn additional tips to refine your detection skills, which you’ll discover more about as you continue.
Key Takeaways
- Always calibrate your stud finder before use and adjust sensitivity for different wall types.
- Combine magnetic, electronic, and manual detection methods for higher accuracy.
- Mark edges and measure to locate the stud center, confirming with multiple passes.
- Avoid scanning over outlets, pipes, or metal objects to prevent false readings.
- Use wall cues like texture changes, tapping, and visual clues alongside your device for reliable detection.
Understanding Different Types of Stud Finders

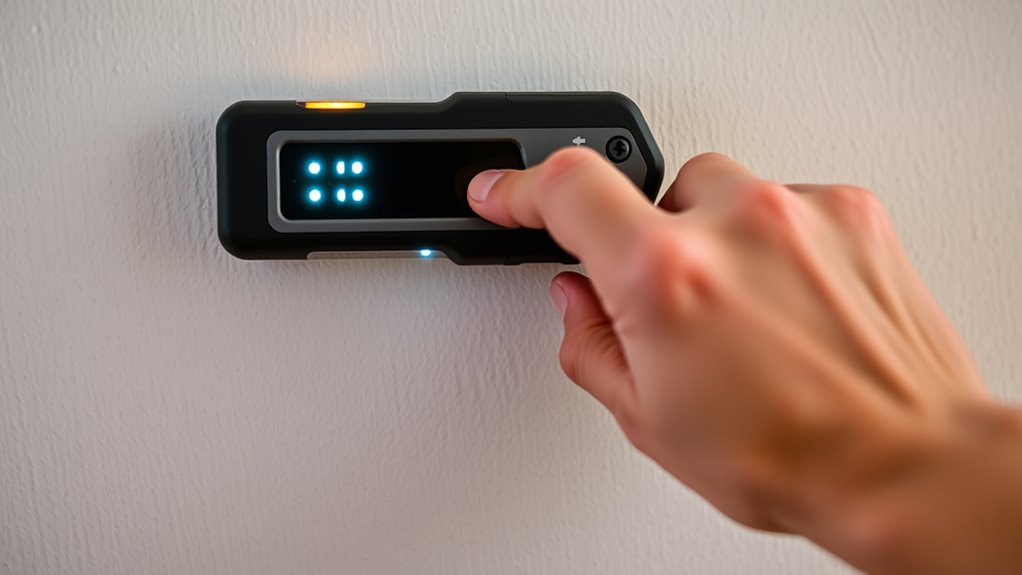
When choosing a stud finder, it’s important to understand the different types available, as each uses a unique method to locate studs behind walls. Magnetic stud finders rely on magnets to detect metal nails or screws in wall mounting, making them simple and durable. Electronic stud finders use sensors to identify changes in wall density, helping you find studs even beneath paint removal or wallpaper. Some models combine both features for better accuracy. While magnetic types are great for quick scans, electronic ones are useful in walls with thicker paint or textured surfaces. Knowing these differences helps you select the right tool, ensuring you avoid unnecessary wall damage or missed studs during your project. This understanding is key to efficient and clean wall mounting. Additionally, some advanced models incorporate sound wave technology to improve detection accuracy, especially in challenging wall conditions.
Preparing Your Wall for Accurate Detection
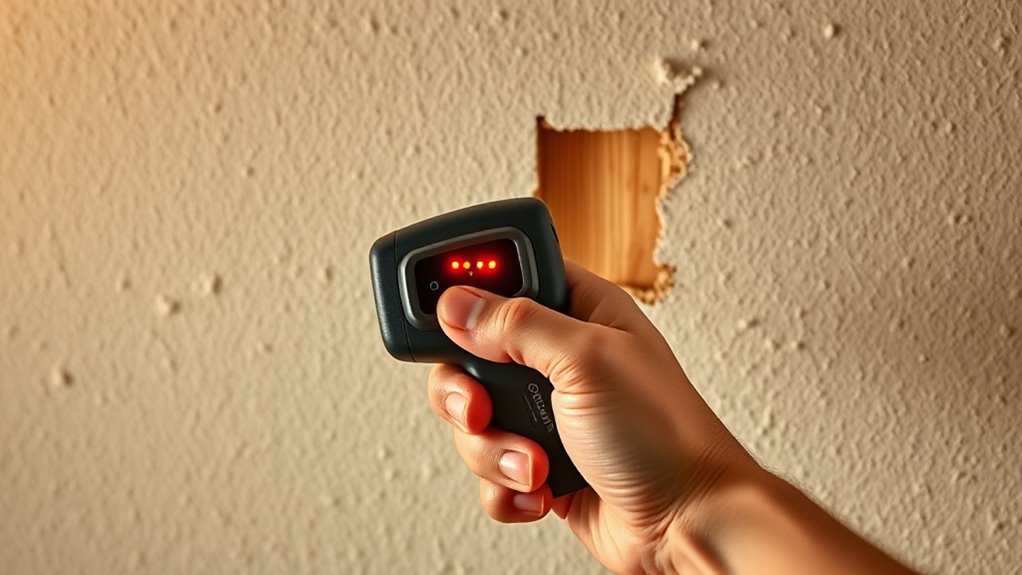
To make certain your stud finder works accurately, it’s crucial to prepare your wall beforehand. Start by cleaning the wall surface to remove dust, dirt, or grease that could interfere with the device’s sensors. Ensure the wall is dry and smooth, filling any holes or bumps for consistent contact. Familiarize yourself with common stud spacing patterns, typically 16 or 24 inches apart, to narrow down potential locations. Mark a few reference points along the wall to confirm the pattern as you scan. Avoid areas with metal pipes, wires, or outlets, which can cause false readings. Proper wall surface preparation and understanding stud spacing patterns help your stud finder detect studs reliably, saving you time and effort when hanging or drilling. Additionally, understanding air quality considerations can help maintain a healthier environment around your workspace.
Recognizing Wall Cues and Clues to Locate Studs
While marking reference points helps estimate stud locations, paying attention to visual and tactile clues on the wall can greatly improve your accuracy. Look for subtle changes in wall texture; for example, a slight bump or smoother area may indicate a stud’s edge or center. Paint color variations can also hint at framing behind the wall, especially if paint appears thicker or slightly different near studs. Run your hand along the wall to feel for ridges or slight protrusions where nails or screws hold the drywall. Use this table to identify common cues:
| Wall Texture | Paint Color Changes | Tactile Clues |
|---|---|---|
| Bumps or ridges | Slight color shifts | Feeling for protrusions |
| Smoother patches | Uneven paint edges | Lightly tapping for firmness |
| Discoloration spots | Color fading or spots | Running fingers along surface |
| Visible nail holes | Small indentations | Tapping for resistance |
Additionally, understanding building framing techniques can help you better interpret these clues and locate studs more accurately.
Using Edge and Center Detection Techniques
Edge detection techniques help you identify the boundaries of a stud behind the wall, making it easier to pinpoint its location. Center finding strategies then allow you to mark the exact middle point for accurate drilling. Together, these methods improve your chances of hitting the stud every time. Incorporating Kia Tuning options such as suspension upgrades and ECU remapping can also enhance your vehicle’s performance, much like precise stud detection improves your wall projects.
Edge Detection Methods
Detecting edges in wall surfaces is essential for accurately locating studs, and using edge and center detection techniques makes this process more effective. Edge detection methods rely on identifying abrupt changes in wall material, which often indicate the edges of studs. Magnetic detection works well by sensing metal nails or screws embedded in the stud edges, providing a clear indicator of their position. Acoustic testing, on the other hand, involves tapping along the wall and listening for differences in sound; a hollow sound suggests no stud, while a solid tap indicates its presence. Combining these methods enhances accuracy, ensuring you don’t miss the edges of studs. Additionally, understanding building materials and their properties can improve detection reliability. By focusing on these edge detection techniques, you improve your chances of precise, reliable results every time.
Center Finding Strategies
Once you’ve identified the edges of a stud, the next step is to find its center accurately. Wall framing relies on precise center detection to ensure your fixtures and shelves are secure. Since drywall thickness varies slightly, measuring carefully helps pinpoint the stud’s middle. Use your stud finder to mark both edges, then measure the distance between them. Divide that measurement by two and mark the midpoint. This method accounts for drywall’s typical thickness and accounts for minor framing inconsistencies. Some stud finders have center-finding features that help identify the exact middle automatically. Applying these edge and center detection techniques guarantees you hit the stud’s core, providing a strong anchor point and avoiding missed or weak installations. Being aware of AI security vulnerabilities can help you understand potential challenges with automated tools and ensure more reliable results.
The Importance of Scanning Multiple Passes
Scanning the same spot multiple times is vital to guarantee you don’t miss hidden studs or pipes. Walls often have reinforcement that can throw off your scanner’s readings, so a second pass helps confirm your initial findings. Electrical wiring can also cause false signals, making it essential to scan again to differentiate between wiring and studs. Moving your scanner slowly and in different directions ensures you catch all clues, especially in complex wall structures. Multiple passes increase accuracy, reducing the risk of missing a stud or hitting a concealed pipe. By taking your time and rechecking, you improve your chances of precise placement, saving you from costly mistakes later. Remember, patience and thoroughness are key to mastering your stud finder. Incorporating proper scanning techniques enhances the reliability of your results and prevents unnecessary wall damage.
Marking and Confirming Stud Locations
Once you’ve located a stud, mark the spot accurately with a pencil. Use your stud detector to double-check your mark and guarantee precision. Confirm your findings with multiple passes to avoid errors before proceeding. Ensuring your markings are accurate and consistent can help prevent mistakes during installation.
Accurate Spot Marking
To guarantee your pictures and shelves stay secure, accurately marking the stud locations is essential. First, consider wall texture and paint color; they can help you identify subtle differences that confirm your marks. Use a pencil to make small, light marks at your detected spots, avoiding smudging or damage. Confirm the location with multiple passes, checking for consistent results. Here’s a quick reference:
| Wall Texture | Paint Color |
|---|---|
| Slightly rough | Slight color variation |
| Smooth surface | No visible change |
Mark the spot, then tap lightly with a hammer to ensure stability. Double-check the location before drilling to prevent mistakes, ensuring your project stays secure and aligned. Additionally, understanding wall types can improve your accuracy when locating studs.
Use of Stud Detectors
Using a stud detector effectively involves more than just passing it over the wall; you need to mark and confirm the stud locations carefully. Pay attention to wall texture, as rough surfaces can affect readings. Be aware of electrical wiring that may cause false signals, so avoid placing too much pressure on the detector. Once you find a stud edge, mark it clearly with a pencil. Then, scan nearby areas to verify the stud’s position. Confirm your findings by feeling for a slight ridge or tapping the wall lightly. Proper marking ensures you’re precise when drilling or hanging. Remember, a careful approach helps avoid electrical wires and misreads, making your project safer and more accurate. Detecting passive voice can also improve clarity in your instructions.
Confirm With Multiple Passes
Confirming your stud locations with multiple passes is essential for accuracy. Wall texture and uneven surfaces can throw off your initial readings, so don’t rely on just one scan. Make a first pass to mark potential stud spots, then double-check by passing over these areas again. Vary your technique by adjusting your stud detector’s sensitivity or changing your angle to account for irregular wall texture. Pay attention to typical stud spacing, usually 16 or 24 inches apart, to verify your marks. Confirming with multiple passes helps prevent mistakes, ensuring you don’t miss a stud or mark the wrong spot. This careful approach guarantees you’ll find solid anchoring points for your projects without damaging your walls or missing key support beams.
Avoiding Common Mistakes With Electronic Stud Finders
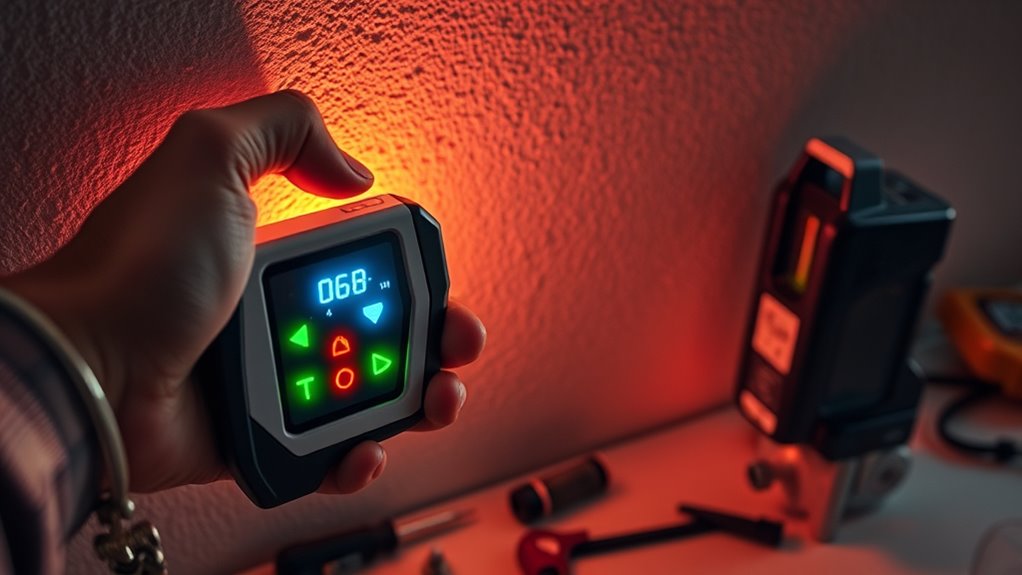
Electronic stud finders can be incredibly useful, but they’re also prone to common mistakes that can lead to inaccurate readings. To avoid this, verify proper stud finder calibration by following the manufacturer’s instructions before each use. Be mindful of wall material considerations, as certain surfaces like drywall, plaster, or tile can affect accuracy. Here are some tips:
Verify calibration and consider wall materials for accurate electronic stud finder readings.
- Always calibrate your device on the wall surface before scanning.
- Recognize different wall materials to adjust expectations.
- Avoid scanning over electrical outlets or metal objects.
- Move the device slowly and steadily for better detection.
- Confirm readings with multiple passes in different areas.
Alternative Methods for Finding Studs Without Devices

If you don’t have a stud finder or want to double-check its accuracy, there are simple manual methods to locate studs behind your walls. Start by inspecting the wall texture; look for slight bumps or variations that indicate the edge of a stud. Lightly tap along the wall with your knuckles—hollow sounds suggest spaces between studs, while solid sounds indicate a stud’s presence. Remember that stud spacing is typically 16 or 24 inches on center, so measure from a corner or electrical outlet to estimate stud locations. Using these clues, you can mark the spots and confirm with a small nail or pin. This approach works well for drywall and other common wall materials, giving you a reliable way to find studs without relying solely on devices.
Tips for Working With Different Wall Materials
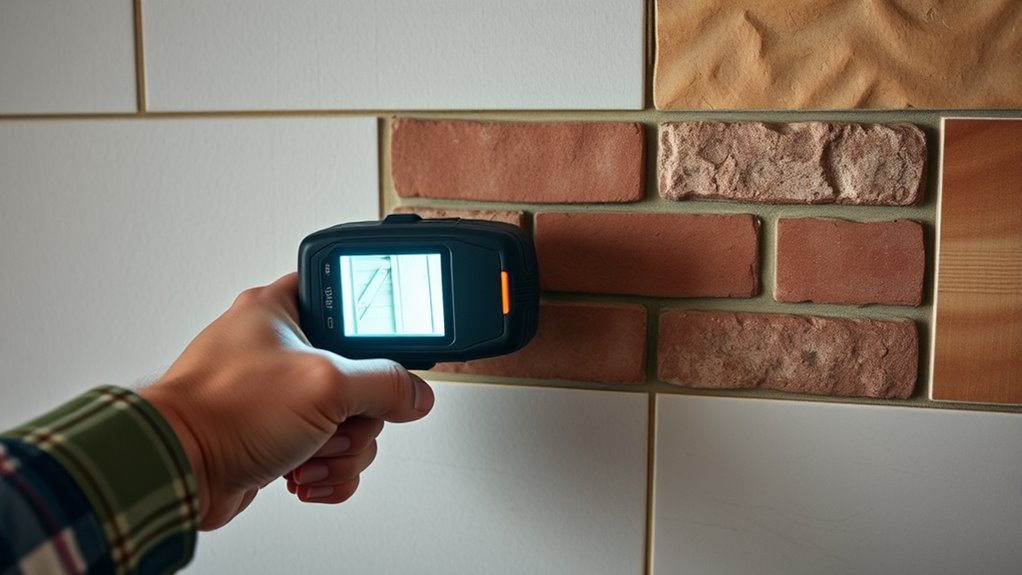
Different wall materials require different techniques and tools to work effectively. For textured walls, use a putty knife or a drywall knife to locate studs behind uneven surfaces. When working with brick or concrete, drill small test holes to identify wall texture and avoid damaging electrical wiring. Drywall is straightforward but watch for embedded electrical wiring that may run horizontally or vertically. For plaster walls, tap to listen for hollow spots indicating studs, but be cautious of wiring hidden behind the surface. Always double-check with a stud finder or electrical detector to prevent surprises.
- Use a sharp drill bit for dense materials
- Avoid excessive force on fragile surfaces
- Mark electrical wiring locations before drilling
- Adjust tool settings based on wall texture
- Confirm stud locations with multiple methods
Enhancing Precision With Additional Tools and Techniques
To improve your accuracy when locating studs, combining additional tools and techniques can make a significant difference. Use a measuring tape to verify stud spacing, especially if your wall has consistent intervals like 16 or 24 inches. Mark these measurements lightly with a pencil for quick reference. Once you’ve identified a likely stud location, confirm it with a stud finder. If you need to access the stud for mounting or repairs, a drywall saw becomes useful. Carefully cut along your markings to expose the wall cavity, ensuring you don’t damage wiring or pipes. This approach minimizes errors and gives you a clear view of the stud’s position. Combining these tools with your stud finder enhances precision, making your project safer and more efficient.
Frequently Asked Questions
How Do I Differentiate Between a Live Wire and a Stud?
To differentiate between a live wire and a stud, use a non-contact voltage tester on the wall. If it lights up, there’s electrical wiring present, indicating a live wire. Feel for wall density; studs are dense and solid, while live wires run through less dense areas. Avoid drilling or cutting until you’re sure, and always turn off power at the breaker to stay safe.
Can Temperature or Humidity Affect Stud Finder Accuracy?
Imagine holding your stud finder against a wall, and suddenly, a sudden change in temperature or humidity throws it off. Yes, wall conditions and environmental factors like temperature and humidity can affect its accuracy. These factors cause fluctuations in wall materials, making it harder for your device to detect studs reliably. To get the best results, make certain your workspace is stable, and allow your tools to adapt to environmental changes.
Are There Specific Stud Finders Best for Metal or Concrete Walls?
Yes, some stud finders are specifically designed for metal detection and work better on metal or concrete walls. Look for models with wall material compatibility features that include metal detection capabilities, as they can distinguish between studs and metal pipes or rebar. These specialized devices help you avoid false readings and guarantee accurate results on tough surfaces like concrete or metal-clad walls.
How Often Should I Calibrate My Electronic Stud Finder?
You should calibrate your electronic stud finder every time you start a new project or switch locations—think of it as giving your device a fresh breath of life! Regular calibration ensures peak accuracy, preventing those frustrating misses. For device maintenance, check calibration at least once a month or if you notice inconsistent readings. Staying vigilant guarantees your tool’s precision and keeps your wall-hanging game flawless.
What Safety Precautions Are Recommended When Drilling Into Walls?
When drilling into walls, prioritize electrical safety by turning off power at the breaker to prevent shocks. Check wall integrity using a stud finder to avoid hitting pipes or wires. Wear safety glasses and a dust mask to protect your eyes and lungs. Use proper tools and techniques, and always double-check your measurements. Staying cautious guarantees you avoid accidents and damage, making your project safer and more successful.
Conclusion
Mastering the art of stud finding is like opening a secret garden behind your walls. By understanding your tools, paying attention to wall cues, and using multiple techniques, you’ll navigate with confidence. Remember, patience is your compass, guiding you past common pitfalls. With a little practice, you’ll turn the wall into a map, revealing hidden treasures just waiting to be uncovered. Happy hunting—your perfect anchor point is just behind the surface, waiting for you to find it.