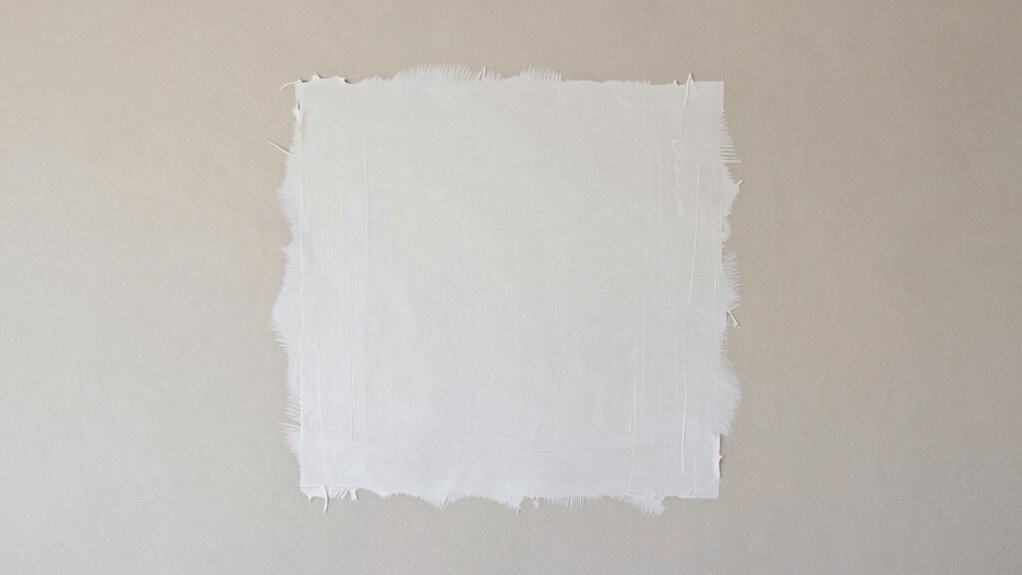

To repair walls effectively, start by evaluating the damage and cleaning the area. Wear protective gear and ensure good ventilation. Use spackle or joint compound to fill holes or cracks in a layered manner, then sand smooth once dry. Match your repair technique to your wall material for durability. For a flawless finish, prime the surface before applying decorative finishes. Prioritize safety and proper prep—if you want to learn more, you’ll find valuable tips to handle any wall repair confidently.

Get furniture and decor delivered free — and shop member deals
- Fast, free delivery on millions of items
- Access to Prime Big Deal Days deals on October 6–7
- Prime Video, Amazon Music and more included
Key Takeaways
- Always wear protective gear and ensure proper ventilation during wall repairs.
- Clean and prep damaged areas before filling with spackle or crack filler.
- Match repair techniques to wall material for durable, effective results.
- Sand and prime repaired surfaces for a smooth finish before applying decorative coatings.
- Maintain tools and dispose of debris safely to prevent health hazards and ensure ongoing safety.
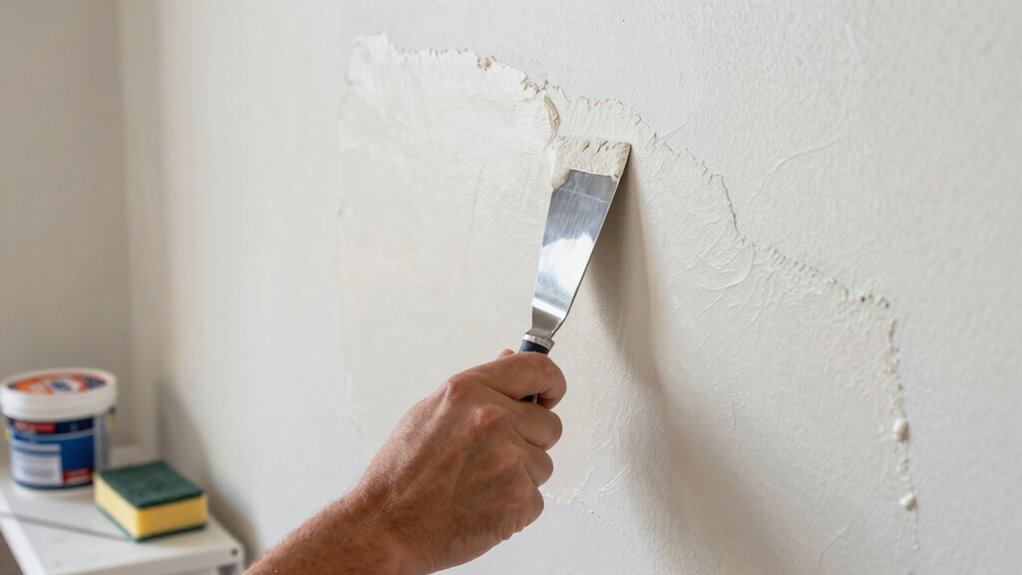
Have you ever wondered how to fix a damaged wall quickly and effectively? The key is understanding some fundamental wall repair basics that can save you time, money, and stress. First, before you start, make sure you prioritize wall repair safety. Wear protective gear like gloves and safety glasses to prevent injuries from dust, sharp edges, or chemicals. If you’re working with older walls or unsure about the materials involved, consider testing for lead paint or asbestos. Ensuring a safe workspace is essential, especially if you plan to paint or apply decorative wall finishes afterward, as improper handling can lead to health hazards.
Once safety is assured, assess the damage. Small holes or cracks are straightforward to repair with basic tools and materials. For holes, you’ll want to clean the area and use spackle or joint compound to fill in. Apply it in layers, allowing each to dry before sanding smooth. Cracks can be sealed with specialized crack filler, making sure they don’t worsen over time. Remember, a solid repair foundation is vital if you intend to add decorative wall finishes later, as uneven surfaces can ruin the aesthetic. Additionally, understanding wall materials can help you select the most effective repair techniques for your specific situation. Knowing the types of wall surfaces can further assist in choosing the best repair method, ensuring a durable result. Considering wall construction techniques can also influence your repair approach and long-term results.
Talking about decorative wall finishes, it’s important to think about how they will interact with your repairs. If you’re planning to add wallpaper, textured paint, or stucco, make sure your repairs are smooth and seamless. Sand down any rough spots and prime the surface before applying your decorative finish. This preparation helps achieve a professional look and enhances the durability of the wall coverings. Keep in mind that some finishes can emphasize imperfections, so taking the time to properly repair and prep your walls makes all the difference. Additionally, understanding surface preparation can help you achieve a flawless decorative finish and prevent future issues.
Throughout the repair process, remember that safety is ongoing. Keep your workspace well-ventilated, especially when sanding or using chemical fillers. Dispose of debris responsibly, and clean your tools thoroughly after each use. If you’re unsure about how to handle certain materials or techniques, consult with professionals or do thorough research to avoid costly mistakes. Additionally, understanding the materials involved in your walls, such as old paint or drywall compounds, can help you choose the right repair methods and avoid potential health hazards.
In essence, mastering the basics of wall repair involves a combination of safety precautions, proper assessment, and preparation for decorative finishes. Whether you’re patching a small hole or preparing a wall for an elaborate mural, knowing these fundamental steps guarantees your project turns out well. When you approach repairs with care and attention, you’ll find that even the most damaged walls can be restored to look beautiful and durable, ready for whatever decorative wall finishes you choose.
spackle and joint compound for wall repair
As an affiliate, we earn on qualifying purchases.
As an affiliate, we earn on qualifying purchases.
Frequently Asked Questions
How Do I Identify Hidden Wall Damage Behind Paint?
To identify hidden wall damage behind paint, look for signs like bubbling, cracking, or discoloration. Tap gently on the wall; hollow sounds may indicate moisture damage or hidden mold. Use a flashlight to check for uneven patches, and inspect nearby areas for musty odors. If you notice these signs, consider removing a small section of paint to reveal underlying issues and prevent further damage.
What Tools Are Essential for Minor Wall Repairs?
You’ll need basic tools like a putty knife, sanding sponge, and a utility knife for minor wall repairs. Keep drywall materials such as joint compound and patching plaster handy to fix holes or cracks. If your wall has a specific texture, like knockdown or orange peel, use a texture spray or sponge to match it. These tools help you achieve a smooth finish and blend repairs seamlessly with existing wall texture.
Can I Repair a Large Hole Myself or Should I Hire a Pro?
You can repair a large hole yourself if you’re comfortable with DIY safety and have the right tools, but consider the cost comparison. DIY repairs save money, but a professional guarantees a seamless finish and reduces the risk of errors. If the damage is complex or your skill level is limited, hiring a pro might be worth it for a durable, professional result. Weigh your experience and comfort before deciding.
How Long Does Wall Repair Typically Take?
Imagine a morning that starts with a quick fix and ends with a smooth, textured wall. Wall repair time varies—small holes can take a couple of hours, while large drywall installations might stretch into a day or two. If you use proper wall texture techniques, it accelerates the process, making repairs blend seamlessly. Patience guarantees your wall looks professional, whether you’re patching or installing drywall.
What Paint Should I Use to Match Existing Wall Colors?
You should use a paint type that matches your existing wall finish, like matte, eggshell, or satin. For color matching, bring a small sample or photo to the store, and ask for a custom color match using a spectrophotometer. Test the matched paint on a hidden section of your wall first to guarantee it blends seamlessly. Proper color matching and choosing the right paint type will help your repair look flawless.
Conclusion
Knowing the basics of wall repair can save you time and money, keeping your home looking its best. With just a few simple tools and techniques, you can fix holes, cracks, and dents confidently. Did you know that nearly 70% of homeowners attempt DIY repairs before calling a professional? By mastering these skills, you not only boost your confidence but also extend the lifespan of your walls. Start small, practice regularly, and enjoy a more beautiful, well-maintained home.
Fall Picks
fall essentials
As an affiliate, we earn on qualifying purchases.