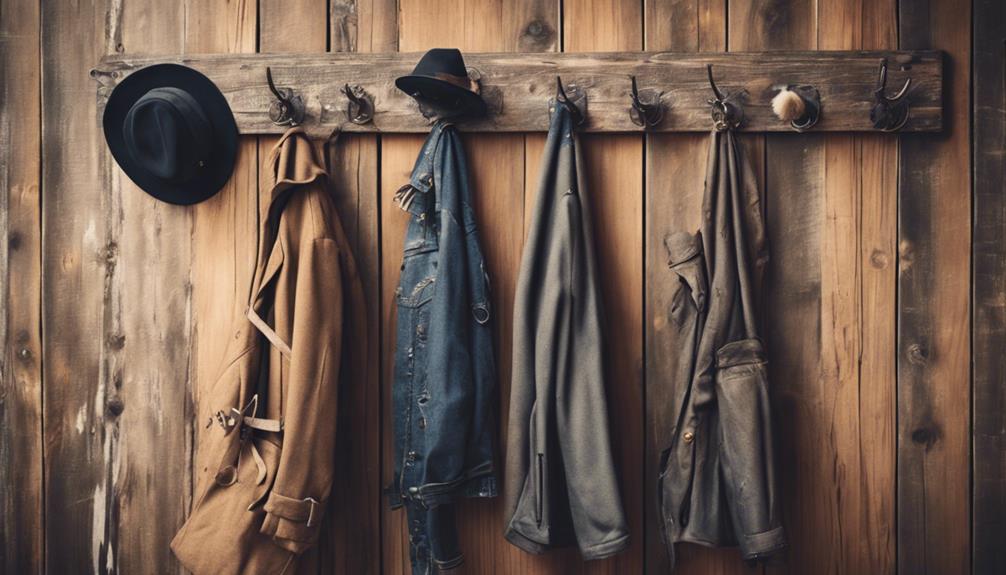
You're about to transform your entryway with a rustic, farmhouse-style coat rack that's both functional and visually stunning, and in just five simple steps, you'll be able to create a beautiful, one-of-a-kind piece that adds charm and character to your home. Start by preparing your rustic wood boards, selecting reclaimed barnwood for that authentic farmhouse charm. Then, assemble the coat rack frame, adding hooks and decorative touches like wrought iron or vintage knobs. Next, attach the shelf and back panel, ensuring a sturdy structure. Finally, mount the coat rack to the wall, securing it with screws into wall studs. Now, take the first step towards creating a unique, functional piece that reflects your style.
Key Takeaways
• Select and prepare rustic wood boards, ensuring they're sturdy and clean, to create a farmhouse-inspired coat rack.
• Assemble the frame using 1x2s, wood glue, and brad nails, with optional decorative elements like cove molding.
• Add farmhouse-style hooks, securing them with screws, and consider personalizing with stenciling or typography.
• Attach a shelf and back panel, using wood glue and screws, and stain components for a cohesive look.
• Mount the coat rack to the wall using screws into wall studs, ensuring it's level and secure, with optional wall anchors for stability.
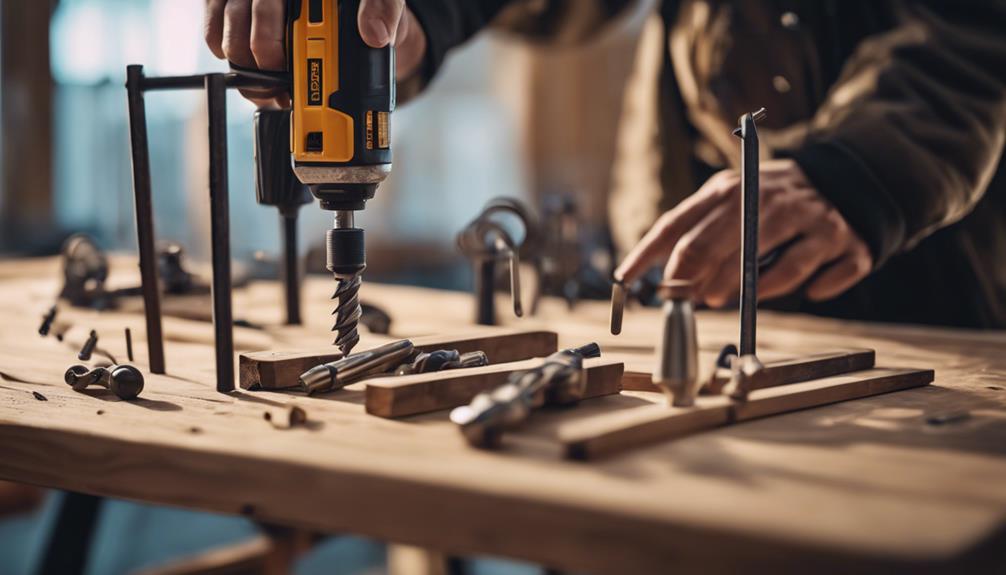
Prepare Your Rustic Wood Boards
Select the perfect reclaimed barnwood boards that exude an authentic farmhouse charm, and get ready to transform them into a unique coat rack. For a truly rustic look, opt for pre-Civil War lumber, which adds a historical touch to your DIY project.
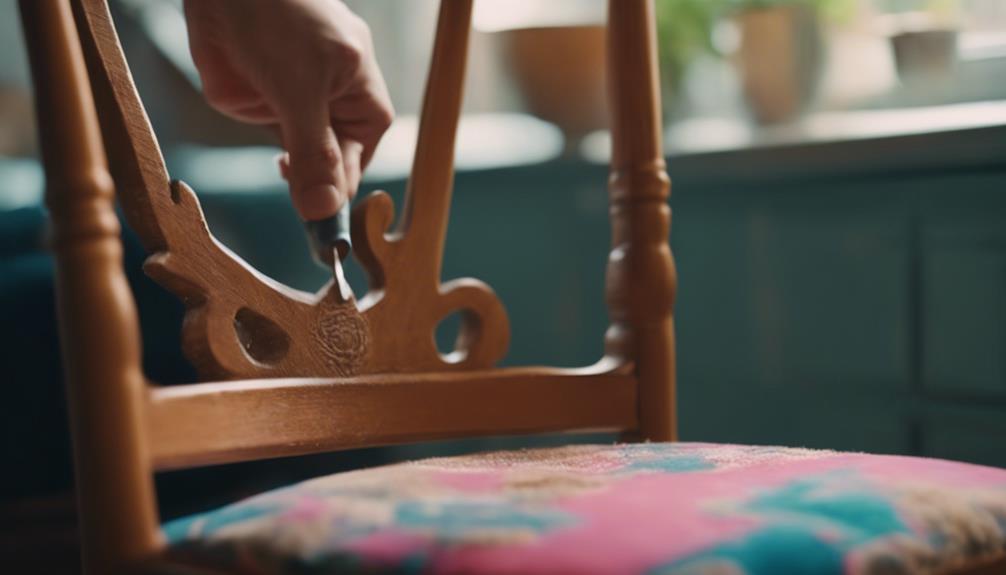
When choosing your boards, make sure they're sturdy and in good condition for assembly. Cleanliness is key, so use a bristle brush to remove dirt and debris from the wood. This step is vital in preparing your boards for the DIY coat rack project.
Trim the boards to your desired lengths, and get them ready for the next step. Remember, the quality of your barn wood will directly impact the overall aesthetic of your finished coat rack. By selecting the right boards and preparing them properly, you'll be well on your way to creating a one-of-a-kind DIY coat rack that showcases your rustic farmhouse style.
With your boards ready, you can move on to the next step, where you'll assemble the frame of your coat rack using wood glue and your prepared boards.
Assemble the Coat Rack Frame
With your prepared boards in hand, start building the coat rack frame by cutting four 1x2s to the desired length for the back panel. These will form the foundation of your DIY farmhouse coat rack.
Next, use wood glue and brad nails to secure the frame around the edges, ensuring the corners are sturdy and well-connected for stability. Consider adding decorative cove molding for extra detail, but make sure it doesn't compromise the frame's structural integrity.
As you assemble the frame, keep in mind that this step creates the base structure for attaching hooks and shelves, so it's vital to get it right. Take your time, and double-check your measurements to avoid any mistakes. Remember, a solid frame is essential for a functional and stylish coat rack.
Add Hooks and Decorative Touches
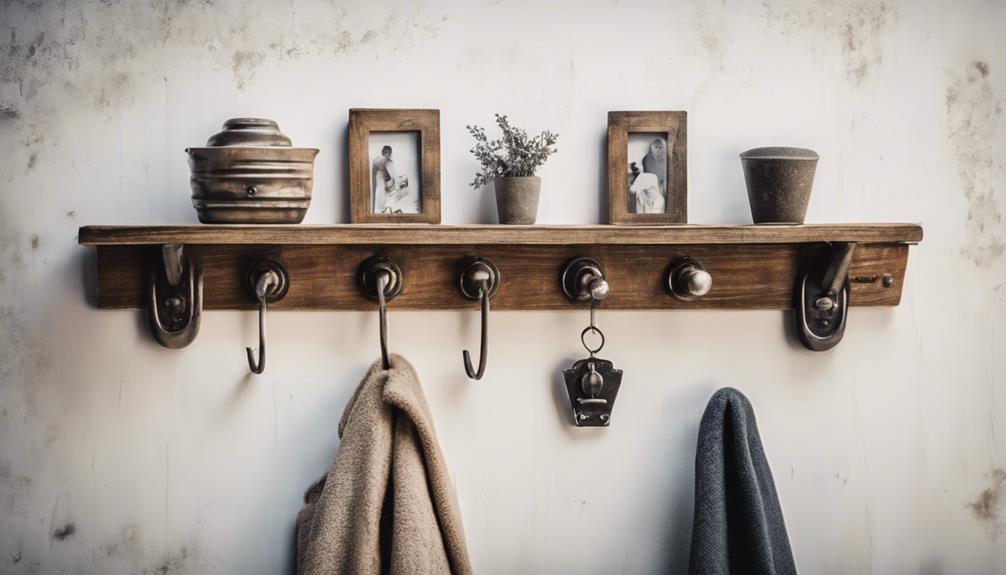
Now that your coat rack frame is assembled, it's time to add the hooks and decorative touches that will give your DIY farmhouse coat rack its unique character. This is where you can get creative and make your coat rack truly special.
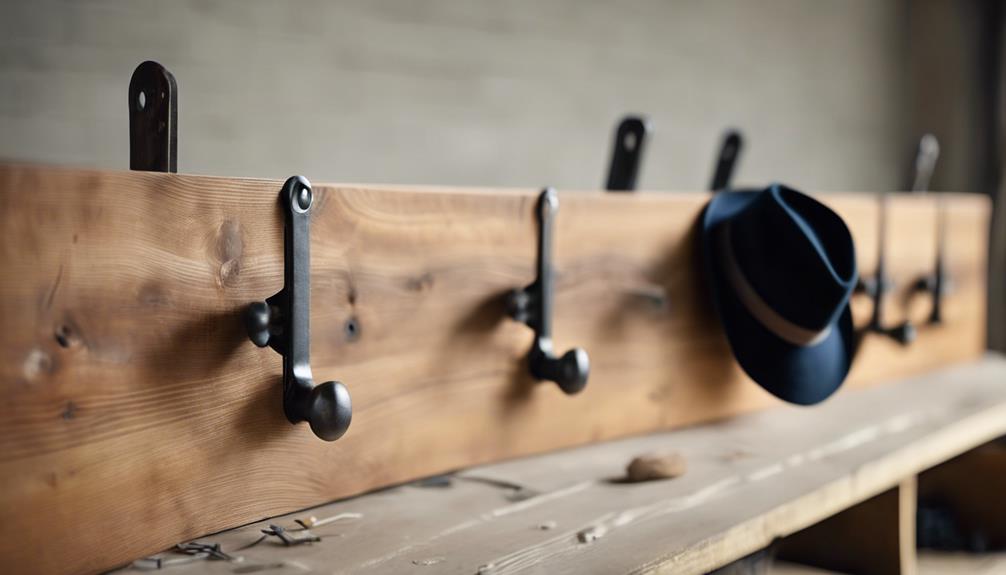
When selecting coat hooks, choose farmhouse-style hooks, such as wrought iron or vintage knobs, to complement the rustic look of the coat rack. You can also incorporate decorative touches like iron brackets or corbels for added visual interest and charm.
Here are three key things to keep in mind:
- Make sure the hooks are securely attached to the board using appropriate screws for stability.
- Add a personal touch by stenciling or typography on the coat rack for a unique and customized look.
- Consider the overall design aesthetic and functionality when selecting and placing hooks and decorative elements on the coat rack.
Remember to keep your design simple and cohesive, especially if you're using a Minwax stain to bring out the natural beauty of the wood.
Attach the Shelf and Back Panel
You'll bring your DIY farmhouse coat rack a step closer to completion by attaching the shelf and back panel, which won't only add functionality but also enhance the overall aesthetic.
To make this happen, make sure you've got all the necessary components, including the shelf, corbels, wood glue, and brad nails. Start by cutting the back panel to size using a circular saw. Then, secure it to the frame using wood glue and brad nails for stability.
Next, attach the shelf to the corbels using wood glue and screws. Be certain it's securely mounted to support items like mail and odds and ends. Before assembling the components, consider staining them to achieve a cohesive and finished look.
Don't forget to add decorative touches, such as brackets or cove molding, to give your coat rack an extra layer of visual interest. By following these steps, you'll have a beautiful and functional coat rack that complements your home's rustic charm.
Mount the Coat Rack to the Wall
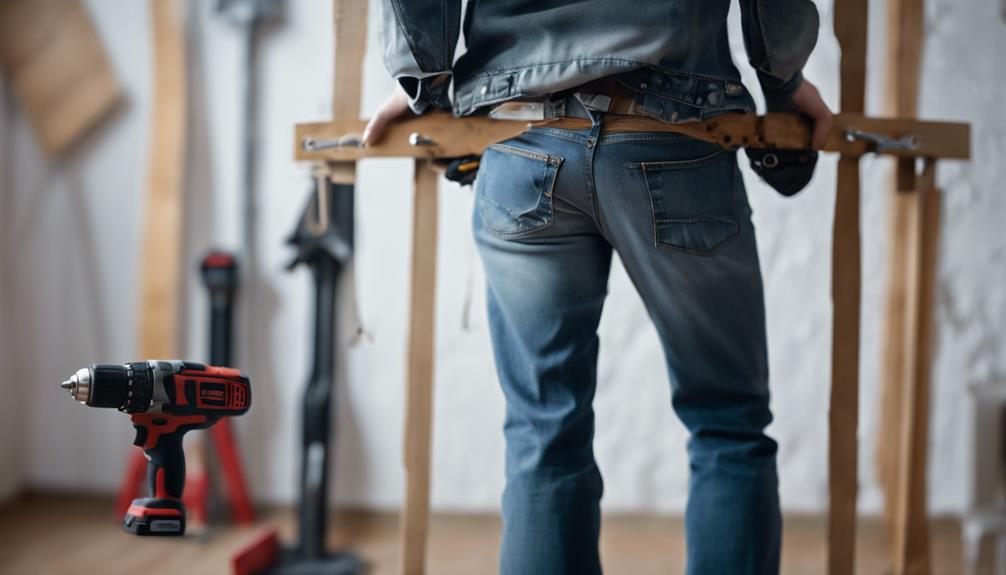
Secure your DIY farmhouse coat rack to the wall by strategically placing screws to avoid cutting keyhole hangers and guarantee a sturdy attachment. You want to make sure the coat rack is firmly mounted to the wall to prevent accidents. To achieve this, use wall anchors to ensure stability.
Here are some tips to keep in mind:
- Use 2 1/2-3' screws into wall studs for a secure attachment due to the rack's weight.
- Avoid cutting keyhole hangers by placing screws strategically.
- Make sure the coat rack is level before securing it to the wall.
Frequently Asked Questions
How to Make Your Own Coat Rack?
When you decide to make your own coat rack, you'll want to start with high-quality materials. Consider using reclaimed barnwood or pre-Civil War lumber for an authentic look.
Before assembling the pieces, clean the boards with a bristle brush to remove debris. Then, attach coat rack hooks securely using a nail gun and glue.
With a little creativity and some basic tools, you'll have a functional and stylish coat rack that reflects your personal style.
What Is the Spacing for Coat Rack Hooks?
Did you know that the average American owns around 7 coats or jackets?
When deciding on the spacing for your coat rack hooks, consider this: the typical range is 5-7 inches apart.
You'll want to adjust this based on the size of the items you plan to hang, ensuring they're evenly spaced for a visually appealing look.
Typically, the first hook is placed about 3 inches from the edge.
How to Make Wooden Coat Hooks?
To make wooden coat hooks, you'll need materials like reclaimed wood or new lumber, along with common tools like a saw, drill, and sandpaper.
First, cut your wood into desired shapes and sizes.
Then, sand the wood to smooth out any rough edges.
Add a protective finish to enhance durability and aesthetic appeal.
You can customize the size, shape, and design to fit your personal style, creating a unique and charming coat hook that adds a rustic touch to your home.
How to Make a Wood Piano Coat Rack?
As you begin on this creative journey, imagine Leonardo da Vinci, the Renaissance master, repurposing a piano into a coat rack – a true Renaissance rebirth.
Now, to answer your question, to make a wood piano coat rack, you'll need to salvage a piano keyboard cover, sand and stain it to match your farmhouse style, attach coat hooks to the piano keys, and securely mount it to the wall.
With these steps, you'll create a one-of-a-kind piece that's both functional and decorative.
Conclusion
You've just built a farmhouse coat rack that's so stunning, it'll make your friends and family green with envy! With its rustic wood boards, sturdy frame, and perfectly placed hooks, it's a masterpiece that'll make you wonder how you ever lived without it.
And the best part? You created it with your own two hands! Pat yourself on the back, because you've not only saved money, but you've also gained some serious DIY bragging rights.