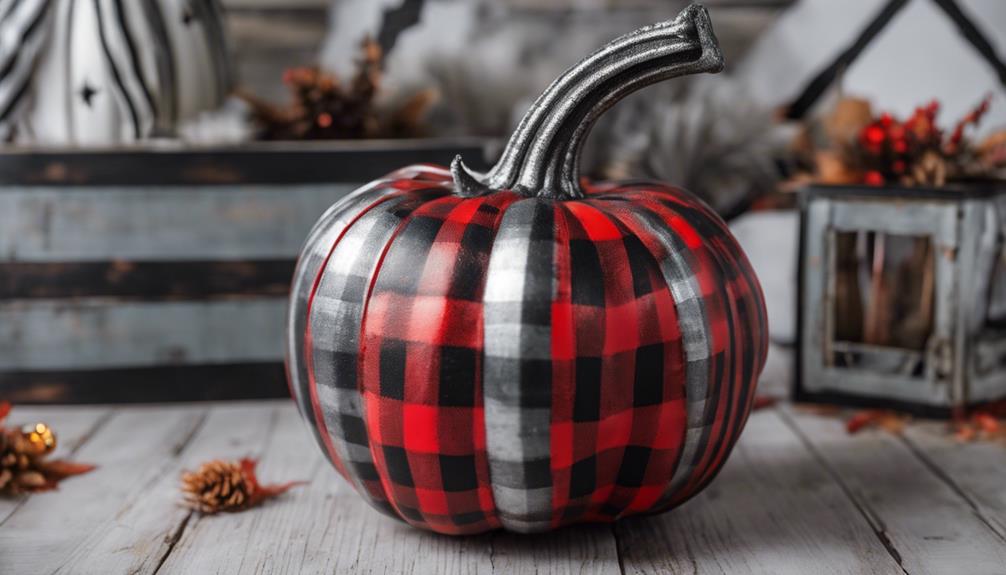

Let's make a simple buffalo plaid galvanized pumpkin in five steps. First, gather a galvanized pumpkin, buffalo plaid fabric, Mod Podge, a foam brush, and scissors. Cut the fabric into squares, then apply it to the pumpkin using Mod Podge. Smooth out any air bubbles with a squeegee, and trim excess fabric neatly with a craft knife. Finally, display your finished pumpkin for a charming fall touch. For more detailed instructions on creating this festive decoration, follow these steps to transform your pumpkin into a lovely piece of fall decor.
Key Takeaways
- Cut buffalo plaid fabric or vinyl into desired shapes.
- Apply the fabric or vinyl to the pumpkin surface.
- Smooth out any air bubbles for a flawless finish.
- Trim excess fabric or vinyl with a craft knife.
- Display your finished pumpkin as a fall decoration.

Decorae Halloween Pumpkin Decorating Kit (Turkey Set), 4 Reusable Metal Accessories for Fall Pumpkin Face Decorating with Turkey Body Parts
ONE COMPLETE SET: 4-piece turkey set including tail, wings and head
As an affiliate, we earn on qualifying purchases.
As an affiliate, we earn on qualifying purchases.
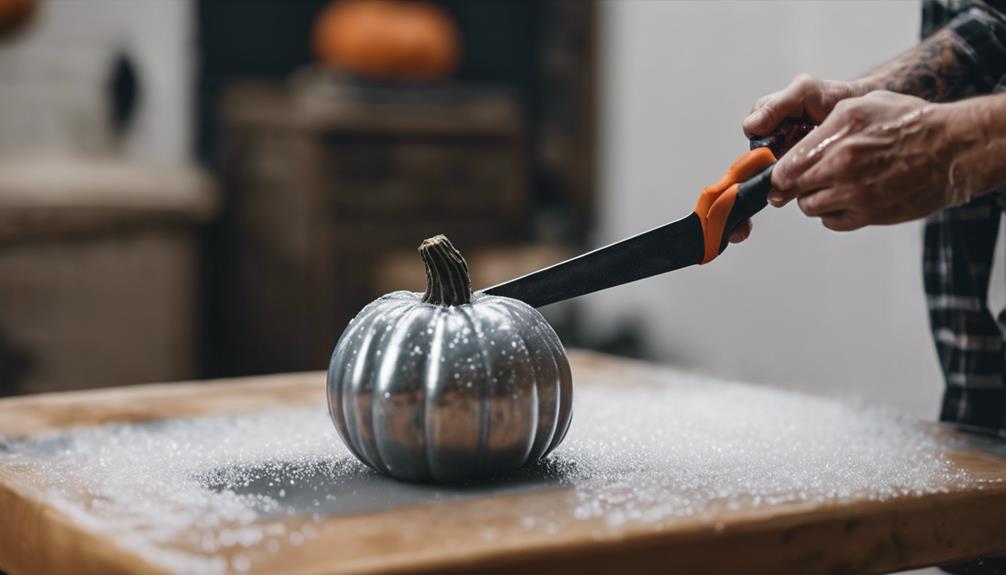
Gather Materials and Prep Surface
To begin creating the Buffalo Plaid Galvanized Pumpkin, gather a galvanized pumpkin, black and white buffalo plaid fabric, Mod Podge, a foam brush, and scissors.
First, make sure the surface of the galvanized pumpkin is clean and dry. This step is essential for the fabric to adhere properly.
Next, cut the buffalo plaid fabric into small squares or strips, making it easier to apply onto the pumpkin.
Prepare the Mod Podge by giving it a good stir to achieve a smooth consistency for sticking the fabric.
Setting up a workspace with protective covering is necessary to avoid any mess and simplify cleanup after crafting.
By having all these materials ready and prepping the galvanized pumpkin adequately, you're laying the groundwork for a successful buffalo plaid design.
Now that everything is set, we can move on to the next steps in creating our charming Buffalo Plaid Galvanized Pumpkin.

4 Rolls Christmas Plaid Burlap Ribbon with Wired Edge 12 Yards 1.5 Inch Width Buffalo Plaid Fabric Craft Ribbon for Christmas Tree Gift Wrapping Crafts Decoration(Black White Red)
What You will Get: You will get 4 rolls of buffalo plaid edge wired ribbons in different patterns,…
As an affiliate, we earn on qualifying purchases.
As an affiliate, we earn on qualifying purchases.
Cut and Apply Buffalo Plaid Vinyl
Let's cut the buffalo plaid vinyl into desired shapes using a cutting machine or scissors. Once the shapes are ready, it's time to apply transfer tape over the front door design.
Carefully peel off the backing of the vinyl to reveal the sticky side. Gently lay the vinyl onto the transfer tape, ensuring no air bubbles are trapped. If any bubbles appear, smooth them out using your fingers or a scraper tool.
Love buffalo plaid? This step is where the magic happens. Press the vinyl firmly onto the galvanized pumpkin surface, securing it in place. Be thorough to avoid any loose edges or wrinkles.
When you're confident the vinyl is perfectly placed, slowly peel off the transfer tape. The buffalo plaid pattern will now adorn your pumpkin, ready to welcome guests at your front door with its charming design.
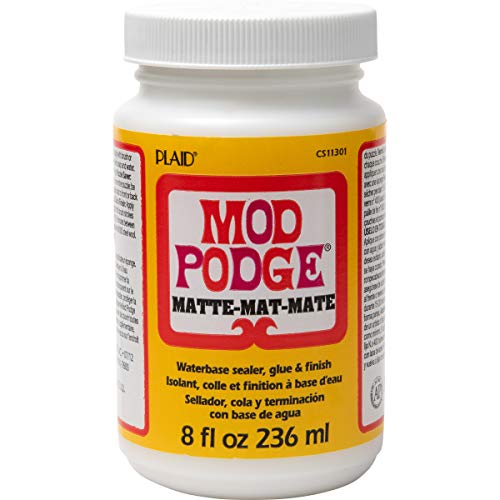
Mod Podge Matte Sealer, Glue & Finish: All-in-One Craft Solution- Quick Dry, Easy Clean, for Wood, Paper, Fabric & More. Non-Toxic – Craft with Confidence, Made in USA, 8 oz., Pack of 1
CONVENIENT & VERSATILE SIZE – Add this multi-purpose, all-in-one glue, sealer, and finish in a 8 oz size…
As an affiliate, we earn on qualifying purchases.
As an affiliate, we earn on qualifying purchases.
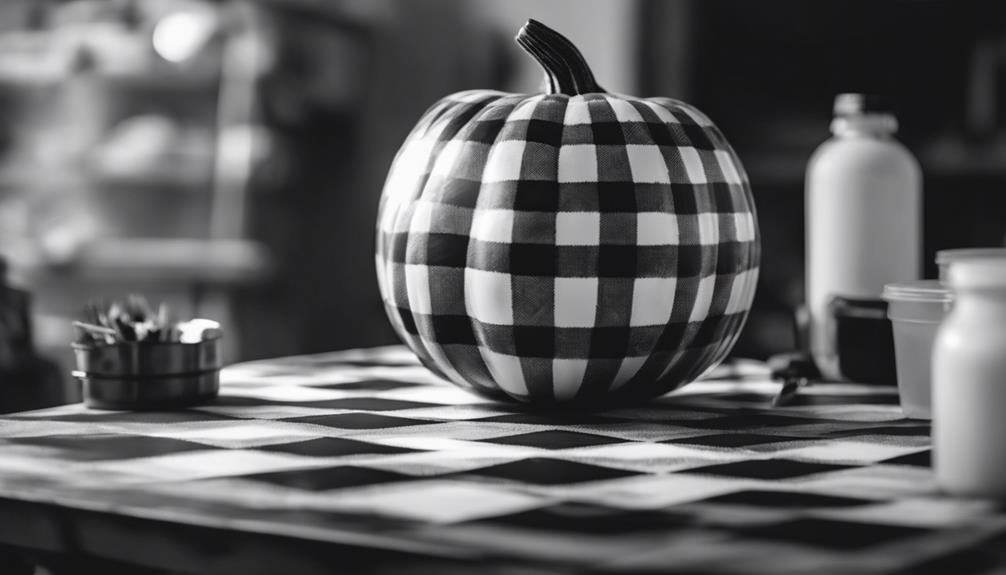
Smooth Out Air Bubbles
We can use a squeegee or credit card to eliminate air bubbles from the vinyl decal when applying it to the galvanized pumpkin. It's crucial to start from the center and work your way outwards to achieve a smooth application.
By applying even pressure, you can prevent wrinkles or creases in the vinyl, guaranteeing a flawless finish. If there are remaining bubbles, gently push them towards the edges to smooth them out.
Taking your time and being patient during this process is vital to achieving a perfect result on your galvanized pumpkin. Remember, the objective is to have the vinyl decal adhere smoothly and without imperfections.
With a bit of care and attention to detail, you can ensure that your pumpkin decoration looks professional and stylish. Smooth application is the key to a flawless finish that will impress all who see your beautifully decorated galvanized pumpkin.

LOKLiK Cutting Machine 2 by HTVRONT – 5 in 1 Vinyl Cutter Machine with 5X Cutting Force, Cuts 100+ Materials, AI Painting, 13'' Smart Die Cutting Machine for All Crafts Cards 3D Arts Home Decor
SAY GOODBYE TO EXPENSIVE APP BILLS: Pairs with a all-access software LOKLiK IdeaStudio, you can use all the…
As an affiliate, we earn on qualifying purchases.
As an affiliate, we earn on qualifying purchases.
Trim Excess Vinyl With Craft Knife
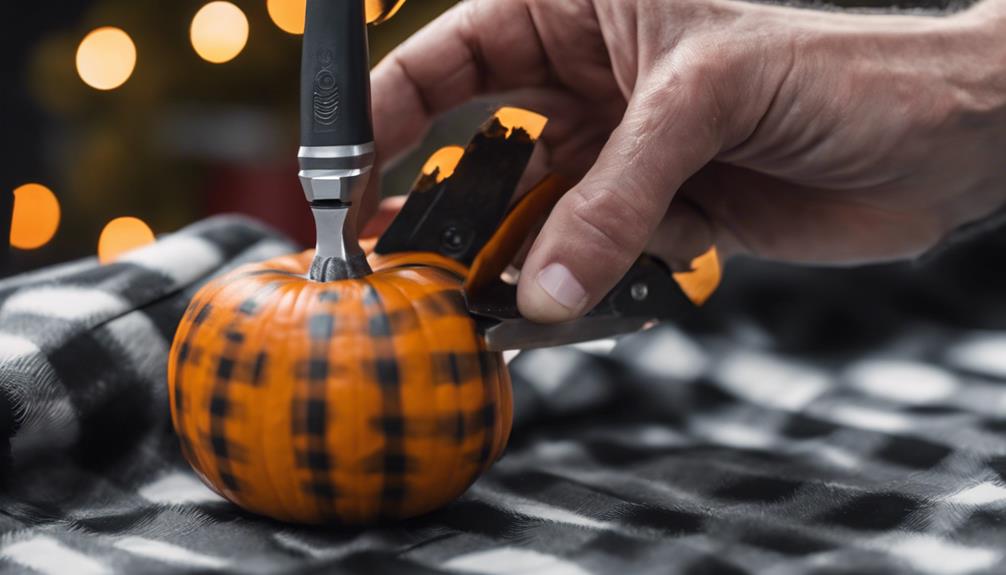
Using a craft knife, meticulously trim the excess vinyl around the edges of the pumpkin to guarantee clean and polished lines on the galvanized surface. Make precise cuts to ensure that the buffalo plaid design looks beautiful and professional. Removing any vinyl overhang that might disrupt the pumpkin's aesthetic appeal is crucial.
Take your time during this step to maintain the front of the pumpkin's appearance. We love how the trimmed edges give the pumpkin a neat and tailored look. By paying attention to detail while cutting, you can achieve a flawless finish that enhances the overall charm of the galvanized pumpkin.
Display Your Finished Galvanized Pumpkin
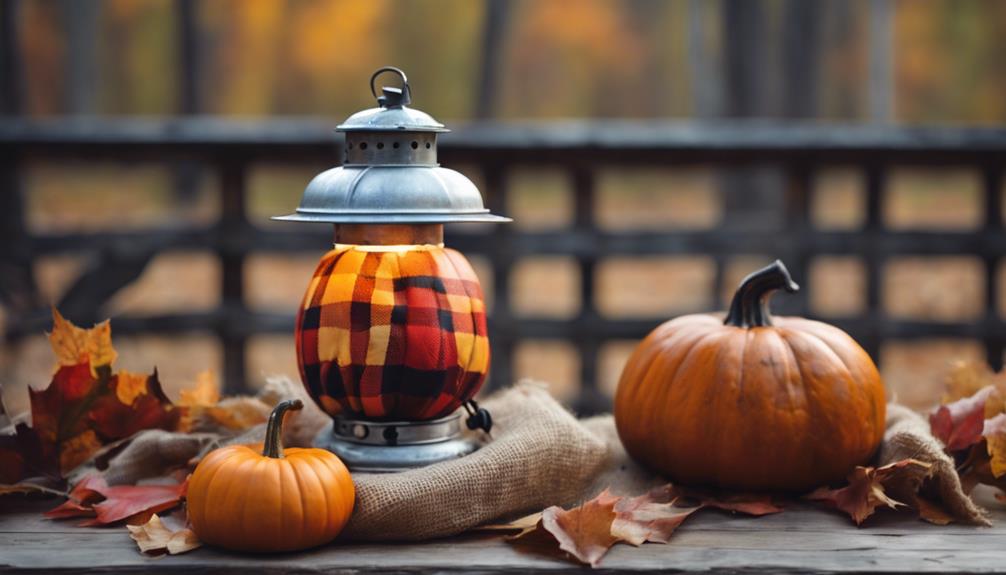
Positioning your finished galvanized pumpkin on a front porch adds a rustic autumn touch to your outdoor decor. The galvanized pumpkin can serve as a charming centerpiece on a fall front porch, welcoming guests with its seasonal allure.
Placing the finished product on a dining table creates a cozy focal point, perfect for autumn gatherings. Additionally, displaying the galvanized pumpkin on a mantel or shelf brings a touch of fall warmth to indoor spaces.
For a creative twist, consider incorporating the galvanized pumpkin into a fall wreath or floral arrangement. This unique addition can infuse your decor with added charm and character. Mixing and matching the galvanized pumpkin with other fall decor items can help create a cohesive and inviting seasonal look throughout your home.
Whether you love this wreath idea or prefer a standalone display, the versatility of the galvanized pumpkin allows for various styling options to suit your personal taste and home decor preferences.
Frequently Asked Questions
How to Make Plaid Pumpkins?
To make plaid pumpkins, follow these steps:
- Select faux pumpkins of different sizes.
- Cut black and white buffalo plaid fabric to size.
- Secure the fabric on the pumpkins using hot glue or adhesive.
- For a rustic touch, attach galvanized metal stems.
- Display these festive pumpkins as seasonal decor.
How to Make Twine Pumpkins?
To make twine pumpkins, first, inflate a balloon to the desired size. Then, wrap twine around it, securing with glue. Let the twine pumpkin dry completely before popping the balloon.
This simple DIY project results in a rustic decoration that can be customized with additional embellishments like leaves or ribbon. Experiment with different colors and textures to create unique twine pumpkins for your fall decor.
Conclusion
In just 5 simple steps, you can transform a plain galvanized pumpkin into a stylish buffalo plaid masterpiece.
The process is as easy as carving a pumpkin on Halloween night, but with a much longer-lasting result.
So grab your materials, roll up your sleeves, and let the creativity flow like a river in autumn.
Display your finished creation proudly and let it be the shining star of your fall decor.