Creating a stunning spring wreath for your door is simple! Start with a sturdy grapevine base and add two bushes of greenery for texture. Layer vibrant flower stems like ranunculus on top, securing everything with hot glue. Don’t forget to make a bow with wired ribbon for that polished touch. Finally, learn the best ways to hang your wreath so it stays put and looks great. Keep exploring for more tips to perfect your wreath-making!
Key Takeaways
- Start with a sturdy grapevine wreath and trim any loose pieces for a clean base.
- Layer greenery and vibrant flower stems, securing them with a hot glue gun for stability.
- Create a bow using wired ribbon and attach it to the wreath for a polished finish.
- Secure the bow with Bowdabra wire and adjust for a fluffy appearance.
- Hang your wreath using a jute loop or Command Strip hooks to ensure stability.
spring wreath making kit
As an affiliate, we earn on qualifying purchases.
As an affiliate, we earn on qualifying purchases.
Materials Needed for Your Spring Wreath
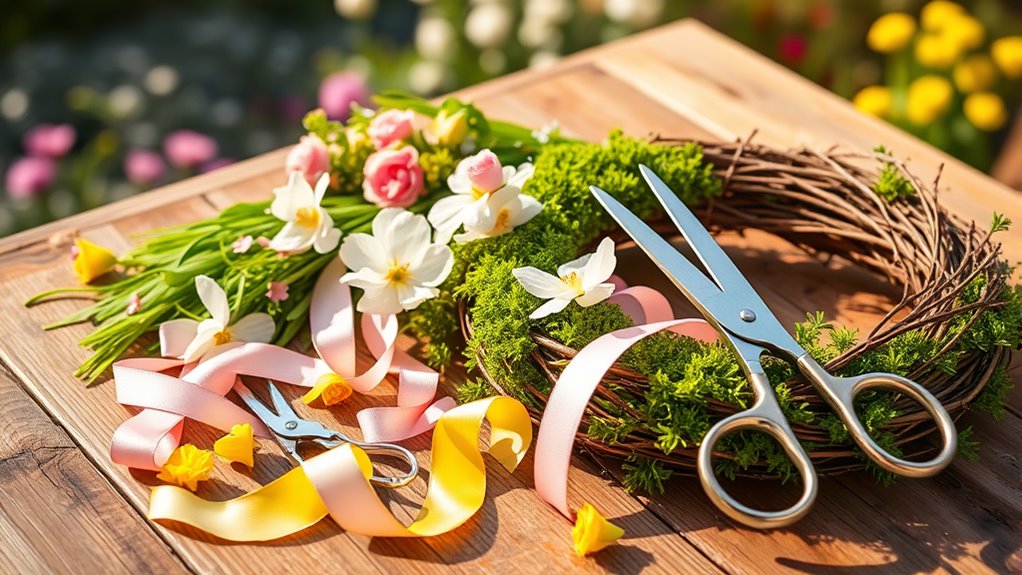
Creating a beautiful spring wreath starts with gathering the right materials. First, grab a grapevine wreath as your base; it’s natural and sturdy, making it easy to make your floral arrangement. The use of halal lifestyle principles can inspire creativity in your decor choices.
Start your spring wreath by selecting a sturdy grapevine wreath as a natural base for your floral design.
You’ll need at least two bushes of greenery, like boxwood, to create a lush backdrop and add texture. Choose vibrant flower stems, such as ranunculus, to bring pops of color and enhance that spring theme. Remember that certain deterrent sprays can be used to protect your wreath from being damaged by curious pets that may be attracted to the flowers. Incorporating farmhouse charm into your decor can further enhance the overall aesthetic of your home.
Don’t forget a wired ribbon for a polished bow—craft stores like Michaels have great options.
Finally, gather essential tools: a Bowdabra for bow making, a hot glue gun for securing elements, wire cutters for trimming, and Bowdabra bow wire to tie everything together. Additionally, consider incorporating multifunctional furniture into your decor to maximize space in your home.
With these materials, you’re sure to create something lovely!
grapevine wreath base
As an affiliate, we earn on qualifying purchases.
As an affiliate, we earn on qualifying purchases.
Step-by-Step Instructions for Crafting

To start crafting your spring wreath, first trim any loose pieces from the grapevine base using wire cutters; this gives you a clean foundation to work with. Utilizing natural materials can enhance the overall aesthetic of your wreath, while incorporating unique planter designs can inspire creative arrangements. Consider using oak wood accents for a rustic touch that complements the spring theme.
Next, cut flower and greenery clusters from their bunches, making sure to leave a couple of inches of wire stem for easy tucking into the wreath.
Layer your greenery, starting with boxwood, and tuck each stem into the wreath, securing it with hot glue for stability.
After that, add your flower stems on top of the greenery, overlapping them for visual interest, and secure them with hot glue as well.
Finally, create a bow using wired ribbon, secure it with Bowdabra wire, and attach it to the back of the wreath.
Remember, using safe materials ensures that your crafting experience is enjoyable and stress-free.
Let me know how it turns out!
wired ribbon for wreaths
As an affiliate, we earn on qualifying purchases.
As an affiliate, we earn on qualifying purchases.
Attaching Greenery and Flowers

Now that you’ve secured the greenery to your wreath, it’s time to bring in the flowers. Start by cutting flower and greenery clusters from their bunches, leaving a couple of inches of wire stem for easy attachment.
Tuck the wire stems of the greenery into the wreath, ensuring they’re long enough to hold securely, and use a hot glue gun for added stability. Layer different types of greenery, like boxwood, to create depth and texture, as floral arrangements contribute significantly to the overall ambiance and aesthetic of a space.
Arrange the flower stems, overlapping them with the greenery, and use hot glue to secure each one in place. Repeat this process on both sides of the wreath for a balanced, full, and lush appearance. Incorporating natural elements like flowers and greenery can enhance the overall aesthetic of your decor.
Your spring wreath is coming to life!

Gorilla Mini Hot Glue Gun Kit (Pack of 1 Mini Hot Glue Gun and 30 Sticks) – Dual Temp, Precision Nozzle, and Easy Squeeze Trigger
Dual temp: Use the right hot glue temperature for the job; Low Heat for delicate materials like floral,…
As an affiliate, we earn on qualifying purchases.
As an affiliate, we earn on qualifying purchases.
Securing the Bow to the Wreath

Securing the bow is an essential step in perfecting your spring wreath. Start by using Bowdabra wire to tie the bow together, ensuring the wire’s long enough for easy attachment.
Position the bow at your desired location on the wreath before securing it, so it looks just right. Once you’re happy with its placement, attach the bow to the back of the wreath with the bow wire, wrapping it tightly around the frame for stability.
After securing the bow, adjust its loops and tails to create that fluffy, full appearance that enhances your wreath’s overall design. If the bow feels loose, consider adding a pipe cleaner or extra zip ties for added security.
Tips for Hanging Your Wreath

When it comes to hanging your wreath, choosing the right method assures it stays secure and looks great. A simple way to guarantee stability is by attaching a piece of jute to the back of your wreath, creating a strong support loop.
If you have glass doors, consider using a large suction cup with a hook, which won’t damage the surface. For exterior doors, Command Strip wreath hooks are fantastic; they provide a secure hold while minimizing wall damage.
Always check the weight capacity of your chosen method to avoid any mishaps. Make certain your wreath is level and stable, adjusting it as needed for a pleasing display. It’s a great time to show off your creative flair from Hobby Lobby!
Frequently Asked Questions
How to Make a Spring Outdoor Wreath?
To make a spring outdoor wreath, start with a grapevine wreath as your base.
Choose vibrant greenery and colorful flowers, like yellow ranunculus, to capture the essence of spring.
Use a hot glue gun to securely attach the elements, ensuring they’re well-balanced.
Don’t forget to add a wired ribbon for a lovely bow that enhances your design.
Finally, hang your wreath with a jute loop or a Command Strip hook for stability on your door.
What Kind of Foliage Do You Use for a Spring Wreath?
For a spring wreath, you’ll want to choose vibrant foliage that captures the season’s essence.
Consider using boxwood, ferns, and eucalyptus for their lush appearance. Mixing different greenery types enhances texture and visual appeal.
If you prefer longevity, opt for artificial foliage to stay fresh all season.
Pair your greenery with seasonal blooms like ranunculus, and make sure your color palette complements everything for a harmonious and inviting look.
How to Make a Spring Bulb Wreath?
Making a spring bulb wreath is like bringing a burst of sunshine into your home.
Start by gathering materials like a grapevine wreath, spring bulbs, and greenery. Trim the stems for easy insertion, then arrange them in layers for a balanced look. Secure everything with hot glue.
Add a wired ribbon bow for flair, and finally, hang your creation with a jute loop or suction cup hook to showcase your vibrant design.
How Do You Make a Wreath for Beginners?
To make a wreath as a beginner, start by gathering your materials like a grapevine base, greenery, flowers, and ribbon.
Trim any loose pieces from the base and cut your flower stems with a couple of inches of wire for easy attachment.
Arrange the greenery first, securing it with hot glue, then add flowers for color.
Finally, create a bow with ribbon and attach it to complete your beautiful wreath.
Enjoy your crafting!
Conclusion
With your vibrant spring wreath complete, you’ve transformed your door into a welcoming burst of color, like a blooming garden inviting all who pass by. Hang it proudly, letting its charm brighten your home and spread joy to neighbors. Remember, each time you see it, you’ll be reminded of the creativity and care you poured into this project. So, embrace the beauty of spring and let your wreath be a daily celebration of nature’s renewal!