
Caulking 101 involves understanding different types of sealants like acrylic, silicone, and polyurethane, each suited for specific projects. You’ll want to select the right caulk based on the area you’re sealing, its flexibility, and environmental conditions. Proper surface preparation, applying the caulk smoothly, and finishing techniques are key for a professional look. Keep up with maintenance to ensure longevity—there’s more to mastering caulking if you explore further.
Key Takeaways
- Choose the right caulk type (silicone, acrylic, polyurethane, hybrid) based on project area and environmental needs.
- Prepare surfaces thoroughly by cleaning, repairing, and smoothing for optimal adhesion.
- Apply caulk with a caulk gun, cutting the tip at a 45° angle for controlled bead placement.
- Smooth the bead immediately with a finger or tool for a clean, professional finish.
- Regularly inspect and replace deteriorated caulk every 1-2 years to maintain effectiveness.
Bates- Caulking Silicone Gun, 10:1 Thrust Ratio, Hand Caulking Guns, No Drip
Introducing the Bates caulking gun, your versatile companion designed to seamlessly dispense a variety of materials – from…
As an affiliate, we earn on qualifying purchases.
As an affiliate, we earn on qualifying purchases.
Understanding Different Types of Caulk
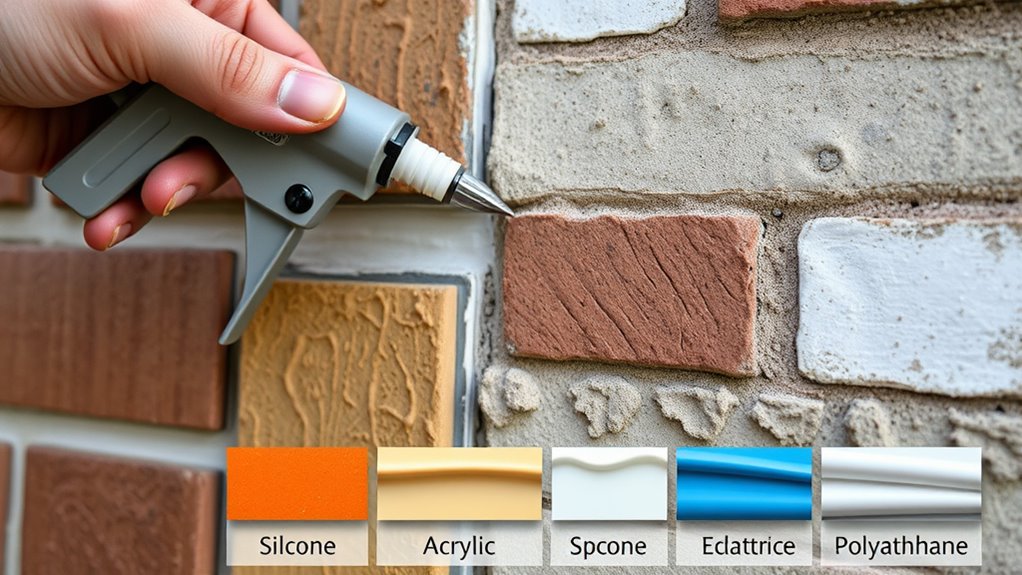
Have you ever wondered which type of caulk is best suited for your project? The answer depends on understanding different sealant varieties. There are acrylic, silicone, polyurethane, and hybrid options, each with unique properties. Acrylic caulk is easy to work with and paintable, making it ideal for interior use. Silicone offers excellent flexibility and water resistance, perfect for bathrooms and kitchens. Polyurethane provides durability for exterior applications. To apply these sealants effectively, you’ll need the right application tools like caulk guns, smoothing tools, and even your fingers for finishing touches. Choosing the right type of caulk guarantees better adhesion and longevity, so understanding these sealant varieties helps you make smarter decisions for your project’s specific needs. Additionally, selecting the appropriate planters and containers ensures your plants thrive in the right environment, enhancing your overall gardening success.

DAP Alex Painter's Acrylic Latex Caulk, White, 10.1 Oz (7079818670)
White caulk adheres to wood, plaster, drywall, & masonry
As an affiliate, we earn on qualifying purchases.
As an affiliate, we earn on qualifying purchases.
Choosing the Right Caulk for Your Project
Selecting the right caulk for your project depends on understanding the specific requirements of the area you’re working on. Consider factors like color matching to ensure visual harmony and environmental impact to choose eco-friendly options. Different areas need different caulk types: for example, kitchen and bathroom joints require mold-resistant caulk, while exterior surfaces demand weatherproof formulas. Use the table below to compare key features: Fokos also offers insights into environmental considerations when selecting products:
| Caulk Type | Color Matching | Environmental Impact | Suitable Use |
|---|---|---|---|
| Silicone | High | Moderate | Bathrooms, kitchens |
| Acrylic Latex | Good | Low | Windows, baseboards |
| Polyurethane | Fair | Moderate | Exterior, joints |
| Latex | Good | Low | Interior, cracks |
| Hybrid | Excellent | Low | Versatile, eco-friendly |

SIKA Sikaflex Construction Sealant – White, All-Purpose Polyurethane for Joints 1/2" or Smaller – 10.1 fl. oz – Weatherproof, High Elasticity, Paintable, Strong Adhesion
TIGHT, STRONG SEALS — This Sika polyurethane sealant offers exceptionally secure adhesion while also allowing for a high…
As an affiliate, we earn on qualifying purchases.
As an affiliate, we earn on qualifying purchases.
Preparing Surfaces for Caulking

Before applying new caulk, make certain to prepare the surface properly to guarantee a strong bond and a neat finish. Start with surface cleaning to remove dirt, grease, and old caulk, ensuring adhesion. Inspect the area for damage or cracks, and repair any issues to prevent future leaks. Smooth out rough or uneven surfaces to create a uniform base. Use a scraper or utility knife to remove loose debris and old caulk. If needed, sand rough spots for better adhesion. Make sure the area is dry before applying caulk. Proper preparation minimizes gaps and enhances durability for optimal results.
caulking smoothing tools
As an affiliate, we earn on qualifying purchases.
As an affiliate, we earn on qualifying purchases.
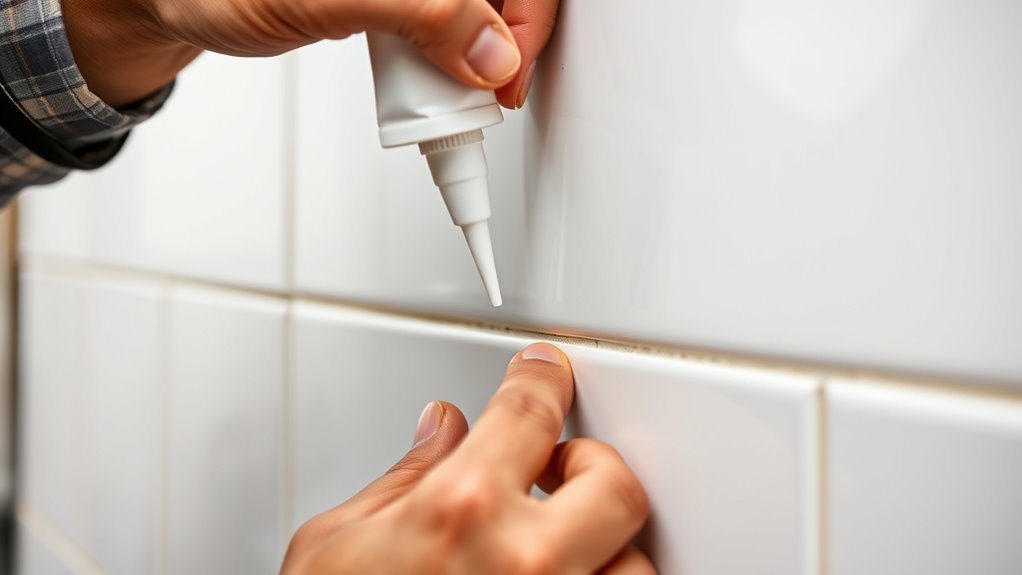
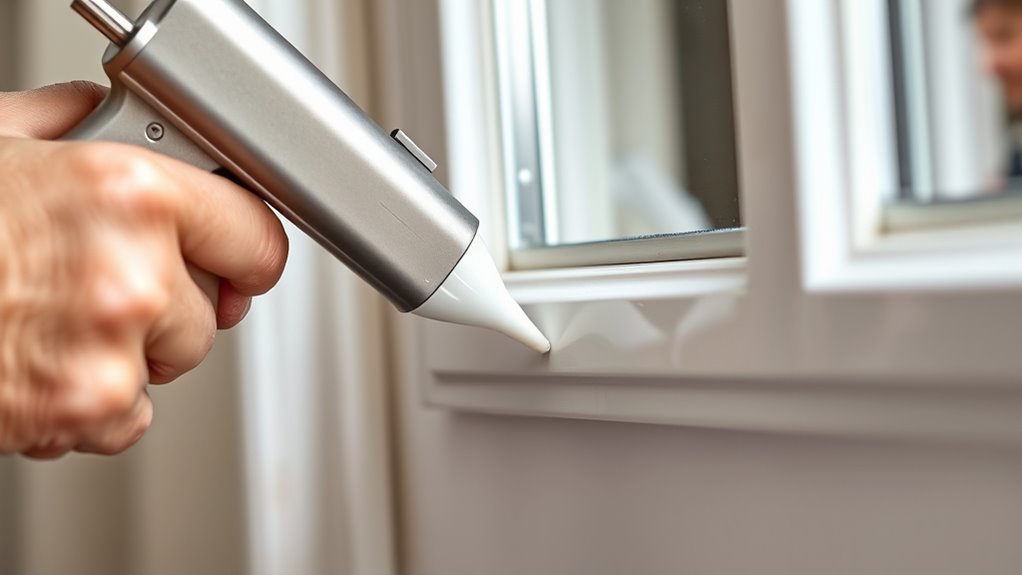
Step-by-Step Guide to Applying Caulk
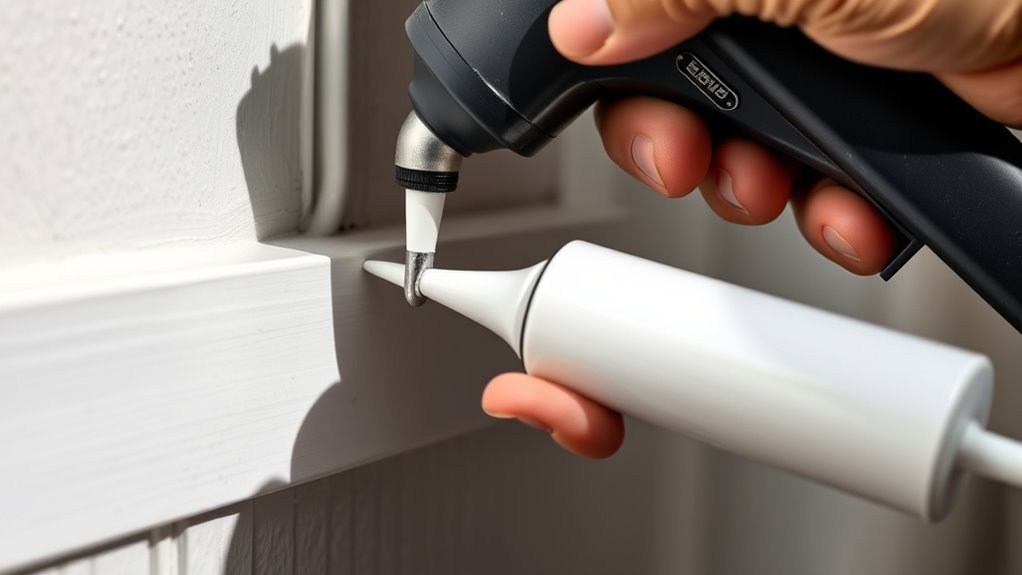
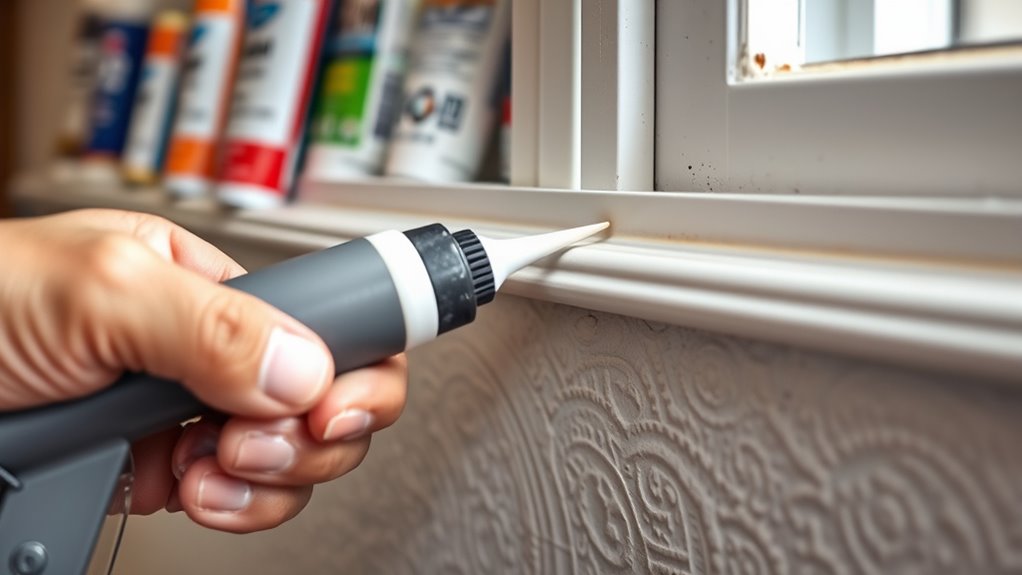
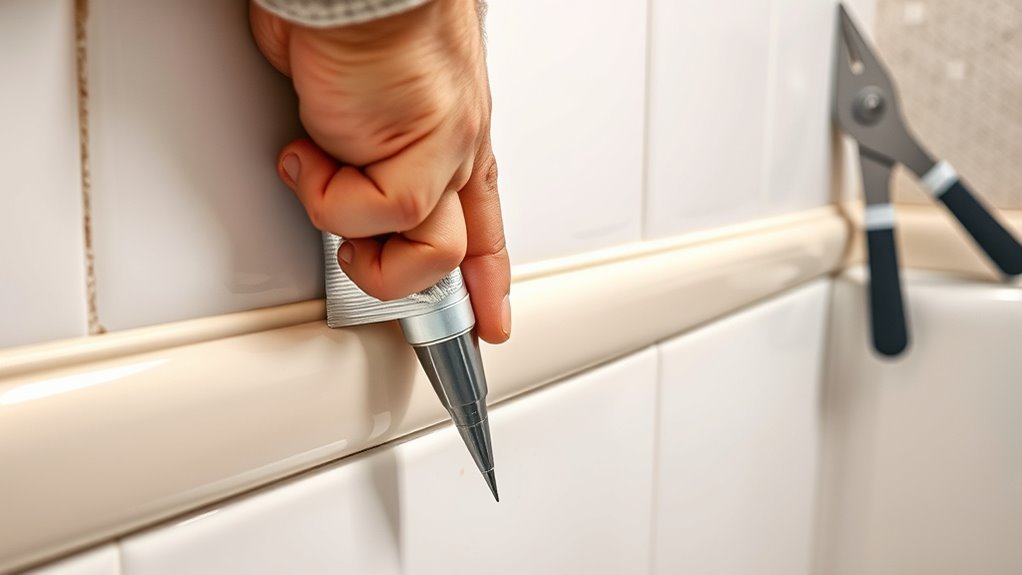
Applying caulk correctly guarantees a durable and professional finish. Start by choosing the right caulk color to match or complement your surface. Prepare your caulk application tools, such as a caulk gun, rags, and a utility knife. Cut the tip of the caulk tube at a 45-degree angle, making a small opening for better control. Load the tube into the caulk gun and steady it along the joint or gap. Squeeze the trigger gently, moving the gun steadily to apply an even bead. Use a damp finger or a caulking tool to smooth the caulk immediately after applying, ensuring it adheres well and looks neat. Clean excess with a damp cloth, and allow the caulk to cure as specified. Proper tip size selection can improve the application process and final finish.
Tips for Achieving a Professional Finish
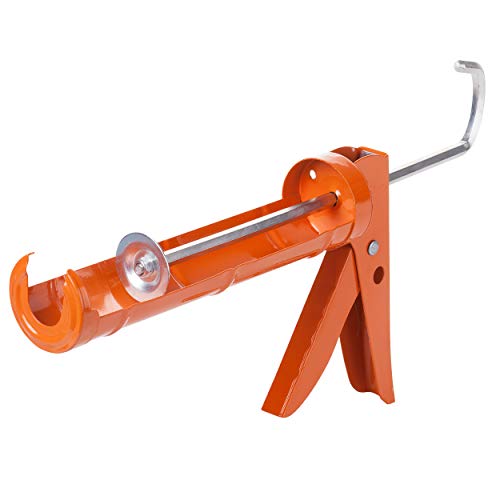
To achieve a professional finish, focus on precision and attention to detail throughout the caulking process. Proper tool selection can make a significant difference; choose a caulking gun suited for your project. Pay close attention to color matching to ensure the caulk blends seamlessly with your surface. Use painter’s tape along edges to create clean, crisp lines before applying the caulk. Smooth the sealant with a damp finger or a caulk finishing tool for a polished look. Always wipe excess caulk promptly for a tidy appearance. Additionally, being aware of support hours can help you find assistance if needed during your project.
Maintaining and Replacing Caulk Over Time
Over time, caulk can degrade due to exposure to moisture, temperature changes, and general wear, which can compromise its effectiveness. Recognizing aging effects early helps you maintain a sealed, energy-efficient space. Regular maintenance schedules are key; inspect caulk every 1-2 years and look for cracks, peeling, or gaps. When deterioration occurs, replace the caulk promptly to prevent water damage and air leaks. Proper removal of old caulk guarantees a clean surface for new application. Use the right type of caulk for your project and follow manufacturer instructions for best results. Below is a quick reference:
| Aging Effects | Maintenance Schedule |
|---|---|
| Cracking | Inspect annually |
| Peeling | Reapply every 1-2 years |
| Gaps | Re-seal as needed |
| Discoloration | Replace if extensive |
| Mold | Clean and reapply |
Aging caulk can also be affected by environmental factors like mold growth, so regular cleaning helps extend its lifespan.
Frequently Asked Questions
How Long Does Caulk Typically Last Before Needing Replacement?
Caulk typically lasts between 5 to 10 years before needing replacement, depending on the caulk lifespan and environmental conditions. You should check for cracks, gaps, or peeling to determine if it’s time for replacement. Regular inspections help you catch issues early, ensuring your seals stay effective. Keep in mind that high-moisture or outdoor areas may require more frequent replacement to maintain proper protection.
Can Caulk Be Painted Over After Application?
Yes, you can paint over caulk after application, but only if you choose the right type. About 90% of caulks labeled “paintable” are compatible with most paints. To guarantee a smooth finish, prepare the surface by cleaning and drying the caulk thoroughly. Proper surface preparation and selecting the right caulk for painting are essential for a clean, durable look, making your project both professional and long-lasting.
What Environmental Factors Affect Caulk Longevity?
Environmental factors like exposure to sunlight, moisture, and extreme temperatures can profoundly impact caulk’s longevity. If you don’t consider material compatibility, the caulk may degrade faster, cracking or peeling over time. To guarantee durability, choose a caulk suitable for your environment and application. Proper surface preparation and sealing techniques also help combat environmental exposure, extending the life of your caulk and maintaining a professional finish.
Is It Safe to Use in Food-Grade Applications?
Yes, some caulks are safe for food-grade applications, especially those labeled for commercial use and food safety. You should select a food-grade, non-toxic caulk that’s specifically designed for contact with food and beverages. Always check the manufacturer’s specifications to verify it meets safety standards. Using the right caulk prevents contamination and ensures compliance with health regulations, making it suitable for sealing areas like kitchen counters, food prep surfaces, and packaging equipment.
How Do I Remove Old Caulk Effectively?
Did you know that removing old caulk can take up to 30 minutes? To do it effectively, start with cleaning methods like a utility knife or a caulk removal tool to loosen the seal. Make sure to thoroughly surface preparation by scraping away the old caulk without damaging the surface. Use a damp cloth or solvent if needed, and always wear gloves for safety. This guarantees a smooth, clean area for new caulk.
Conclusion
By mastering the different types and techniques of caulking, you can guarantee your projects look professional and last longer. Did you know that properly sealed gaps can improve energy efficiency by up to 20%? Regular maintenance and timely replacements keep your home protected from moisture and drafts. With the right tools and tips, you’ll confidently tackle any caulking job and enjoy a cleaner, more comfortable space for years to come.