To paint interior walls like a pro, start by preparing your space—clear furniture, cover floors, and tape edges for sharp lines. Choose quality tools, matching brushes and rollers to your wall texture, and pick the right paint sheen. Master smooth, overlapping strokes, maintain a wet edge, and carefully cut in edges with an angled brush. Finish by removing tape carefully and smoothing out drips. Keep practicing these steps to transform your walls into a flawless finish—more expert tips await as you continue.
Key Takeaways
- Prepare the space thoroughly by cleaning, taping edges, and protecting floors for a professional finish.
- Choose high-quality tools and the right paint sheen suited to your wall type and desired look.
- Apply paint with proper techniques, maintaining a wet edge and using smooth, overlapping strokes.
- Use an angled brush and painter’s tape for clean, sharp lines when cutting in edges.
- Finish with careful touch-ups, removing tape properly, and cleaning tools to ensure a flawless result.

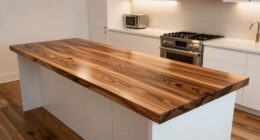
43.3in-59in Extendable Round Dining Table for 4-8,Modern Kitchen Oval Dining Table with Removable Leaves Space Saving,Wood Base with Storage Shelf for Kitchen Living Room (Walnut)
Retractable dining table for 4-8 people: Considering the use in different scenarios, the dining table adopts a retractable...
As an affiliate, we earn on qualifying purchases.
Preparing Your Space for a Flawless Finish
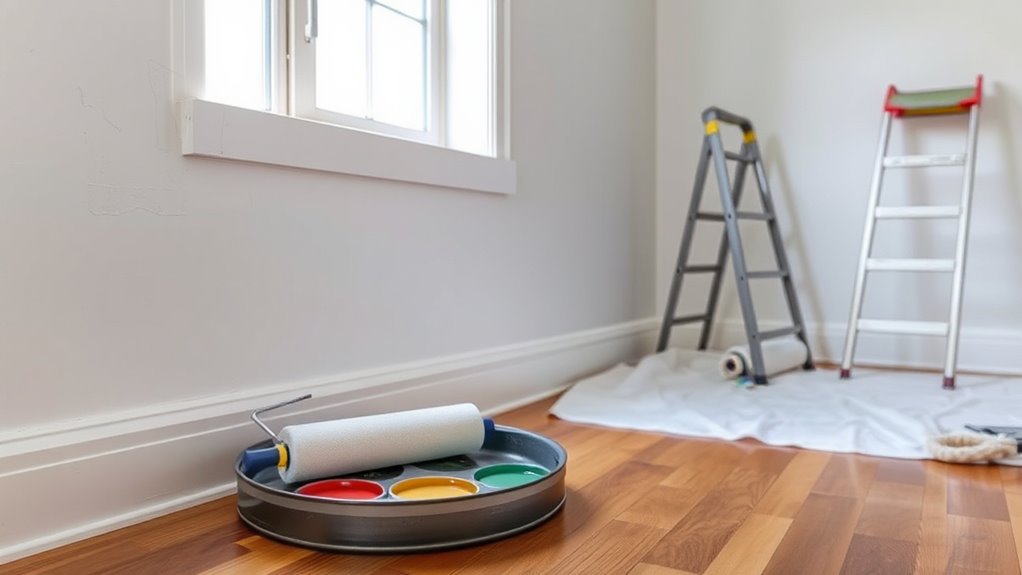
Before you start painting, it’s vital to prepare your space thoroughly. Begin by clearing the area of furniture and cover remaining items with drop cloths. Proper paint storage is essential; keep your paint cans organized and sealed tightly to prevent spills and maintain color consistency. When selecting paint, guarantee color matching is accurate to avoid mismatched shades later. Use painter’s tape along edges and trim to achieve sharp lines and prevent smudges. Ventilate the room well to disperse fumes and help paint dry faster. Cover the floors with protective sheeting to catch drips. Additionally, being aware of practical support options can help you manage unexpected issues during your project. Taking these steps ensures your workspace is ready, minimizes messes, and sets the stage for a smooth, professional-looking finish.
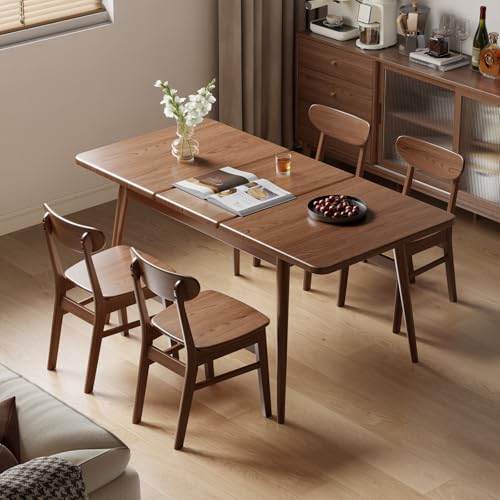
Muwuele Solid Wood Extendable Dining Table for 4-8 People with Seamless Extension from 47.2 to 63 Inches, Easy Assembly, Expandable Tables for Small Spaces, Dining Room, Kitchen, Living Room, Walnut
【TABLE ONLY & NO CHAIRS】This purchase includes the extendable dining room table only. Chairs shown are for display...
As an affiliate, we earn on qualifying purchases.
Choosing the Right Tools and Paint
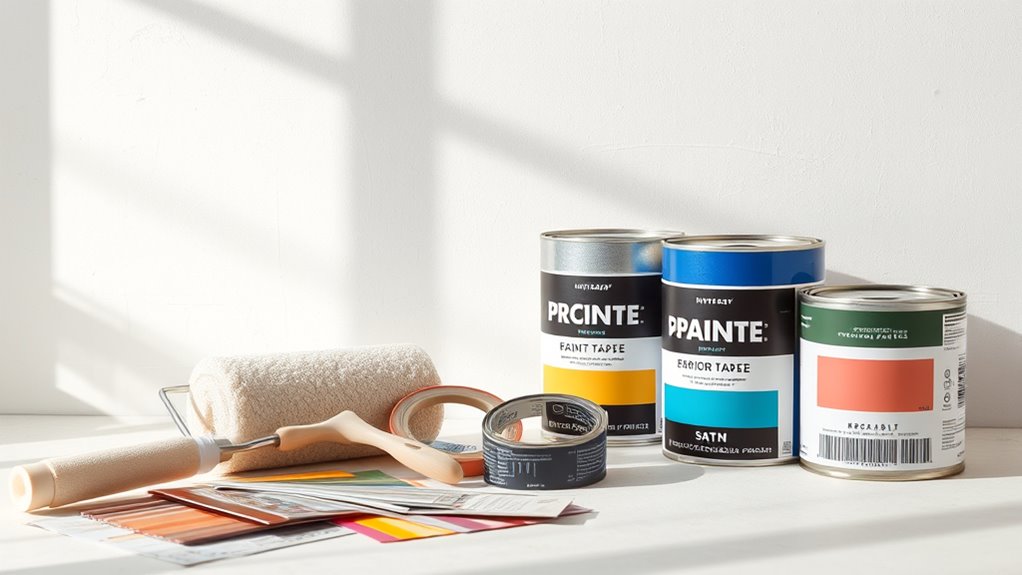
With your space prepared, selecting the right tools and paint sets the foundation for a professional-looking finish. First, focus on brush selection—choose brushes that match your wall size and detail needs. For smooth, even coverage, synthetic brushes work well with latex paint, while natural brushes excel with oil-based paints. Next, consider the paint sheen; flat finishes hide imperfections, while semi-gloss or satin add durability and a subtle shine for high-traffic areas. Use high-quality tools to reduce splatter and ensure smooth application. Keep a roller with the appropriate nap length for your wall texture, and don’t forget painter’s tape for clean edges. Picking the right combination of tools and paint sheen ensures your walls look polished and professional. Additionally, understanding paint application techniques can help you achieve a more even and durable finish, and being aware of headphone compatibility can enhance your audio experience across different devices.

weselon 78 Inch Dining Table for 6 8 10, Modern Farmhouse Rectangular Kitchen Table, Long Dining Room Tables with Wood Strip Base for Kitchen Living Room (Walnut)
SPACIOUS DESIGN: This 78.74 inch dining table comfortably seats 6-10 people, perfect for family gatherings or entertaining guests....
As an affiliate, we earn on qualifying purchases.
Mastering Proper Painting Techniques
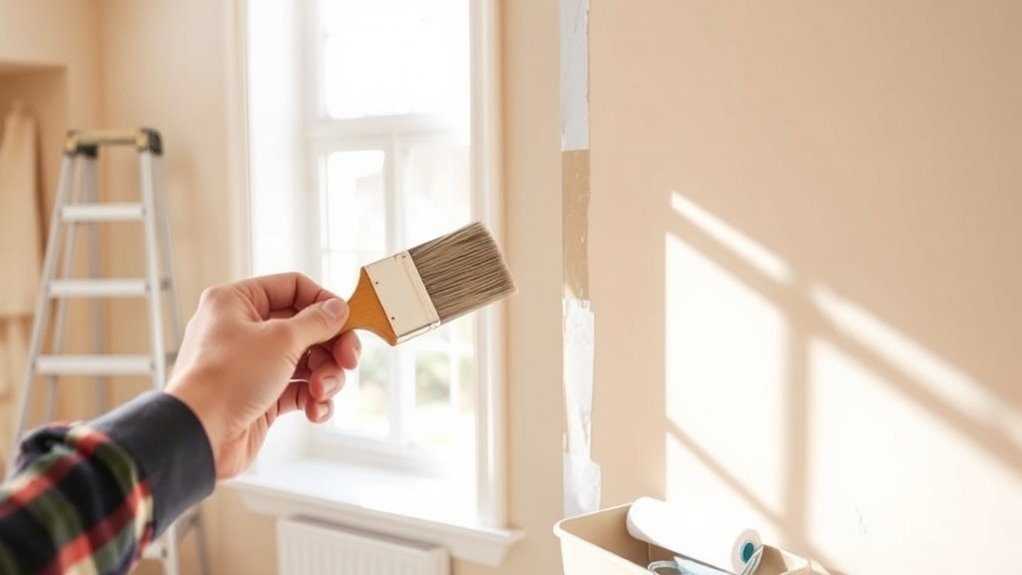
To achieve a flawless finish, mastering proper painting techniques is essential. Start with the right paint consistency—aim for a smooth, creamy texture that’s neither too thick nor too runny. This helps you avoid drips and uneven coverage. When applying paint, use steady brush strokes, maintaining a wet edge to prevent lap marks. Keep your brush slightly loaded; too much paint causes drips, while too little results in uneven color. Work in manageable sections, overlapping each stroke slightly to create seamless coverage. Use long, smooth strokes for large areas and controlled, deliberate movements for corners and edges. Consistent brush strokes and proper paint consistency guarantee a professional-looking finish and make your job easier and cleaner. Additionally, understanding the importance of color temperature can help you select the right paint shade to achieve your desired ambiance. Paying attention to paint drying time is also crucial for avoiding smudges or uneven layers during your painting process. Being aware of paint adhesion and surface preparation can significantly impact the durability of your finished walls. Using the appropriate airless paint sprayer settings can further improve your painting results and efficiency. Moreover, knowing how to properly clean brushes and tools ensures your equipment remains in good condition for future projects.

VASAGLE MAEZO Collection - Extendable Dining Table for 4/6/8, Kitchen Table with Tapered Legs, Curved Transitions, for Dining Room, Kitchen, Home Office, Honey Brown UKDT090K01V1
Style Reigns: Discover the MAEZO Collection—a furniture line featuring streamlined designs, tapered legs, and smooth, curved transitions. Each...
As an affiliate, we earn on qualifying purchases.
Tips for Cutting In and Achieving Clean Lines

Achieving crisp, clean lines when cutting in is key to a professional-looking paint job. To do this, focus on your brush techniques and how you apply tape. Use a high-quality angled brush to carefully paint along edges, maintaining a steady hand. When applying tape, press it firmly to prevent paint bleed, and remove it while the paint is still slightly wet for sharp lines. Keep your brush slightly damp for smoother strokes, and avoid overloading it with paint. Practice steady, even strokes and take your time. Remember, patience and preparation are essential. Proper technique can make all the difference in achieving a flawless finish. Using painter’s tape suited for your surface and pressing it down well helps create a barrier for clean lines. Keep your brush angled and load it with just the right amount of paint. Understanding the importance of surface preparation can help ensure your paint adheres well and lines stay sharp. Remove tape carefully before the paint dries for clean edges.
Finishing Touches and Clean-Up for a Professional Look

Once you’ve completed your painting and removed the painter’s tape, the finishing touches and clean-up process bring your project to a polished finish. To enhance paint durability, inspect your walls for missed spots and touch up with proper brush techniques, using light, even strokes. Clean your brushes thoroughly to preserve their quality for future projects. Afterward, carefully remove any drips or smudges for a crisp, professional look. Consider applying a clear sealant if extra protection is needed, especially in high-traffic areas. Use the table below to guide your final steps:
| Task | Tip |
|---|---|
| Touch-up small imperfections | Use a fine brush for precise corrections |
| Remove painter’s tape | Do so slowly at a 45° angle |
| Clean brushes | Wash with warm, soapy water |
| Check for drips | Smooth out with a dry brush or cloth |
| Final inspection | Ensure even coverage and sharp lines |
| Inspect for paint adhesion | Verify that the paint is properly bonded to the surface |
Additionally, checking for surface preparation ensures the paint adheres well and lasts longer.
Frequently Asked Questions
How Do I Select the Best Type of Paint for Different Rooms?
When selecting the best paint for different rooms, consider the paint finish options and how they suit each space. For high-traffic areas like kitchens and hallways, choose durable finishes like satin or semi-gloss. For bedrooms and living rooms, opt for matte or eggshell for a softer look. Also, think about your paint color selection—lighter shades can brighten small rooms, while darker hues add coziness. Your choices influence the room’s mood and durability.
What Are Common Mistakes to Avoid During Interior Wall Painting?
Did you know that 60% of homeowners struggle with uneven paint coverage? To avoid common mistakes, focus on controlling brush strokes and preventing paint drips. Keep a steady hand, use the right tools, and don’t rush. Overlapping wet edges helps create a smooth finish. By staying patient and attentive, you’ll guarantee your walls look professional, avoiding the uneven patches and drips that often ruin a good paint job.
How Can I Prevent Paint From Peeling or Bubbling Over Time?
To prevent paint from peeling or bubbling over time, you need to focus on proper paint adhesion and moisture control. Start by cleaning and sanding the walls thoroughly, then use a high-quality primer to guarantee good adhesion. Address any moisture issues, like leaks or humidity, before painting. Applying a suitable paint in thin, even coats helps avoid bubbling. Regularly monitor and maintain your walls to catch problems early.
What Safety Precautions Should I Take When Painting Indoors?
When painting indoors, you should prioritize ventilation safety by opening windows and using fans to reduce fumes. Always wear protective gear like masks, goggles, and gloves to shield yourself from harmful chemicals and paint splatters. Make sure the area is well-ventilated, and take breaks outside if fumes become overwhelming. These precautions help guarantee your safety while giving your walls a professional finish.
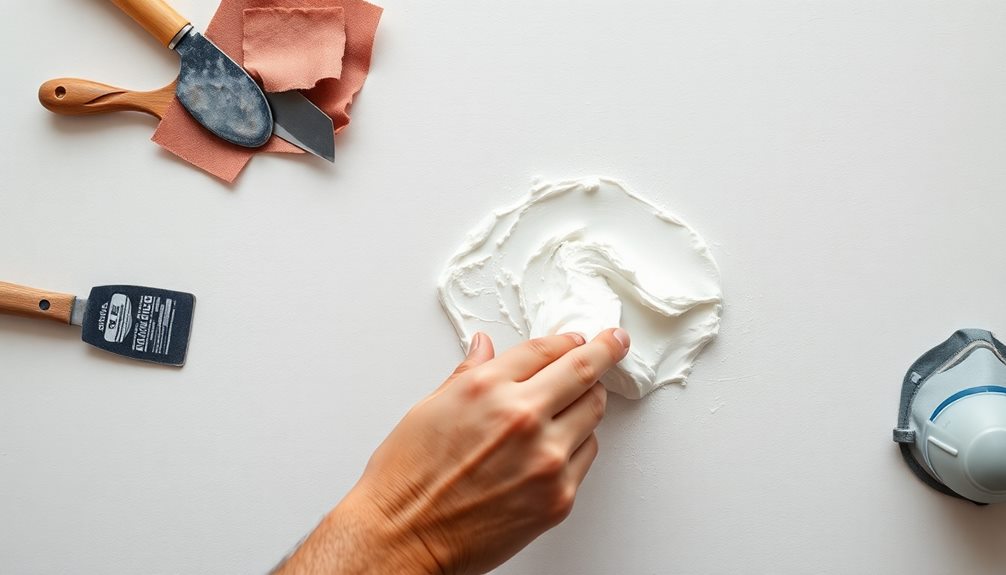
How Do I Repair Walls Before Painting to Ensure a Smooth Finish?
Imagine your walls as a blank canvas, waiting for a flawless finish. To achieve this, start with thorough wall prep—remove peeling paint and fill holes with spackle. Sand the surface smoothly, like polishing a gemstone, to guarantee surface smoothing. Wipe away dust, then prime if needed. These steps create a pristine base, allowing your paint to glide effortlessly and result in a professional-looking, even finish.
Conclusion
Now that you know the secrets to painting like a pro, your walls will look so flawless, they might just shine brighter than the sun. With your newfound skills, you’re about to transform your space into a masterpiece that’ll leave everyone in awe. Remember, patience and attention to detail turn an ordinary paint job into art. Get ready to impress—your walls are about to become the envy of the neighborhood!