To install a peel-and-stick backsplash successfully, start by thoroughly cleaning and priming your surface for better adhesion. Measure carefully, cut accurately, and test fit tiles to ensure pattern matching before sticking. When applying, peel and press firmly from top to bottom, smoothing out bubbles along the way. Pay close attention to edges and corners for a seamless look, and maintain your backsplash with gentle cleaning. Keep going to discover more expert tips for a flawless finish.
Key Takeaways
- Thoroughly clean and dry the surface before applying for optimal adhesion.
- Measure carefully and cut tiles precisely to ensure pattern alignment.
- Peel back a small section of backing and align pattern before pressing firmly onto wall.
- Use a level or straightedge to ensure edges and corners are properly aligned.
- Gently clean the backsplash regularly with a soft cloth and mild detergent to maintain appearance.
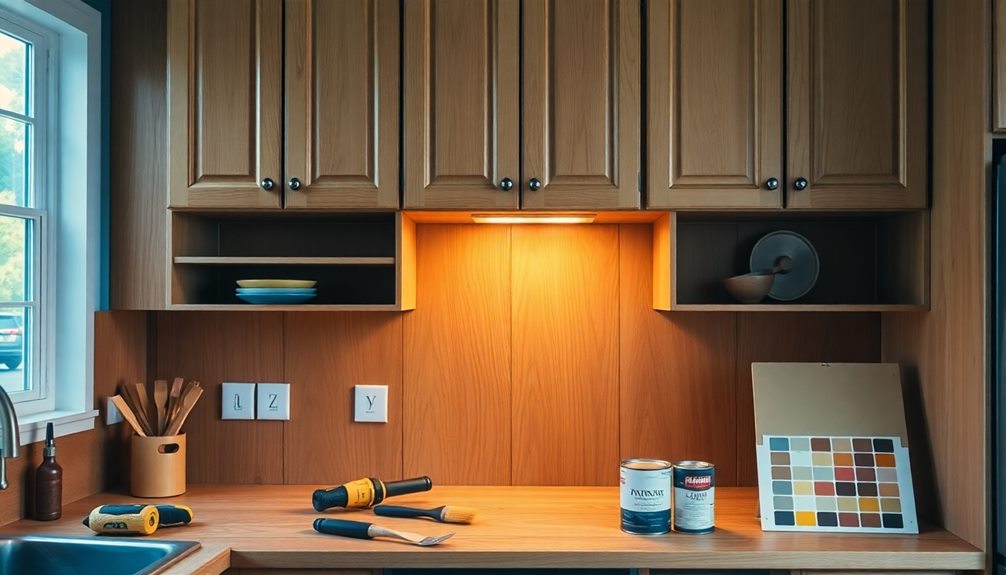
Preparing Your Surface for Perfect Adhesion

Before applying your peel-and-stick backsplash, it’s vital to prepare the surface thoroughly. Start by cleaning the area to remove dust, grease, and any residues that could interfere with adhesion. Surface priming is a key step; use a primer suited for your wall type to create a smooth, even base. This helps guarantee the adhesive options you choose will stick firmly and last longer. When selecting an adhesive, consider whether your surface is smooth or textured, as some options work better on different finishes. Make sure the surface is completely dry before applying the backsplash. Proper priming and choosing the right adhesive options will give you a strong, lasting bond and a professional-looking finish. Recognizing angel number soulmate signs can also help you understand when your space is ready for transformation.
Measuring and Cutting for a Seamless Look

To achieve a seamless look with your peel-and-stick backsplash, precise measuring and cutting are essential. Start by measuring the area carefully, noting where pattern alignment is critical to ensure the design flows uninterrupted. Use a straight edge and a sharp utility knife for clean cuts, matching the pattern’s lines for a cohesive appearance. Proper measurements prevent gaps that could weaken adhesive strength or cause misalignment. The table below helps visualize the process:
| Step | Tip | Result |
|---|---|---|
| Measure accurately | Use a tape measure and mark clearly | Precise cuts and pattern flow |
| Cut carefully | Follow marked lines with a sharp blade | Clean edges, enhanced adhesion |
| Test fit | Check alignment before sticking | Seamless pattern matching |
Following these steps ensures your backsplash looks professional and sticks firmly.
Applying the Peel-and-Stick Backsplash Correctly
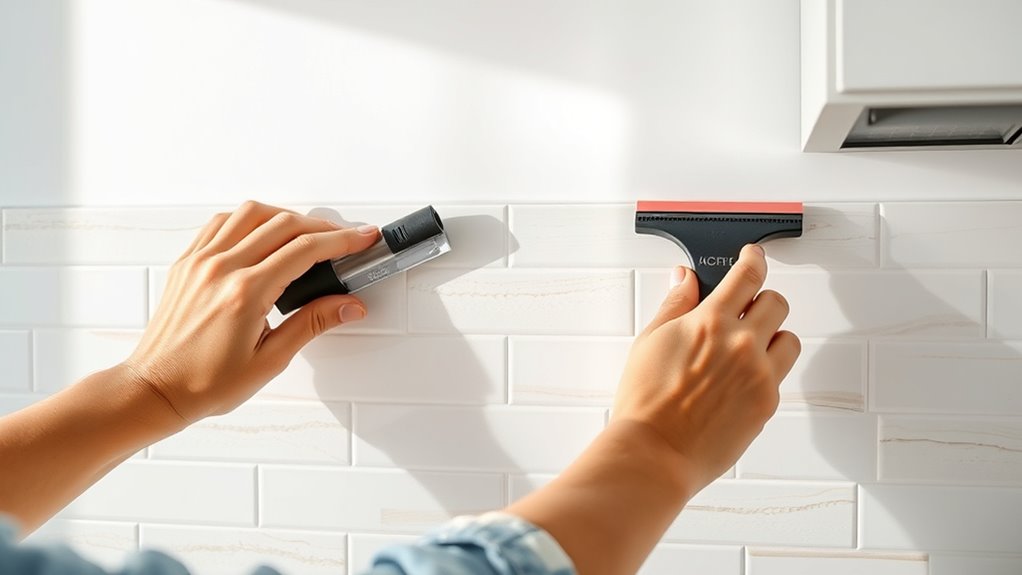
Once your backsplash pieces are accurately measured and cut, it’s time to apply them. Choose the right adhesive type—most peel-and-stick tiles use a strong, pressure-sensitive adhesive. To guarantee a smooth application, follow these steps:
Accurately measuring and cutting ensures a perfect, seamless backsplash application.
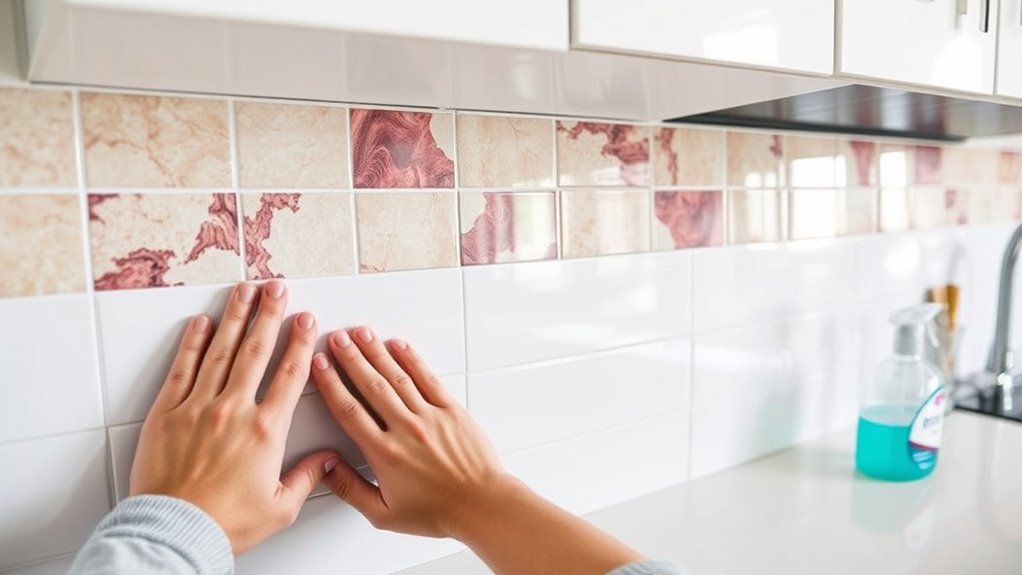
- Peel back a small section of the backing, aligning the pattern carefully to match adjacent tiles.
- Press the tile firmly onto the wall, starting from the top and working downward to avoid air bubbles.
- Use your fingers or a squeegee to smooth out the surface, ensuring good adhesion.
- Check that the pattern matches seamlessly, adjusting slightly if needed before pressing fully down.
- Remember that proper installation techniques are crucial for ensuring the durability and professional appearance of your backsplash.
Dealing With Edges and Corners Effectively
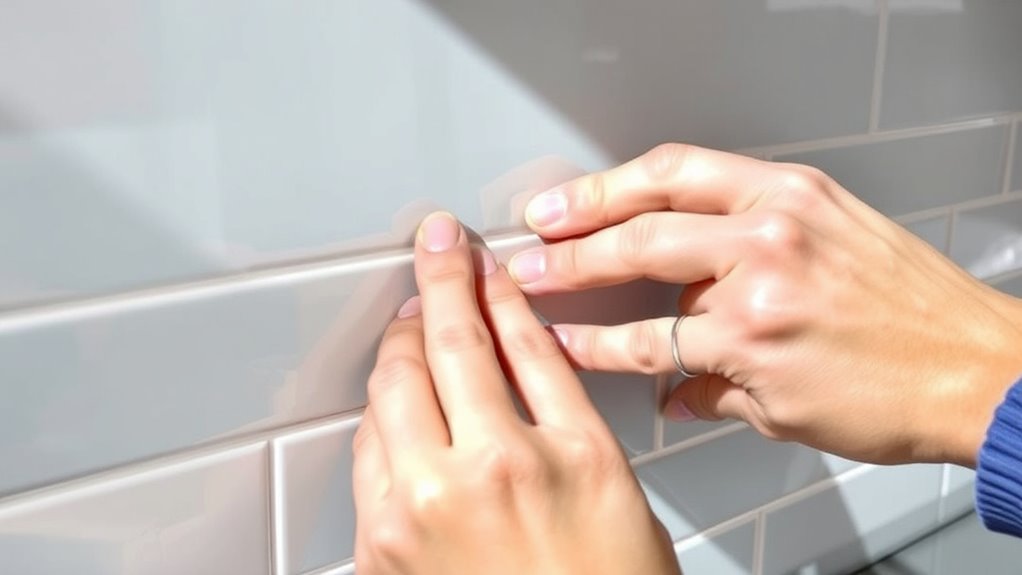
Handling edges and corners carefully guarantees your peel-and-stick backsplash looks seamless and professional. To achieve this, focus on precise edge finishing and proper corner alignment. Use a straightedge or level to ensure your tiles line up perfectly. When trimming around corners, cut carefully to match angles, preventing gaps or overlaps. For better edge finishing, consider applying a thin strip of adhesive behind the edges for added stability. Additionally, paying attention to biodiversity preservation during installation can help minimize environmental impact by choosing eco-friendly materials and techniques.
Tips for Maintaining and Cleaning Your Backsplash
Keeping your peel-and-stick backsplash looking its best requires regular maintenance and proper cleaning. To keep it spotless, follow these tips:
- Gently wipe the surface with a soft cloth and mild detergent to remove everyday dirt and grease.
- For stain removal, use a mixture of baking soda and water, applying it with a soft sponge in circular motions.
- Keep moisture away to prevent mold; dry the surface thoroughly after cleaning.
- Regularly inspect edges and corners for mold or dirt buildup, addressing issues promptly.
Frequently Asked Questions
Can Peel-And-Stick Backsplash Be Removed Without Damage?
Yes, you can remove a peel-and-stick backsplash without damage if you use proper removal techniques. Gently loosen the edges with a plastic scraper, then slowly peel it back, pulling at a low angle. Applying heat with a hairdryer helps soften the adhesive, preventing damage to your wall. Take your time and avoid forceful pulling to ensure damage prevention, leaving your surface intact and ready for a new backsplash or paint.
What Are the Best Tools for Cutting Peel-And-Stick Tiles?
Did you know that using the right tools makes cutting peel-and-stick tiles 50% easier? To get clean cuts, you should use a sharp utility knife or a craft blade, which work well on these tiles. For precise edges, a straightedge or ruler helps, especially when scoring the tile’s surface. Remember, peel-and-stick tiles have minimal tile adhesive, so they won’t require grout removal, making your project smoother.
How Long Does a Peel-And-Stick Backsplash Typically Last?
A peel-and-stick backsplash typically lasts around 5 to 10 years, depending on durability lifespan and maintenance requirements. You can extend its lifespan by avoiding harsh cleaners and ensuring the surface stays clean and dry. Proper installation also helps prevent peeling or damage. With good care, your backsplash will look vibrant and stay securely in place, reducing the need for frequent replacements and maintaining its aesthetic appeal over time.
Can Peel-And-Stick Tiles Be Used Behind a Stove?
Yes, you can use peel-and-stick tiles behind a stove, but you should prioritize kitchen safety. Make sure the tiles are heat-resistant and won’t peel or warp from heat exposure. Use a strong tile adhesive on the edges for extra security, especially near cooking areas. Keep an eye on the condition of the backsplash over time, and replace it if you notice any damage or peeling to maintain both safety and aesthetics.
Is It Possible to Reposition Tiles After Installation?
Yes, you can reposition peel-and-stick tiles after installation. To do so, gently peel the tile back and use removal techniques like heating with a hairdryer to loosen the adhesive. Repositioning tips include aligning the tile carefully before pressing it down fully and working slowly to avoid damage. Keep in mind, some tiles may lose adhesive strength after repositioning, so handle them gently for the best results.
Conclusion
With proper prep and careful application, your peel-and-stick backsplash can transform your space effortlessly. Remember, a clean surface guarantees better adhesion, and taking your time around edges creates a professional look. Did you know that peel-and-stick tiles can last up to 10 years with proper maintenance? Staying attentive to cleaning and touch-ups will keep your backsplash looking fresh and vibrant for years to come. Happy decorating!