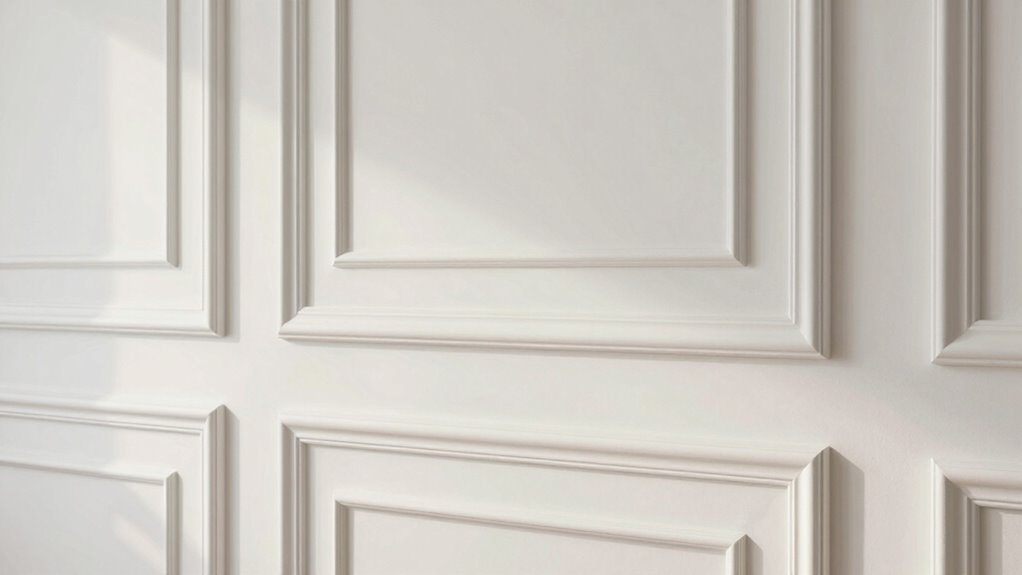

To add character with picture frame molding, start by measuring and marking where you’d like your frames to go on the wall. Choose consistent or varied sizes to suit your style, then cut your molding with clean angles. Secure it with adhesive and nails, making sure everything’s level and flush. You can paint or leave it white for contrast or harmony with your decor. With these steps, you’ll transform your space—keep exploring to discover more tips and ideas.

Get furniture and decor delivered free with Prime
- Fast, free delivery on millions of items
- Prime Video, Amazon Music and more included
- Member-only deals all year
Key Takeaways
- Measure and plan wall sections to create balanced, visually appealing frame placements.
- Cut molding at precise angles for clean, professional-looking corners and borders.
- Secure molding with adhesive and nails, ensuring it is level and flush for a polished finish.
- Customize the molding by painting or contrasting colors to enhance room character.
- Incorporate artwork or photos within the frames to turn walls into personalized gallery spaces.
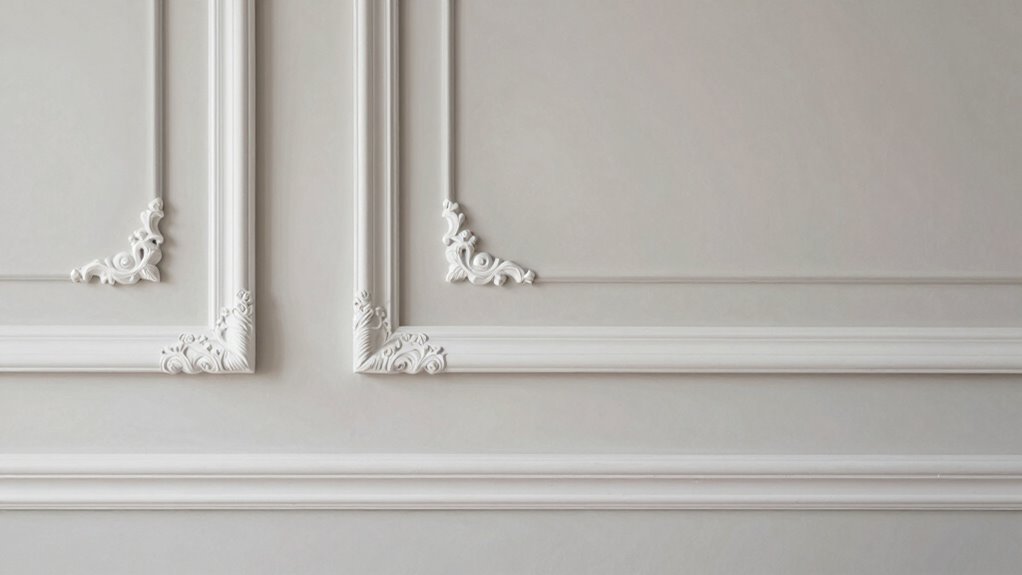
Ever wondered how to instantly add elegance and character to a room? One simple yet impactful way is by incorporating picture frame molding into your walls. This classic design technique allows you to transform plain surfaces into striking features by creating defined borders and architectural interest. When you choose to use wall decor like picture frame molding, you’re not just adding visual appeal—you’re carving out a space that feels refined and personalized. These interior accents serve as a versatile backdrop that emphasizes artwork, photographs, or even the wall’s natural beauty, giving your room a sophisticated upgrade.
Installing picture frame molding is more accessible than you might think. You start by measuring and marking where you want your frames to go. You can opt for consistent, symmetrical borders or mix different sizes for a more eclectic look. Once your layout is planned, you cut your molding pieces to fit, ensuring clean, precise angles for corners. Using a strong adhesive and finishing nails, you secure the molding to the wall, making sure everything is level and flush. As you work, keep in mind that the molding can be painted in a color that complements your room’s palette or left in a classic white to create a crisp, clean contrast. This flexibility means you can match your interior accents to your existing decor or make a bold statement with contrasting hues.
Measure, cut, and secure molding for a polished, customizable wall feature that enhances your room’s style.
The beauty of picture frame molding lies in its ability to elevate the overall aesthetic without overwhelming the space. It acts as a subtle yet impactful wall decor element that adds depth and dimension. Once installed, you can further enhance the look by adding artwork, photographs, or decorative wallpaper within the frames. This not only personalizes your space but also turns your walls into curated galleries. The molding also draws the eye upward or across the room, emphasizing architectural details and making the ceiling or walls appear taller and more elegant. Additionally, understanding molding installation techniques helps ensure a professional finish and lasting durability. Moreover, choosing the right materials and finishes can influence the overall style and longevity of your project. Proper planning and accurate measurements are crucial for achieving a seamless and polished appearance. Plus, knowing about biodiversity and sustainable practices can inspire eco-friendly choices for your interior design, such as using sustainably sourced materials. Being aware of proper tools and techniques can further streamline your project and improve the overall quality of your work.
Incorporating picture frame molding is an effective way to introduce character and charm. It’s a straightforward project that instantly boosts the sophistication of any room, turning a blank wall into a focal point. Whether you want a traditional feel or a modern twist, this interior accent offers endless customization options. With a little patience and some basic tools, you’ll create a stunning feature that showcases your style and elevates your home’s overall design.
As an affiliate, we earn on qualifying purchases.
Frequently Asked Questions
What Are the Best Types of Wood for Picture Frame Molding?
You should choose woods like oak, maple, or cherry for picture frame molding because they showcase attractive wood grain and work well with various molding styles. Oak offers durability and a classic look, while maple provides a smooth, light finish. Cherry adds warmth and richness, perfect for more refined styles. These woods are versatile, easy to work with, and enhance the character of your frames, making your space more inviting.
How Do I Choose the Right Molding Size for My Space?
Choosing the right molding size can feel like finding a needle in a haystack, but it’s simpler than you think. Measure your wall space carefully, and consider the room’s scale—larger walls often need bolder, wider moldings, while smaller spaces benefit from narrower styles. Think about color coordination and molding styles that complement your decor. Aim for a proportion that balances the room’s dimensions and enhances its character without overwhelming it.
Can Picture Frame Molding Be Installed on Textured Walls?
Yes, you can install picture frame molding on textured walls. To do this successfully, consider wall texture options like light sanding or smoothing for better adhesion. Use molding installation tips such as applying a strong adhesive or nails, and guarantee the molding is flush against the wall. For stubborn textures, you might need to use a backer board or additional support to create a clean, polished look.
What Tools Are Essential for Installing Picture Frame Molding?
Ever wondered what tools make wall embellishments effortless? You’ll need a miter saw or a handsaw for precise cuts, a tape measure for accurate measurements, a level to guarantee straight lines, and a pencil for marking. A nail gun or hammer helps attach decorative accents securely, while painter’s putty and caulk smooth out any gaps. These essential tools make installing picture frame molding straightforward and give your walls a polished, refined look.
How Do I Paint or Finish Molding for a Polished Look?
To achieve a polished look, start with smooth painting techniques, applying primer first for an even base. Use high-quality paint and a fine brush or roller for clean lines. For finishing touches, consider a clear sealant or semi-gloss finish to add durability and shine. Take your time with each coat, sanding lightly between layers, to guarantee a flawless, professional appearance that enhances your molding’s character and elegance.
Conclusion
By adding picture frame molding, you instantly elevate your space with timeless elegance and personality. It’s a simple upgrade that can boost your home’s value—homes with well-done moldings sell 10% faster! So, pick your style, measure carefully, and get molding to transform your walls from plain to mesmerizing. With a little effort, you can create a stunning feature that reflects your style and impresses every guest who walks through your door.
Halloween Picks
halloween
As an affiliate, we earn on qualifying purchases.