
To prep and prime before painting, start by cleaning your walls to remove dirt, dust, and grease. Repair any dents, holes, or cracks with spackle and sand smooth. Use fine-grit sandpaper to guarantee a flawless surface, then wipe away dust. Select a primer suited for your wall type, and apply it in thin, even coats with the right tools. Proper preparation and priming set the stage for a professional-looking finish—continue to learn how to perfect each step.
Key Takeaways
- Clean walls thoroughly to remove dirt, dust, and grease for better primer adhesion.
- Repair surface imperfections like holes and cracks with spackle, then sand smooth.
- Sand the surface lightly to ensure a smooth, even finish before priming.
- Choose the appropriate primer type based on wall material and surface needs.
- Apply primer in thin, even coats, allowing proper drying for optimal paint results.
Assessing and Cleaning Your Walls
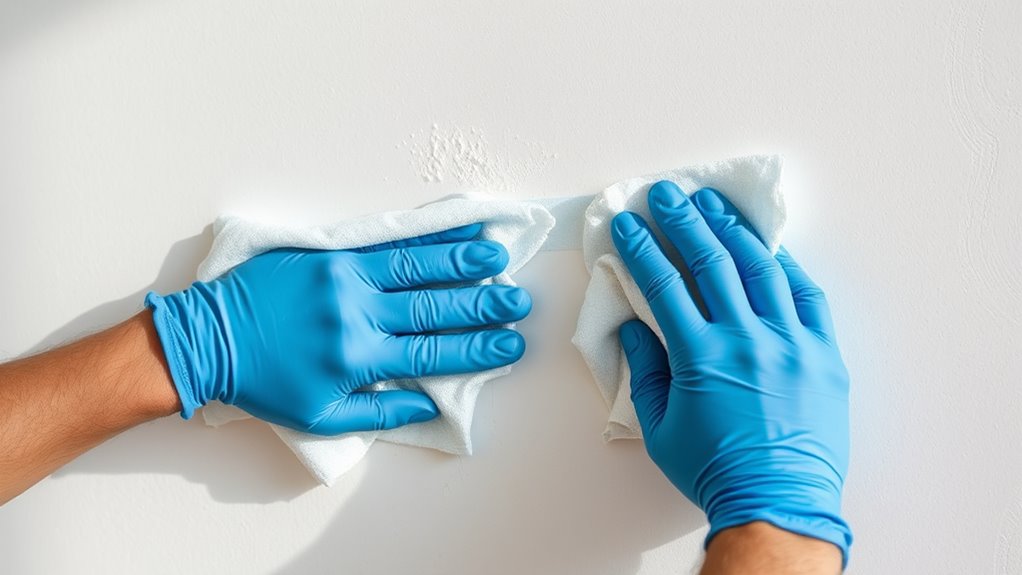
Before you begin painting, it’s essential to assess and clean your walls thoroughly. Start by inspecting for dirt, dust, or grease, which can affect paint adhesion and durability. Cleaning with a mild detergent or a mixture of water and vinegar guarantees a clean surface, promoting better paint adhesion and longer-lasting results. During assessment, consider the existing wall color and how it will coordinate with your new paint; proper color coordination can make your space more vibrant and cohesive. If you notice peeling or flaking paint, address these issues before priming. Ensuring your walls are clean and in good condition helps maintain paint durability and prevents future issues. Additionally, using a quality primer can further improve adhesion and ensure a smooth finish. Taking these steps sets a solid foundation for a smooth, professional-looking finish that lasts.
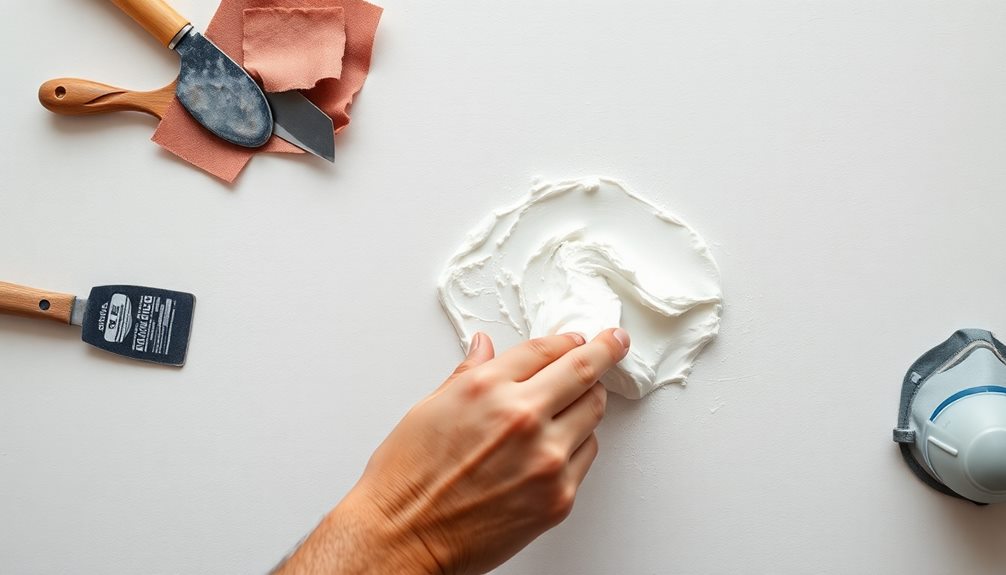
Repairing Surface Imperfections
To achieve a smooth, professional finish, you need to repair any surface imperfections on your walls. Start by inspecting your wall texture carefully for dents, holes, or cracks. Use a putty knife to fill holes or gouges with spackle or joint compound, smoothing it out evenly. Once dry, sand the patched areas until flush with the wall, ensuring no ridges or bumps remain. Address uneven wall texture that might cause an inconsistent paint sheen by applying a skim coat if necessary, blending it smoothly. Pay close attention to imperfections that could affect the final paint appearance, as even small flaws can cause uneven sheen or highlight through the paint. Properly repairing surface imperfections guarantees a flawless surface ready for priming and painting. For a truly seamless finish, consider the importance of proper surface preparation in paint tuning to ensure your paint job looks professional and long-lasting.
Sanding for a Smooth Finish

Once you’ve filled and smoothed out surface imperfections, the next step is to sand the area for an ultra-smooth finish. Use a fine-grit sandpaper to gently smooth out any bumps or rough spots, paying attention to the surface’s overall evenness. Sand in light, circular motions to avoid creating noticeable brush strokes or uneven patches. Be careful not to oversand, which can create dips or uneven areas that will affect the paint’s sheen. After sanding, wipe away dust with a damp cloth to ensure a clean surface. Achieving a smooth, even surface helps the paint lay flat, preventing brush strokes and inconsistencies in the finish. Proper sanding is essential for a professional-looking, flawless appearance once you start painting. Additionally, understanding contrast ratio can help in evaluating the quality of your finished surface under different lighting conditions.
Choosing the Right Primer
Choosing the right primer is key to a successful paint job, and it starts with understanding surface compatibility. You should match the primer type to your surface—like using a bonding primer for slick or porous materials—and follow application tips for even coverage. By selecting the correct primer and applying it properly, you’ll guarantee your paint adheres well and lasts longer. Additionally, considering self watering plant pots can offer insights into how consistent moisture levels are maintained, which is similar to ensuring a smooth, even primer application.
Surface Compatibility Tips
Selecting the right primer is essential to guarantee your paint adheres properly and lasts longer. To make certain surface compatibility, consider these tips:
- Match the primer’s paint sheen to your topcoat for a uniform finish.
- Check surface moisture levels; high moisture can cause peeling or mold growth, so choose a moisture-resistant primer if needed.
- Assess the surface material—wood, drywall, or metal—to pick a primer formulated for that material’s unique needs.
- Consider the potential for nutrient deficiencies or side effects if the primer is applied over surfaces with residues or contaminants that could affect its performance.
Primer Types Explained
Understanding the different types of primers is essential to achieving a smooth, durable finish. Primer benefits vary depending on the surface and paint you choose, so selecting the right type guarantees superior adhesion and coverage. For interior walls, latex primers are versatile and easy to apply, offering quick drying times. Oil-based primers excel at blocking stains and sealing porous surfaces like raw wood or drywall. Bonding primers are ideal for tricky surfaces such as glossy finishes or plastics, providing excellent adhesion. When considering primer application, think about the specific needs of your project—whether you need stain-blocking, adhesion, or compatibility with the topcoat. Choosing the right primer type improves durability, enhances color accuracy, and simplifies the painting process, giving you professional-looking results. Additionally, understanding primer application techniques can further optimize your painting project for long-lasting, high-quality results.
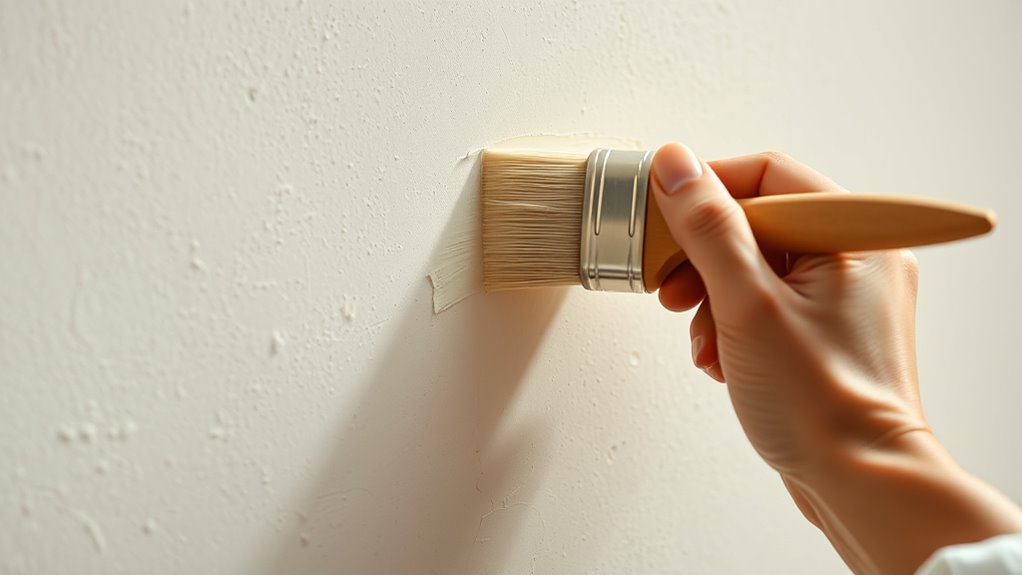
Application Techniques
Proper application techniques can make or break your painting project, ensuring the primer performs as intended. To achieve a smooth, even coat, focus on these key steps:
- Use appropriate brush techniques to reach corners and edges without streaks.
- Select the right roller size and nap for your surface, ensuring even coverage.
- Apply the primer in thin, consistent layers, avoiding over-application that can cause drips or uneven drying.
- Ensuring proper surface preparation enhances primer adhesion and overall finish quality.
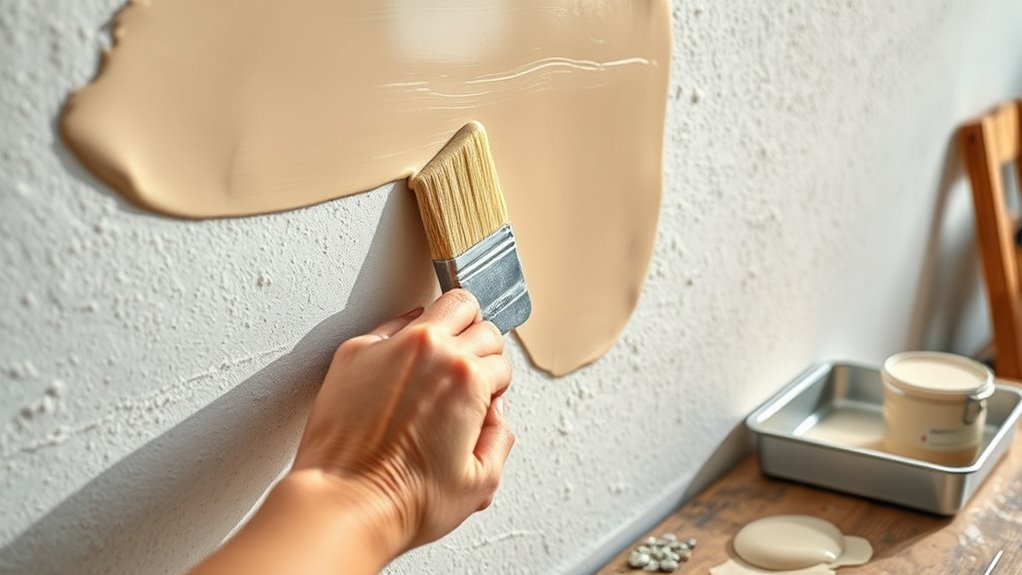
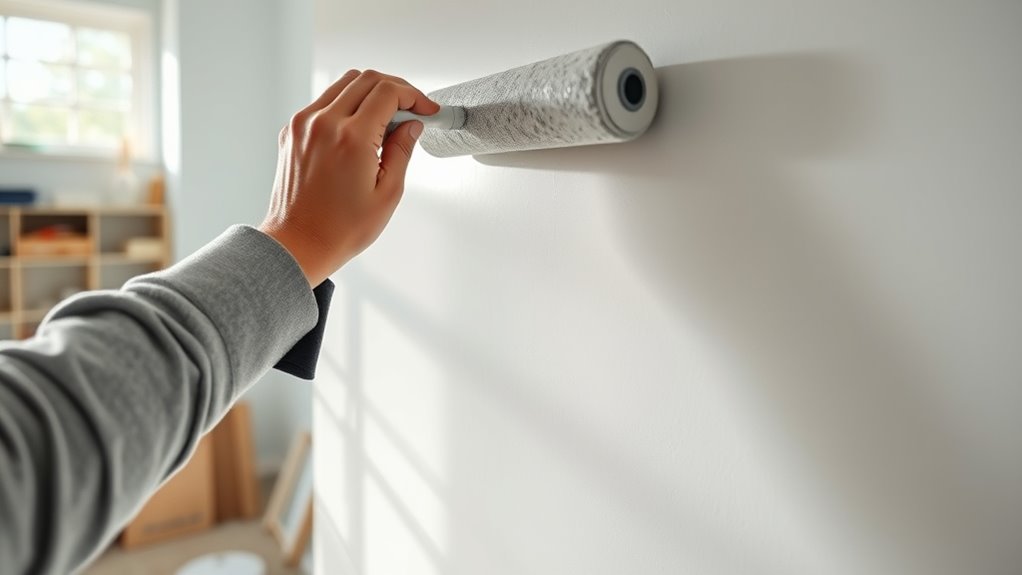
Applying Primer Correctly

Before you start applying primer, it’s crucial to prepare the surface properly. Good surface preparation ensures primer adhesion, which is essential for a smooth, lasting finish. Clean the surface thoroughly, removing dust, grease, and old paint. Sand rough areas to create an even texture, promoting better adhesion. Use a quality brush or roller, applying primer in thin, even coats. Avoid over-application, which can cause drips or uneven drying. For optimal results, consider the essential oils for surface preparation, which can help clean and condition the surface before priming.
Tips for a Perfect Paint Job
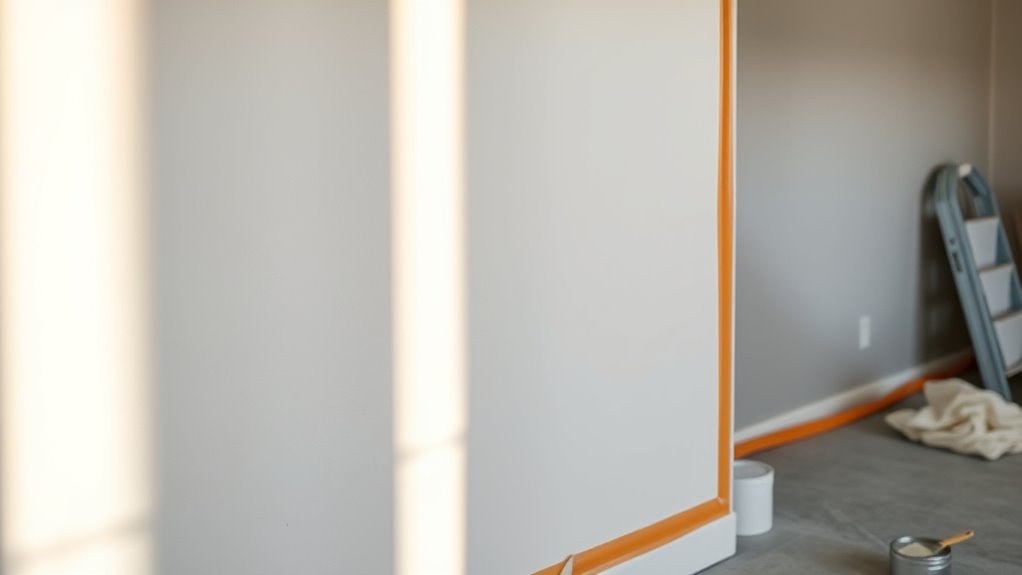
To achieve a flawless paint job, preparation is key. The right techniques ensure your color coordination and paint finish look professional. Here are three essential tips:
Achieving a perfect paint job relies on proper preparation and technique.
- Choose complementary or neutral colors to enhance your space’s harmony.
- Select the appropriate paint finish—matte, satin, or gloss—based on the room’s function and desired look.
- Use quality tools and apply paint evenly to prevent streaks and uneven coverage.
- Consider potential AI security vulnerabilities that could impact your smart home systems during your renovation process.
Frequently Asked Questions
How Long Should Primer Dry Before Painting?
You should wait at least 1 to 2 hours for primer to dry before painting, but drying time can vary based on environmental factors like humidity, temperature, and ventilation. If the weather is humid or cold, give it more time to dry thoroughly. Check the primer’s instructions for specific drying times, and make certain it’s completely dry and tack-free to achieve the best results with your paint.
Can Primer Be Tinted to Match Wall Colors?
Yes, you can tint primer to match your wall color. Tinting primer makes it easier to achieve a seamless finish and guarantees better paint coverage. When you match the primer color to the wall, it enhances paint compatibility and reduces the number of coats needed. Just make sure the tinted primer is compatible with your chosen paint to avoid any adhesion issues or color mismatches.
Is It Necessary to Prime Over Wallpaper Adhesive?
You should prime over wallpaper adhesive once you’ve removed wallpaper and dealt with any stubborn adhesive residue. Think of it as sealing a treasure chest before filling it with precious gems—priming guarantees a smooth, even surface, preventing stains or residue from bleeding through your paint. Skipping this step might leave behind sticky patches or uneven finishes, so take the time to prime for a flawless, long-lasting paint job.
What’s the Best Way to Remove Peeling Paint Before Priming?
To remove peeling paint, start with a paint scraper to gently lift loose sections. Then, use sanding techniques to smooth the edges and create a clean surface. Focus on the areas where paint is flaking, ensuring you remove all loose paint to prevent future bubbling. Afterward, clean the surface thoroughly before priming, which helps the new paint adhere better and lasts longer.
How Do I Prevent Streaks When Applying Primer?
To prevent streaks when applying primer, you should use smooth brush techniques, applying the primer evenly in long, consistent strokes. Make sure your primer consistency is just right—neither too thick nor too runny—so it spreads easily. Work in sections, blending each stroke into the next, and avoid over-brushing. This careful approach helps achieve a smooth, streak-free finish that prepares your surface perfectly for painting.
Conclusion
So, after all that prep work, you might think painting will be a breeze. Ironically, skipping these steps could turn your effort into a paint disaster. But hey, if you enjoy redoing your walls or living with uneven colors, go ahead—skip the primer and skip the prep. Otherwise, take your time, follow these tips, and enjoy the surprisingly rewarding process of a flawless finish. Your walls will thank you (even if you don’t).