
Replacing your interior door is a straightforward process. Start by removing the old door; take out the hinge pins and carefully lift it off. If you choose a pre-hung door, place it in the opening and use shims to level it. Secure the frame by nailing through the shims. Next, attach the door trim and caulk the edges for a finished look. After everything's in place, check that the door swings smoothly. Take some time to inspect your work and make any necessary adjustments. Continue exploring to discover tips on tools and materials that make the process even easier.
Key Takeaways
- Remove the existing door by extracting hinge pins and unscrewing hinges; lift it out carefully.
- Install the new pre-hung door by placing it in the rough opening and using shims for leveling.
- Secure the door frame by driving nails through each shim to attach it to the studs, ensuring it's level.
- Attach door trim to conceal the jamb and caulk edges to fill gaps or nail holes for a polished finish.
- Perform final checks to ensure the door operates smoothly at a 90-degree angle and make any necessary adjustments.
As an affiliate, we earn on qualifying purchases.
Types of Interior Doors
When choosing the right interior door for your home, it's essential to understand the different types available.
You'll typically encounter two main door types: prehung doors and slab doors. Prehung doors come with the frame and hinges already installed, making them perfect for replacing damaged frames. On the other hand, slab doors are just the door itself, allowing you to use them with intact frames, often at a lower cost.
Materials also play a significant role in your decision. Hollow core doors are lightweight and budget-friendly, while solid core doors offer enhanced sound insulation and durability. If you're after a classic touch, solid wood doors provide a high-end look that can elevate your space.
Additionally, consider specialty door types like sliding doors, barn doors, or bi-fold doors, which can add unique functionality and style to your home.
As you choose, think about the door's frequency of use, privacy needs, and how it complements your overall home design. This will guarantee your interior doors not only fit well but also enhance your home improvement efforts, whether you're tackling a DIY project or hiring a professional for door installation.
Cost Considerations
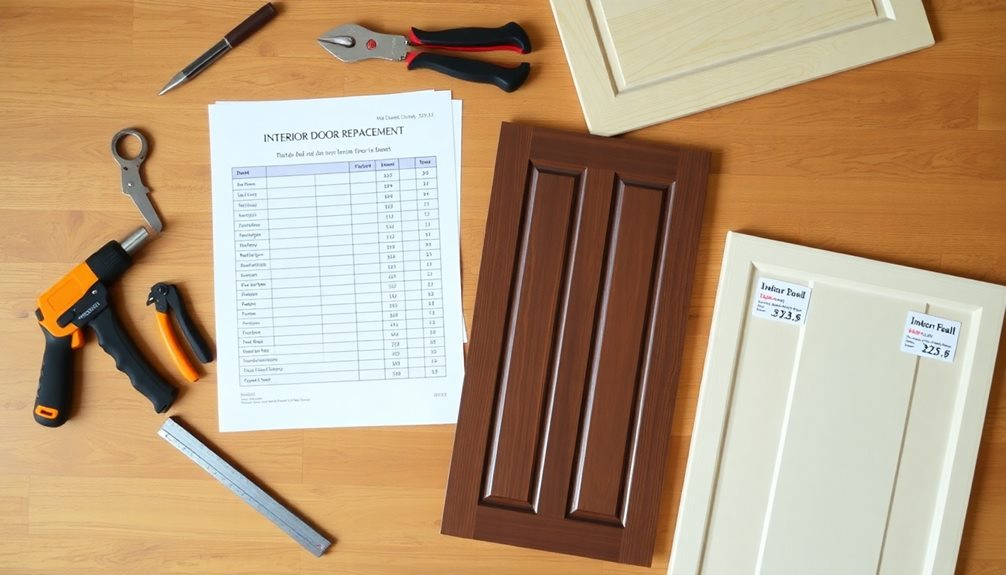
Replacing interior doors can vary widely in cost, so it's crucial to set a realistic budget before you start.
Solid-core interior doors typically range from $100 to $500, with solid wood options costing even more due to premium materials. To keep costs down, consider reusing existing hinges and hardware; this can save you up to $50 or more.
If you're handy, opting for DIY installation can also be a budget-friendly choice, saving you between $50 to $100 per hour in labor costs.
Don't forget to budget for additional materials like shims, nails, and caulk, which can add an extra $20 to $50 to your total project cost.
While the upfront investment might seem high, upgrading to solid doors can lead to long-term savings on your energy bills. Solid doors improve insulation, reducing your heating and cooling costs considerably.
Required Tools and Materials
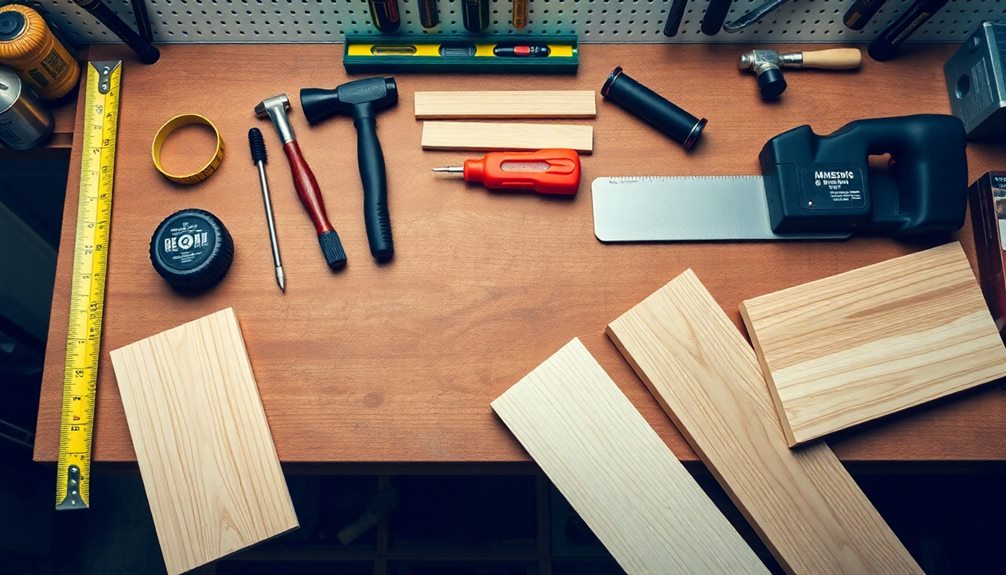
Starting an interior door replacement project requires specific tools and materials to guarantee a successful installation.
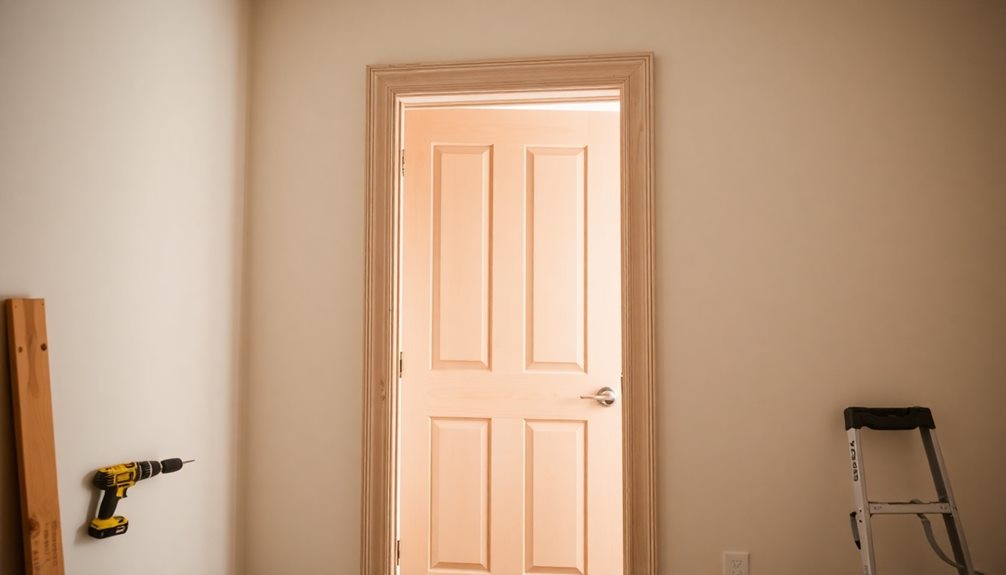
You'll need a utility knife to trim any excess material, a hammer for nailing, and a circular saw to cut your new door to size. Accurate measures of your existing door and frame are vital, so have a tape measure handy to secure a proper fit.
For the hardware, gather new hinges that match your door's style and weight. If you're looking to save some costs, you can reuse existing hinges and doorknobs.
A cordless drill is essential for installing the new door lock, so make sure you have that, along with a door lock installation jig for precise placement. A hole saw bit will help you create clean holes for the lock and knob.
Step-by-Step Installation Process
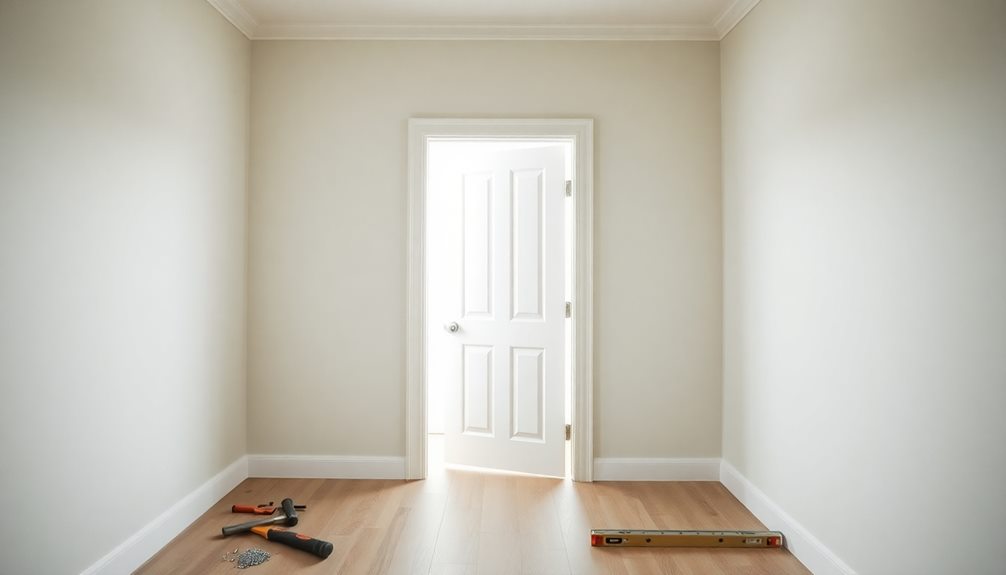
Removing the existing door is your first step in the installation process. Start by extracting the hinge pins and unscrewing the hinges from the door frame. Once the hinges are removed, lift the old door out carefully.
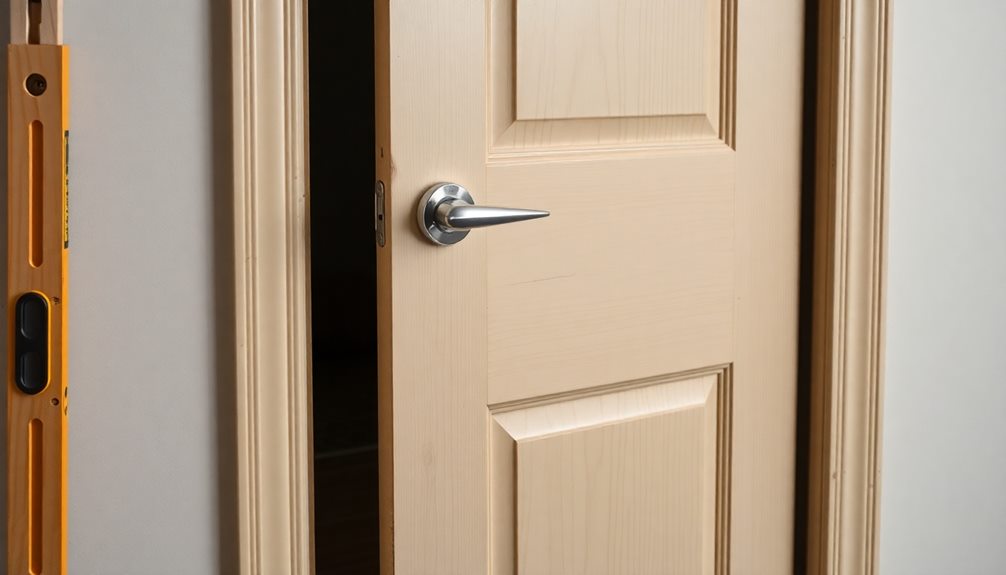
Next, it's time to install the new pre-hung door. Place it into the rough opening and use shims to level it, ensuring it sits flush with the drywall and opens smoothly at a 90-degree angle.
Once it's positioned correctly, secure the door frame to the studs by driving nails through each shim. Before finalizing the nailing, double-check the door's level and operation to avoid any issues later.
After securing the frame, attach the door trim to conceal the jamb. Don't forget to caulk the edges for a clean finish, filling any gaps or nail holes with appropriate filler.
Finishing Touches and Adjustments
The final stage of your door installation involves adding those essential finishing touches and making necessary adjustments for ideal performance.
Start by inspecting all filled areas for smoothness and evenness. If you spot any gaps around the trim, use caulk or wood filler to fill them in, guaranteeing a seamless look. Sand down these areas to prepare for paint or stain that matches your interior decor.
Next, allow sufficient drying time for your caulk and paint—typically at least 24 hours—to achieve a clean, professional finish. When applying trim-specific caulk, smooth the excess with your finger for a polished appearance, and let it dry completely.
Don't forget to regularly check your door alignment and functionality. Make any adjustments to the hinges or shims as needed to guarantee smooth operation. Proper door alignment is vital for avoiding issues down the line.
Frequently Asked Questions
How Do You Replace a Door Step by Step?
To replace a door, measure your old door, remove it, and prepare the new one. Position it in the frame, secure with shims, attach hinges, and finish with the lockset for smooth operation.
Can I Replace an Interior Door Myself?
Think of replacing an interior door like baking a cake; with the right ingredients and tools, you'll create something beautiful. Yes, you can replace it yourself if you're prepared and follow the steps carefully.
How to Replace Internal Doors?
To replace internal doors, choose between a prehung or slab door, measure accurately, gather tools, install hinges and locksets, adjust for smooth swinging, and finish with paint or stain for a polished look.
Can I Replace an Interior Door Without Replacing the Frame?
Absolutely, you can swap out that interior door without fussing over the frame! If it's in good shape, just measure carefully and slide in a new slab door for a seamless update.
Conclusion
Replacing an interior door can feel like giving your home a fresh coat of paint—it's a small change that makes a big impact. Just as a vibrant hue can brighten a room, a new door can transform your space, enhancing both its style and functionality. Remember, each step you took in the installation process adds value to your home. So, roll up your sleeves, embrace the journey, and enjoy the satisfaction of your handiwork every time you walk through that door!