
To replace a light fixture safely, start by gathering the necessary tools and turning off the circuit breaker controlling the light. Confirm the power is off using a voltage tester. Remove the old fixture carefully, then inspect and prepare the wiring, ensuring connections are secure and grounded. Mount the new fixture firmly, restore power, and test it. Troubleshoot any issues, and finally, clean up your workspace. If you continue, you’ll learn each step in detail to do the job safely and correctly.
Key Takeaways
- Turn off power at the circuit breaker and verify with a voltage tester before starting.
- Remove the existing fixture carefully, keeping track of mounting hardware and parts.
- Inspect wiring for damage, proper grounding, and secure connections using appropriate wire connectors.
- Mount the new fixture securely to the electrical box, ensuring all parts are level and firmly attached.
- Restore power gradually, then test the fixture and troubleshoot any issues before cleanup.
Gather the Necessary Tools and Materials
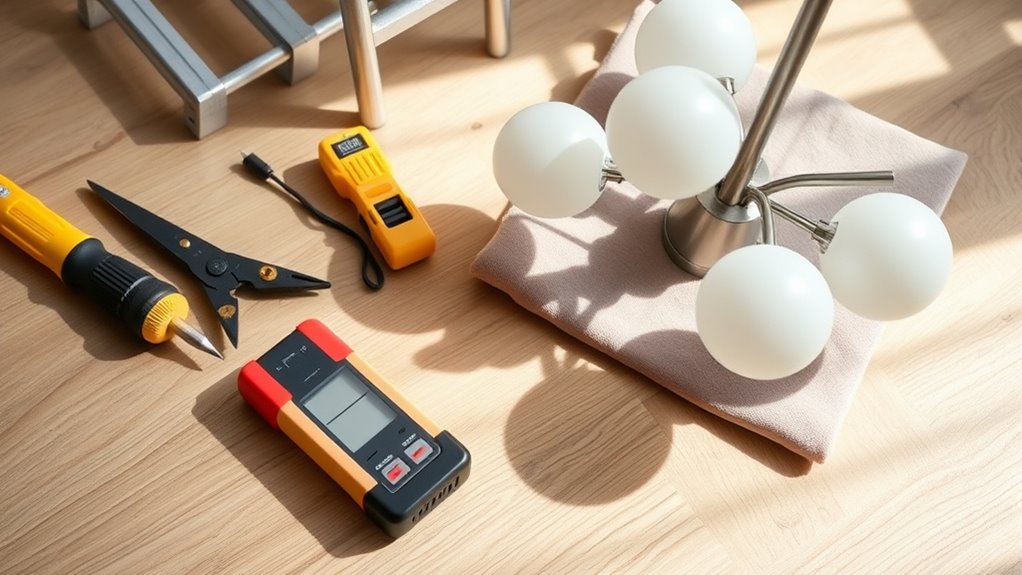
Before you start replacing the light fixture, it’s important to gather all the tools and materials you’ll need. Begin by selecting the right fixture styles that match your lighting design vision, whether modern, vintage, or contemporary. You’ll need a screwdriver, wire strippers, a voltage tester, and possibly a ladder. Make sure you have new mounting hardware, electrical tape, and replacement bulbs compatible with your new fixture. Consider the fixture’s weight and size to ensure proper support. Having everything on hand prevents interruptions and keeps the process smooth. Check that your tools are in good condition, and gather any additional items specific to your chosen fixture style. Being prepared helps you work efficiently and guarantees your new lighting complements your space perfectly. Proper preparation can help you work safely and efficiently throughout the replacement process.
Turn Off Power at the Circuit Breaker
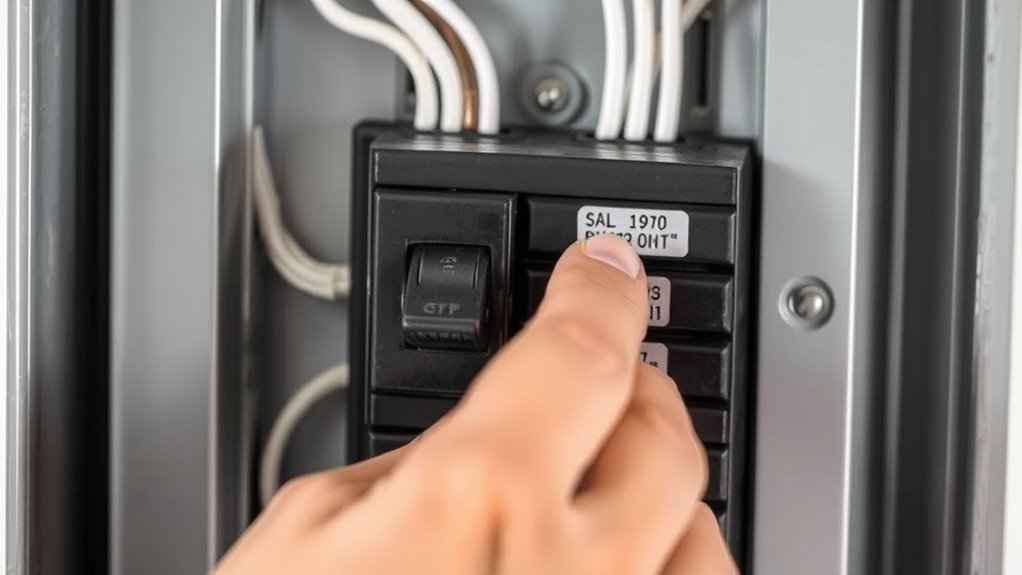
Once you’ve gathered all your tools and materials, the next step is to guarantee your safety by turning off the power. To verify proper circuit safety, locate your home’s circuit breaker panel and identify the switch controlling the light fixture. Switch it off completely, and for extra security, use a circuit tester to confirm the power is off. Following electrical codes is essential for safe work practices, so double-check that no electricity is flowing before proceeding. Remember, never rely solely on the wall switch, as the circuit breaker is the true control point for power at this stage. Turning off the correct breaker prevents electrical shock and damage, making your workspace safer and compliant with electrical safety standards. Being aware of electrical safety measures can further help prevent accidents during your project.
Confirm Power Is off Before Proceeding
Before you start working on the fixture, double-check that the power is truly off. Use a tester to confirm there’s no current flowing to the wires. This step guarantees your safety before any further work. Additionally, understanding cookie categories can help you manage your privacy preferences during online research.
Turn Off Circuit Breaker
To guarantee your safety, start by turning off the circuit breaker supplying power to the light fixture. This step is essential for maintaining circuit safety and preventing electrical shocks during troubleshooting or replacement. Locate your home’s main electrical panel and identify the breaker controlling the light fixture. Switch it to the OFF position, ensuring the circuit is completely de-energized. Remember, relying solely on the wall switch isn’t enough—turning off the breaker cuts power at the source. This minimizes the risk of accidental shocks or short circuits while working. Always double-check that the circuit is off before proceeding. Turning off the circuit breaker is a simple but critical step in safe electrical troubleshooting and fixture replacement, giving you peace of mind and a safer working environment. Utilizing a professional voiceover can also help you understand safety procedures more clearly.
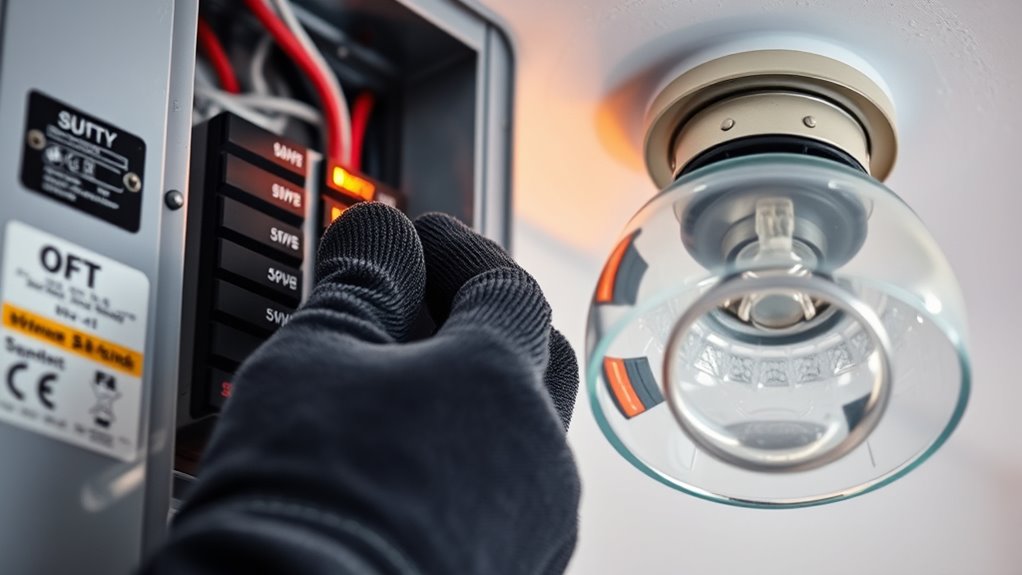
Verify Power With Tester
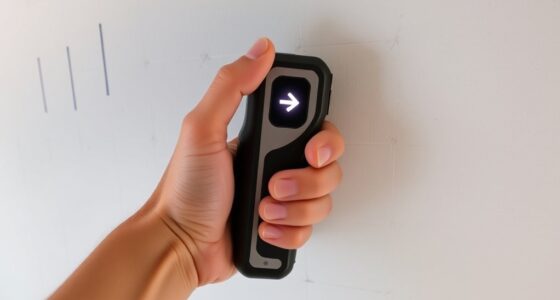
After turning off the circuit breaker, it is vital to verify that the power is truly off before touching any wires. Use a voltage detection tester to confirm this. Carefully place the tester’s probes on the wires or terminals of the fixture to perform circuit verification. If the tester indicates voltage, do not proceed—double-check your breaker and wiring connections. If no voltage is detected, you’re safe to move forward with the replacement. Always test multiple points, especially if you’re unsure about the wiring configuration. Accurate voltage detection ensures you avoid electrical shocks or accidents. Confirming power is off is a crucial step in safely handling electrical work and prevents potential hazards during fixture removal and installation. Additionally, understanding the importance of electrical safety can help you prevent injuries and ensure a smooth replacement process.
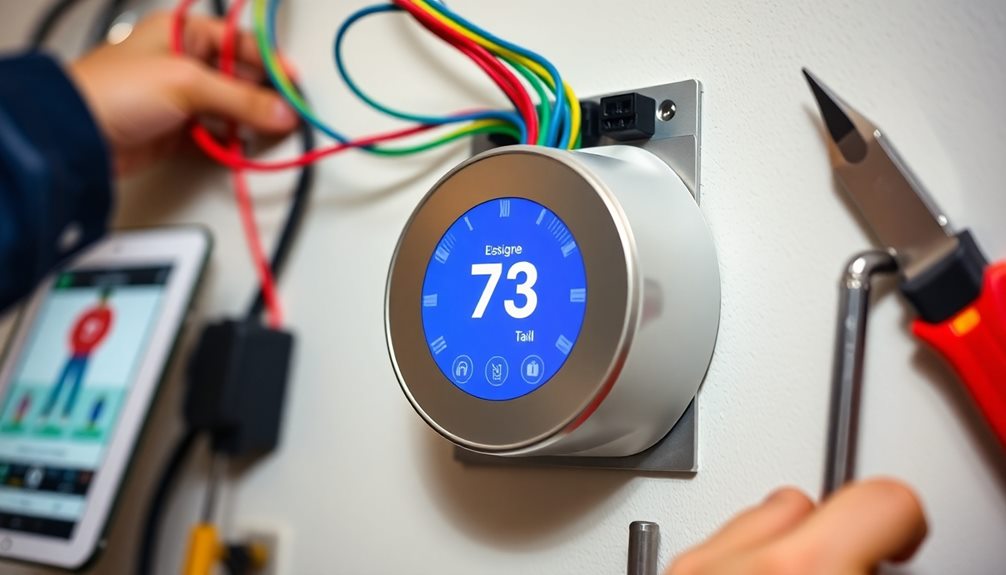
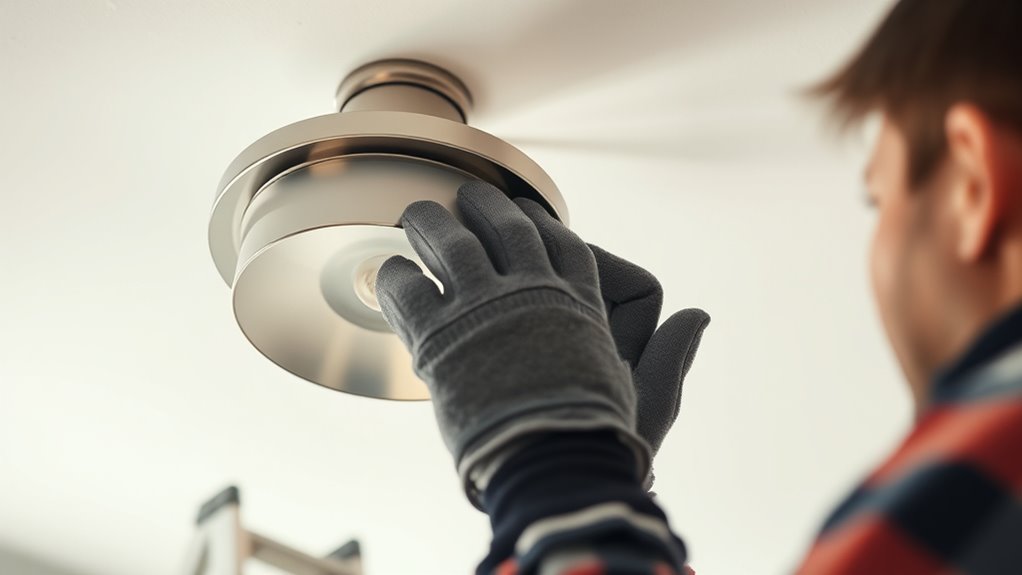
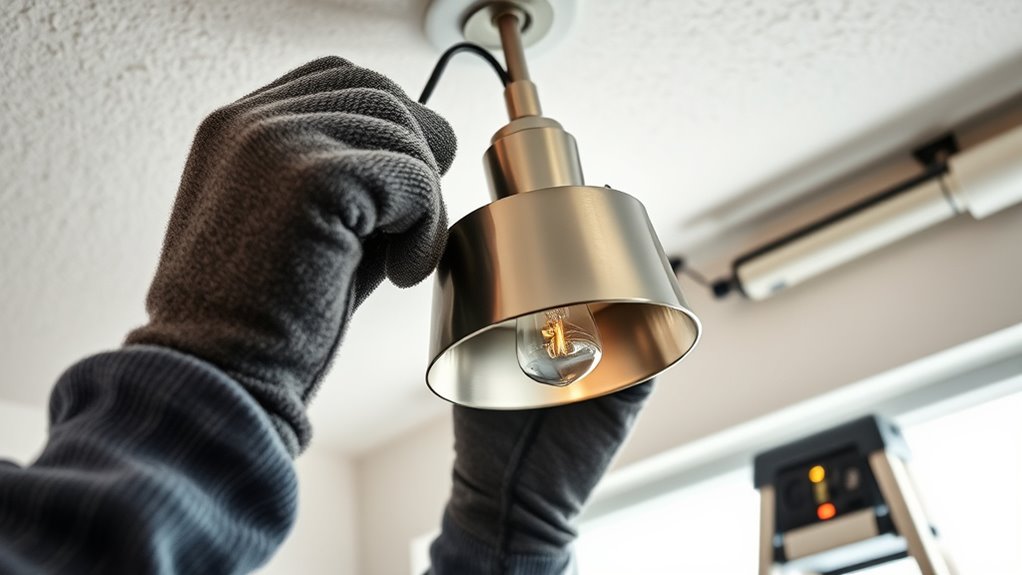
Remove the Existing Light Fixture
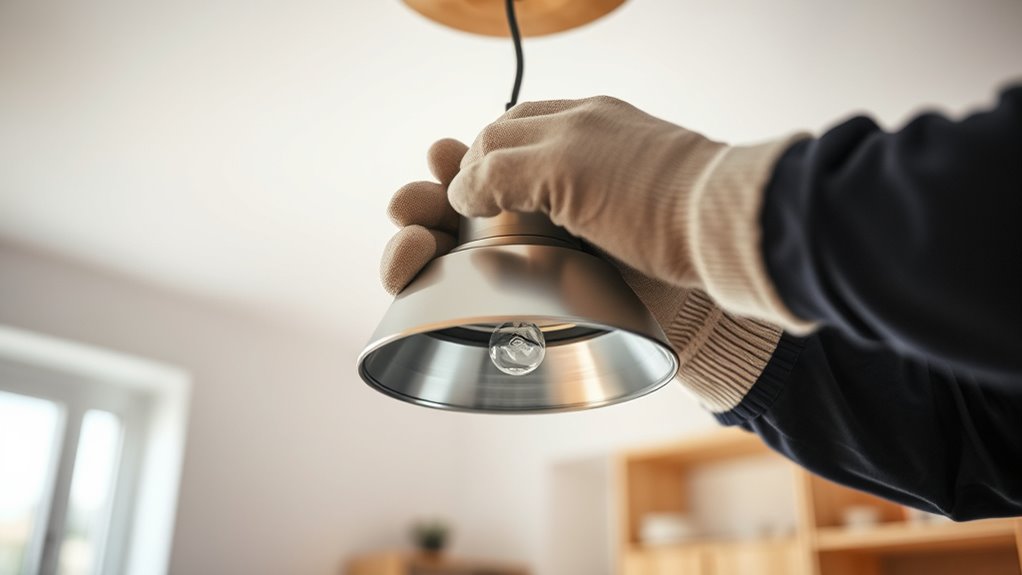
Removing the existing light fixture is a crucial first step that requires careful attention. Start by turning off the power at the breaker to guarantee safety. Remove any bulbs and decorative elements to access the mounting hardware. Use a screwdriver to carefully detach the fixture from the ceiling or wall. As you do this, consider the lighting aesthetics you want in the space; this can influence your choice of a new fixture. Be mindful of fixture compatibility, ensuring the new light will fit the existing wiring and mounting setup. Keep track of any screws, mounting brackets, or parts you remove, as they might be useful later. Removing the old fixture carefully prevents damage to the mounting area and simplifies the installation of your new lighting. Additionally, understanding the importance of projector compatibility can help ensure your new fixture functions properly with existing electrical components.
Inspect and Prepare the Wiring
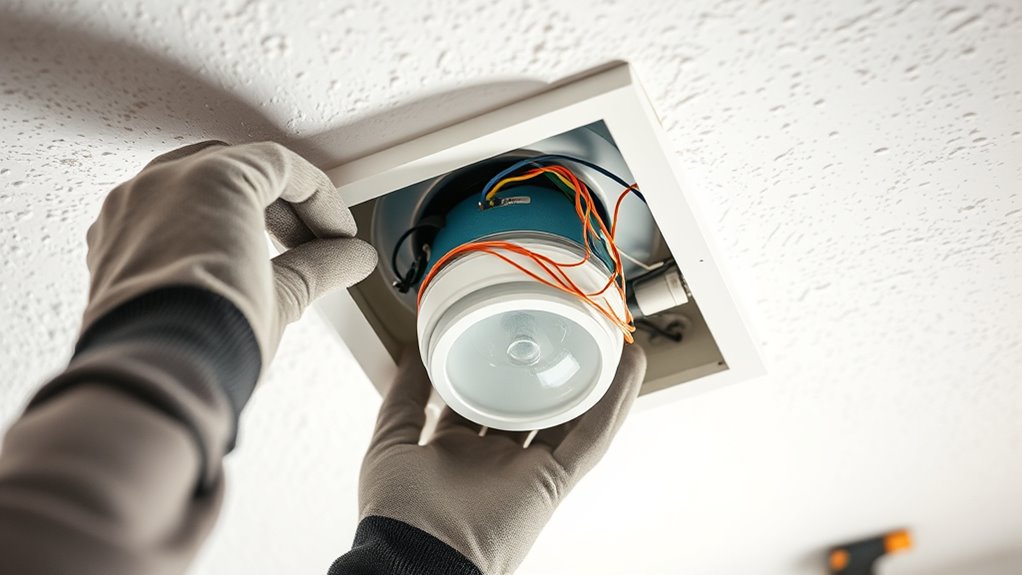
Before installing your new light fixture, it’s essential to inspect and prepare the wiring thoroughly. Check for proper grounding safety by ensuring the ground wire is intact and connected correctly. Familiarize yourself with wire color codes: typically, black or red indicates hot wires, white is neutral, and green or bare copper is ground. Use the table below to confirm wiring details:
| Wire Color | Function | Safety Tip |
|---|---|---|
| Black/Red | Hot | Turn off power before handling |
| White | Neutral | Avoid damaging white wires |
| Green/Bare | Ground | Confirm grounding safety |
| Any | Unusual colors | Investigate before proceeding |
Ensure all wires are undamaged, clean, and properly marked. Proper preparation minimizes electrical hazards and guarantees a safe installation. Additionally, understanding electrical safety practices can further help prevent accidents during the process.
Connect the New Fixture’s Wires Properly
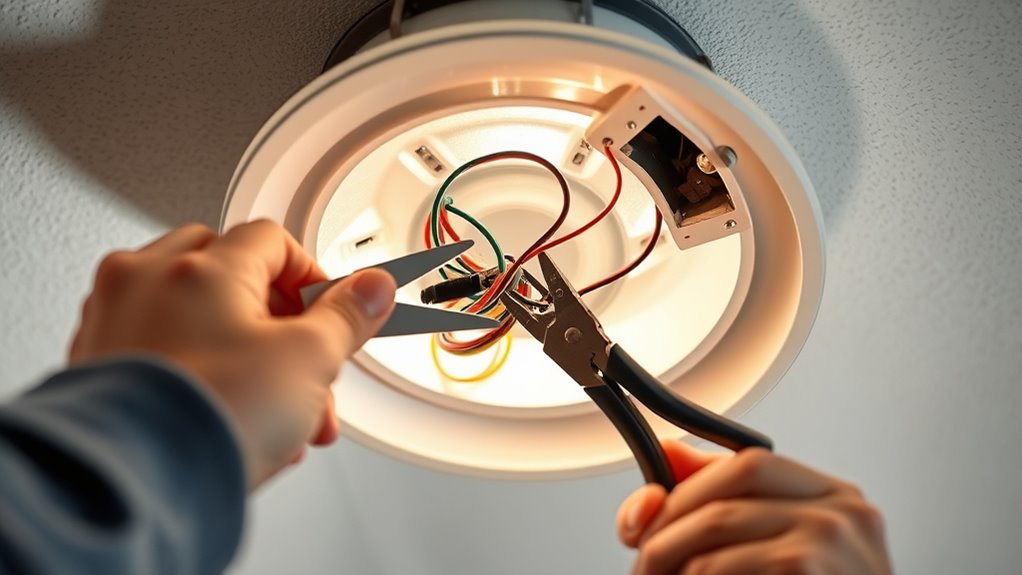
When connecting the new fixture’s wires, it’s essential to match the wire colors correctly to guarantee proper operation. Make sure your connections are secure and tight to prevent any potential hazards. Taking these steps carefully helps guarantee a safe and reliable installation. Additionally, understanding the importance of regular checks on statements can help identify any electrical issues early on.
Match Wire Colors
Matching wire colors is essential for guaranteeing your new light fixture operates safely and correctly. Proper wire color matching helps you identify each wire’s purpose, reducing the risk of electrical faults. Follow electrical color codes to determine which wire is hot, neutral, or ground. Typically, the black or red wire is hot, the white wire is neutral, and the green or bare copper wire is ground. When connecting the fixture, match the corresponding colors from the ceiling wiring to your fixture’s wires. If your wires don’t follow standard color codes, use a voltage tester to confirm each wire’s function before making connections. Correct wire color matching ensures a safe, reliable installation and minimizes potential electrical hazards. Additionally, understanding Real Couples and their relationships can provide insights into the importance of trust and communication, which are crucial aspects of safe and successful electrical work.
Secure Connections Properly
Are you ready to guarantee your light fixture is securely connected? First, verify you use the correct wire connector types, such as twist-on or push-in connectors, to create a stable, insulated connection. When connecting the wires, follow proper grounding techniques by attaching the grounding wire to the fixture’s grounding screw or terminal, ensuring a safe path for electrical faults. Twist the wires together tightly, matching the wire colors—black to black, white to white—and secure them with your chosen connector. Make sure no bare wire is exposed outside the connector. Double-check all connections for security and stability. Properly secured connections prevent flickering, shorts, or electrical hazards, providing peace of mind and safety for your home.
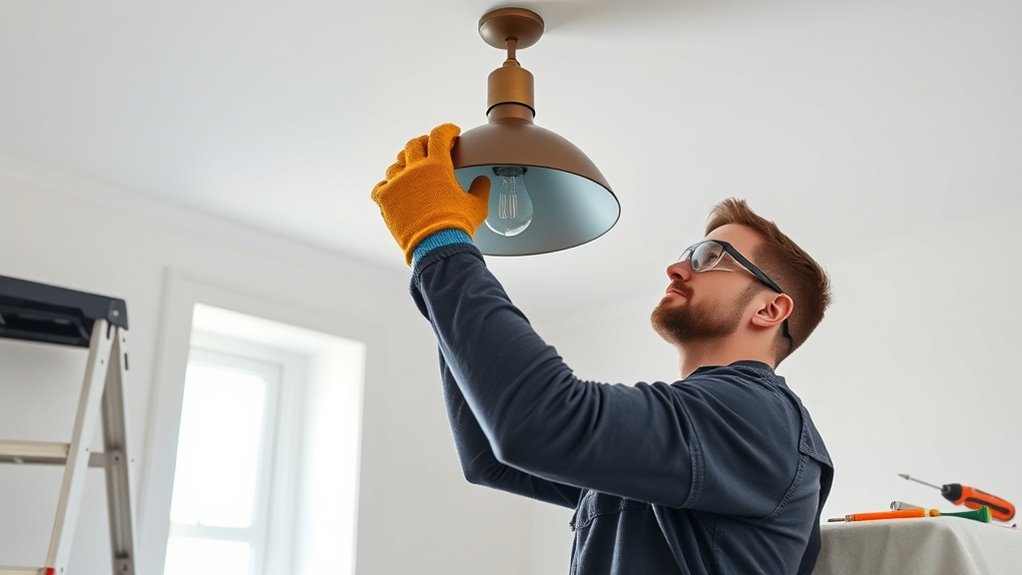
Secure the Fixture to the Ceiling or Wall

Before securing the fixture, verify the mounting bracket or plate is properly aligned with the electrical box. If you’re using mounting brackets, make sure they are firmly attached to the electrical box and that the holes line up correctly. For ceiling anchors, ensure they are securely fastened into the ceiling drywall or ceiling joists. Insert the anchors according to the manufacturer’s instructions, then attach the mounting bracket or plate to these anchors. This provides a stable base for the light fixture. Check that everything is level and tightly secured before proceeding. Properly mounted brackets or anchors prevent the fixture from wobbling or falling. Regular maintenance and proper cleaning procedures ensure the longevity and safety of your fixture. Once secure, you can confidently move on to attaching the fixture itself, knowing it’s firmly held in place.
Restore Power and Test the New Light
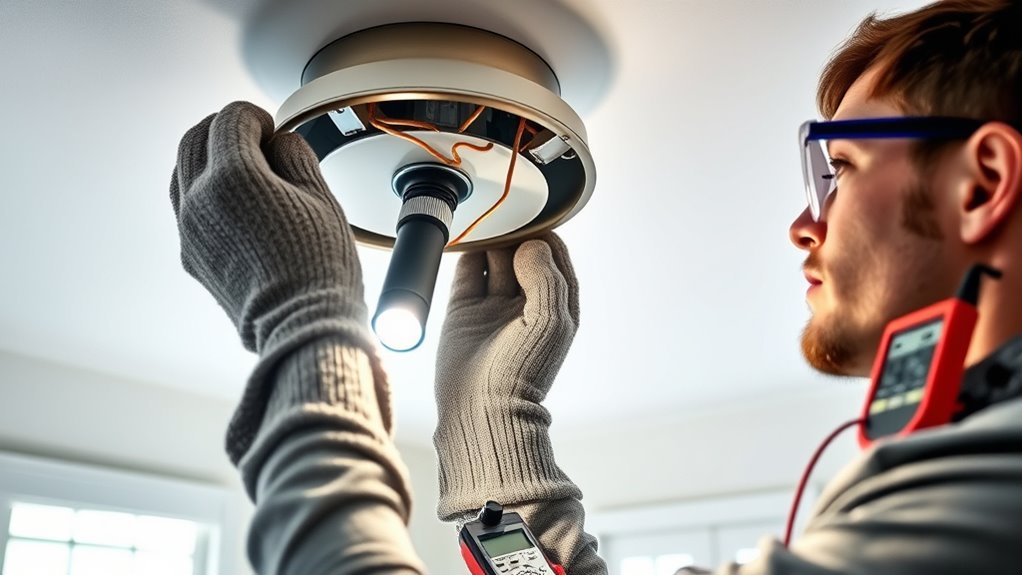
Once you’ve securely mounted the fixture, it’s time to restore power and test the new light. Turn the circuit breaker back on carefully, and avoid sudden power surges by flipping switches steadily. Before turning on the light, double-check fixture compatibility to prevent electrical issues. Once the power is restored, turn on the switch to see if the light functions properly. Observe for flickering or dimming, which could indicate wiring issues. Use the table below to understand common signs and solutions:
| Issue | Solution |
|---|---|
| Flickering light | Check bulb and fixture compatibility |
| No light after switch on | Verify circuit and wiring connections |
| Power surge concern | Install surge protector to safeguard fixture |
Troubleshoot Common Issues
When troubleshooting common issues with your new light fixture, start by carefully observing the problem and examining the wiring connections and bulb compatibility. If the bulb flickers, check if the bulb is screwed in tightly and if it matches the fixture’s wattage recommendations. Loose connections can cause flickering, so verify all wiring is secure and properly connected. For fixture wobbling, inspect the mounting bracket and screws to confirm they’re tight and properly installed. Sometimes, a loose or uneven fixture can wobble or sway. If you notice persistent flickering or wobbling after these checks, turn off the power and review your wiring or consult a professional. Addressing these issues promptly keeps your fixture functioning safely and correctly.
Finalize and Clean Up the Work Area
After completing the installation or repair of your light fixture, it’s important to clean up the work area to guarantee safety and a tidy space. Begin with a thorough work area cleanup by collecting tools, unused parts, and debris. Ensure all wires are secured and any loose fixtures are firmly attached. Double-check your safety checklist, confirming that the power is off and the fixture is properly grounded. Wipe down surfaces to remove dust or smudges, preventing slips or electrical hazards later. Dispose of packaging and waste responsibly. Proper cleanup not only keeps your space safe but also makes future maintenance easier. Taking these steps ensures your work area stays safe, organized, and ready for everyday use.
Frequently Asked Questions
Can I Replace a Light Fixture Without Electrical Experience?
You can replace a light fixture without electrical experience, but you should follow DIY tips and prioritize electrical safety. Turn off the power at the circuit breaker, use a voltage tester to verify no current flows, and carefully follow instructions. Wear insulated gloves and keep tools away from live wires. If you’re unsure or uncomfortable, it’s best to consult a professional to avoid potential hazards and ensure the job’s done correctly.
What Should I Do if the Light Fixture Is Stuck?
If your fixture removal turns into a stuck fixture saga, don’t panic! First, turn off the power and gently wiggle the fixture, applying steady, even pressure—don’t yank it like a wild animal. Use a rubber mallet or pliers carefully if needed. If it refuses to budge, spray some WD-40 around the base and wait a few minutes. Patience and gentle persistence are your best allies in conquering that stubborn, stuck fixture!
Is It Necessary to Wear Protective Gear During Installation?
Yes, you should wear protective gear during installation to guarantee safety. Safety precautions, like gloves and safety glasses, protect you from potential electrical shocks or debris. Wearing protective gear also helps prevent cuts or scrapes if you accidentally hit sharp edges or drop tools. Always prioritize safety precautions to avoid injuries and make the installation process smoother. Remember, safety gear is a simple but essential step in any light fixture replacement.
How Do I Identify the Correct Wires to Connect?
You identify the correct wires by checking the wire color codes—typically black or red for live, white for neutral, and green or bare for ground. Always turn off the circuit breaker and verify labels to guarantee safety. Use a voltage tester to confirm no current runs through the wires. Carefully match each wire to its corresponding connection, following the color codes and circuit breaker labels for proper installation.
What Are Signs of Faulty Wiring in a Fixture?
You’ll notice faulty wiring if the fixture flickers, sparks, or emits a burning smell. Check your circuit breaker, ensuring it hasn’t tripped. Faulty wiring often involves inconsistent wiring color codes or loose connections. If you see frayed wires or signs of overheating, turn off the power immediately. Always inspect wiring carefully, and when in doubt, consult a professional to prevent electrical hazards.
Conclusion
Replacing a light fixture can seem intimidating, but with the right steps, you can do it safely and confidently. Always turn off the power and double-check before working. Think of it like rewiring a puzzle—you’re reconnecting the pieces to light up your space. When you follow these steps carefully, you guarantee safety and success. So, trust the process, stay cautious, and enjoy the bright new look in your home!